Windows 11 Game Bar: Capture Screenshots and Record Clips Without Third-Party Apps
Gaming, Windows 11, Game Bar
Capture Every Epic Moment with the Windows 11 Game Bar
When something awesome happens in a game, you usually have two thoughts: “No way that just happened!” and “I wish I got that on video.” With the Windows 11 Game Bar, you don’t have to choose. A few simple keyboard shortcuts are all it takes to grab screenshots, record clips, and even save the last 30 seconds of gameplay you just experienced.
Meet the Windows 11 Game Bar
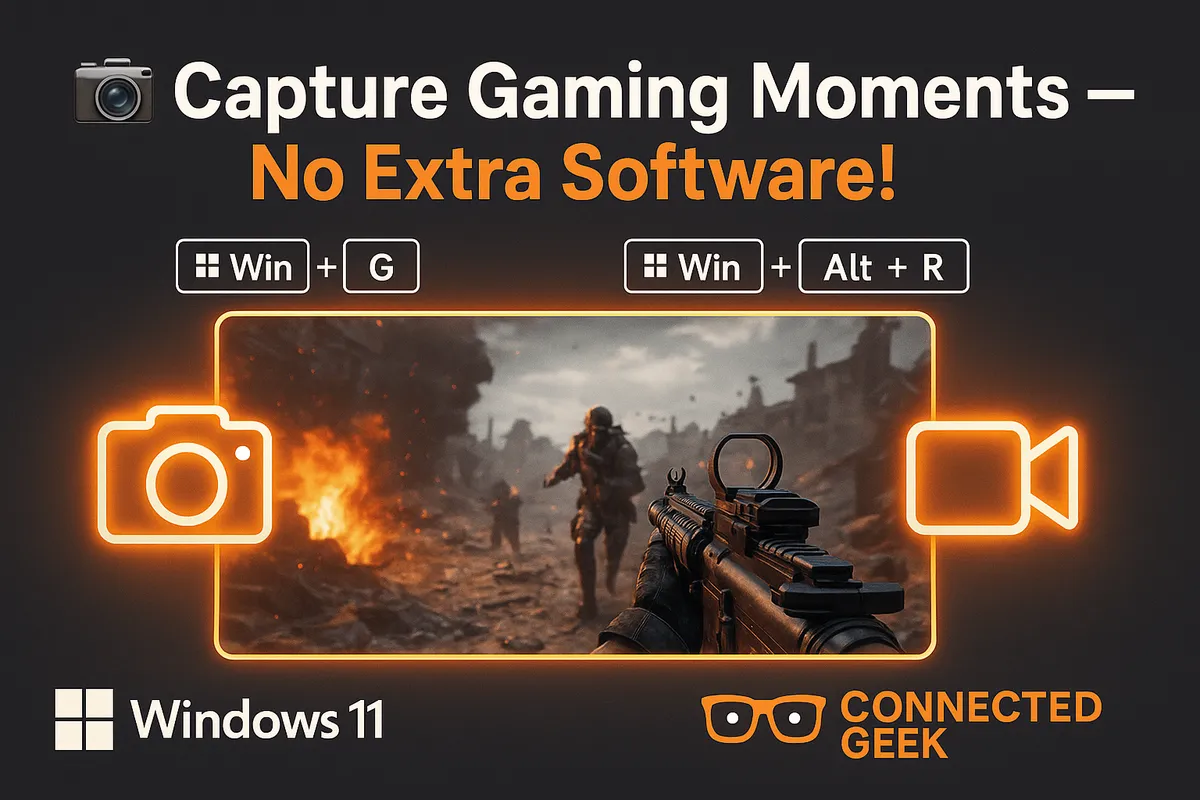
The Game Bar is built right into Windows 11, so there’s no extra software to install. Just press Win+G while you’re in a game (or most full-screen apps) and an overlay pops up with widgets for performance, audio, Xbox social features, and—most importantly for us—capturing your gameplay. Once you learn a few hotkeys, you won’t even need to open the overlay; you can record and screenshot directly from the keyboard while staying focused on the action.
Quick Screenshot: Win+Alt+PrtSc
Want a clean shot of your new high score or a gorgeous in-game sunset? Press Win+Alt+PrtSc to instantly capture a screenshot of the current game window. You don’t have to pause, tab out, or dig through menus. The Game Bar quietly snaps the image in the background and saves it for you. It’s perfect for sharing cool moments with friends or building up a gallery of your favorite gaming memories.
Start and Stop Recording: Win+Alt+R
Sometimes you know something big is coming—a boss fight, a ranked match, or a tricky speedrun segment. That’s when you’ll love Win+Alt+R. Press this shortcut once to start recording a clip of your gameplay. You’ll see a tiny recording indicator so you know it’s rolling, but otherwise you can keep playing as normal. When you’re done, press Win+Alt+R again to stop. The Game Bar will automatically save the clip, ready for you to watch, trim, or upload later.
Save the Last 30 Seconds: Win+Alt+G
The real magic happens when something unexpected and amazing occurs, and you weren’t recording. Maybe you landed a ridiculous headshot or pulled off a clutch play that even surprised you. With Win+Alt+G, you can capture that moment after the fact. When background recording is enabled, Windows is quietly keeping a rolling buffer of your recent gameplay. Press Win+Alt+G and it will save the last 30 seconds (or however long you’ve configured) as a clip. It feels a bit like having a DVR for your games.
Mute or Unmute Your Mic: Win+Alt+M
If you record with voice commentary—or you’re chatting on Discord while playing—there will be times when you need to mute quickly. That’s where Win+Alt+M comes in. Press this shortcut to toggle your microphone on or off while recording with Game Bar. It’s handy when you want your reactions on a clip, but not the random background noise, or when you need a quick moment of privacy without stopping the recording entirely.
Where Your Clips and Screenshots Are Saved
All these screenshots and recordings need a home, and Windows keeps things simple. By default, your captures are stored in Videos → Captures inside your user folder. So you can open File Explorer, click on Videos in the sidebar, and then open the Captures folder to find everything Game Bar has recorded. From there, you can rename files, move them into game-specific folders, or drag them straight into your favorite editing or sharing app.
Configuring Clip Length, Quality, Frame Rate, and Audio
Before you dive too deep into recording, it’s worth tweaking your capture settings so they match your hardware and your goals. To configure things, open Settings, go to Gaming, and then select Captures. This is the control center for how Game Bar records your gameplay.
Here, you can set the maximum recording length, which determines how long a single clip can be before Windows automatically stops recording. This helps prevent huge files and keeps your storage from filling up unexpectedly. You can also choose the video quality (standard or high) and set the frame rate, usually 30 fps or 60 fps. If your PC is powerful and you want smooth, share-worthy footage, 60 fps is ideal. If your system is older or you care more about performance than silky video, 30 fps can be a better balance.
Don’t forget the audio options. In the same Captures settings, you can choose whether to record game audio only or include system sounds and your microphone. This is where you decide if you want clean, commentary-free clips, or full videos with your voice and party chat included. Combined with the Win+Alt+M shortcut, you have a lot of control over what your final recording sounds like.
Enabling Background Recording for Instant Replays
To make Win+Alt+G work, you need to turn on background recording. In Settings > Gaming > Captures, look for the option that lets Windows record in the background while I’m playing a game. Enable this toggle, and then choose how much gameplay you want Windows to keep in its buffer—commonly 30 seconds, but you can set a longer or shorter duration depending on your storage and preferences.
Keep in mind that background recording does use some system resources, so if you’re squeezing every last frame out of a demanding game, you might want to experiment. Try different buffer lengths and quality settings until you find a sweet spot where your game still runs smoothly, but you never miss a highlight. Once it’s dialed in, you’ll wonder how you ever played without that instant replay safety net.
Ready to Capture Your Next Highlight?
With a few shortcuts—Win+Alt+PrtSc for screenshots, Win+Alt+R to start and stop recordings, Win+Alt+G to save the last 30 seconds, and Win+Alt+M to mute your mic—you’re fully equipped to capture your gaming stories on Windows 11. Take a moment to tweak your capture settings, switch on background recording, and then jump back into your favorite game. The next time something unbelievable happens, you’ll have the proof ready in your Videos → Captures folder, just waiting to be shared.
