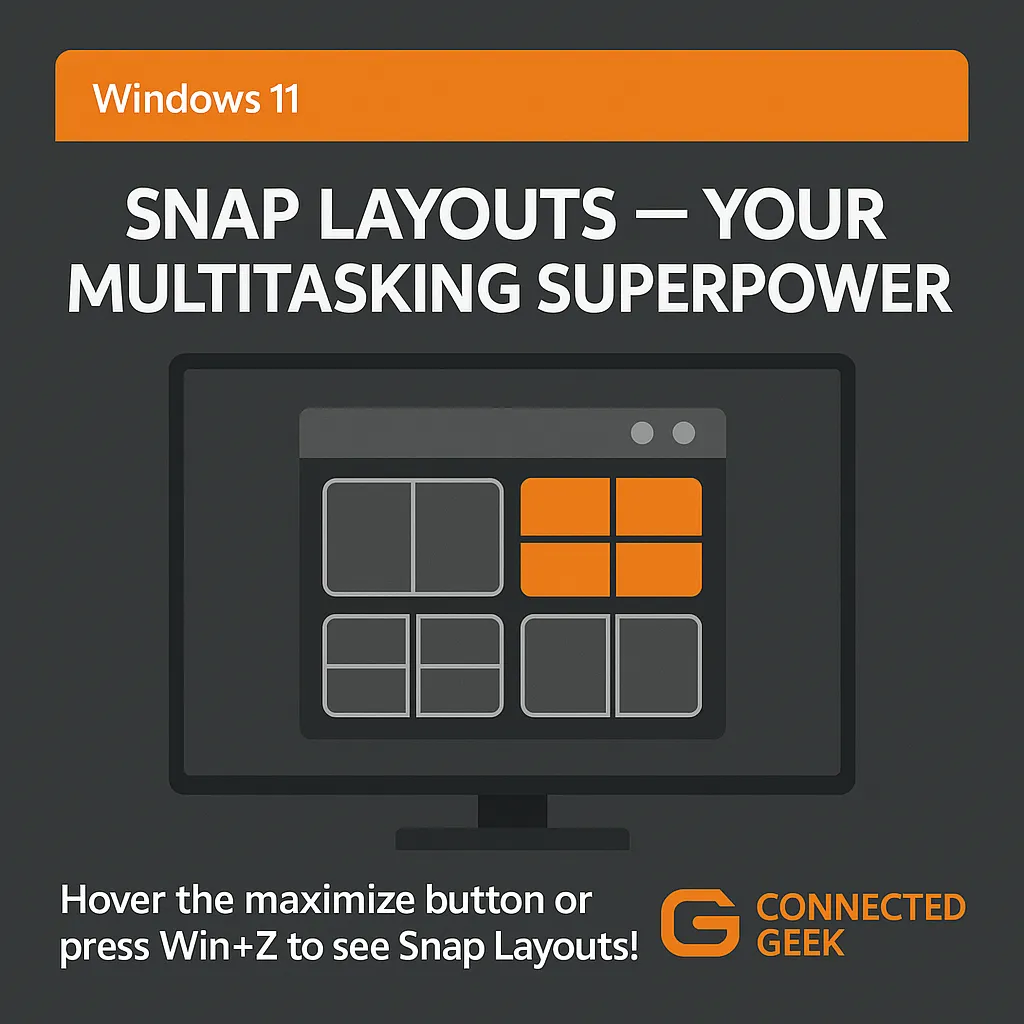
Boost Productivity with Windows 11 Snap Layouts
Windows 11, Multitasking, Productivity
Day 7: Meet Snap Layouts, Windows 11’s Multitasking Superpower
Welcome to Day 7 of our multitasking series. Today we’re shining a light on one of the most helpful additions to Windows 11: Snap Layouts. If you’ve ever dragged windows around your screen, trying to line them up “just right,” this feature is going to feel like a friendly productivity coach sitting on your desktop.
What Are Snap Layouts in Windows 11?
Snap Layouts are built‑in window arrangements that help you neatly organize multiple apps on your screen without any manual resizing or pixel‑perfect dragging. Think of them as ready‑made templates: you pick a layout, and Windows 11 instantly slots your apps into place. That’s why many people call Snap Layouts Windows 11’s multitasking superpower— they make working with several windows at once feel smooth instead of stressful.
Whether you’re comparing two documents side by side, keeping an eye on email while you browse the web, or juggling chat, music, and a spreadsheet, Snap Layouts give you a simple way to create an organized workspace in just a couple of clicks or keystrokes.
How to Access Snap Layouts: Two Easy Options
Windows 11 gives you two friendly ways to open Snap Layouts, so you can choose whichever feels more natural: mouse or keyboard.
- Option 1: Hover over the maximize button. Move your cursor to the maximize button in the top‑right corner of any window (the square icon between minimize and close). Instead of clicking, simply hover your mouse over it for a moment. A small panel will appear, showing several layout choices—two‑column, three‑column, a big pane with smaller ones beside it, and more, depending on your screen size.
- Option 2: Use the Win + Z keyboard shortcut. If you love keyboard shortcuts, press Windows key + Z while a window is active. This instantly brings up the same layout panel, usually with numbers you can press to pick a layout even faster.
Both methods lead to the same friendly interface; it just depends on whether your hand is already on the mouse or the keyboard when inspiration strikes.
Choosing a Layout and Snapping Apps into Position
Once the Snap Layouts panel is open, the fun begins. First, look at the different patterns: you might see a simple split down the middle, three slim columns, or a large area on one side with two smaller areas stacked on the other. Each shape represents where your current app can live on the screen.
To get started, click the zone where you want your current app to go. Windows 11 will snap that app into place instantly. Then, in the remaining zones, you’ll see suggestions for other open apps. Just click the app you want in each space, and it will glide into position automatically. No dragging, no guessing—just a clean, organized layout in seconds.
You can adjust the divider between apps by dragging the border left or right (or up and down), and Windows will resize both windows together. It feels a bit like arranging tiles on a board, except the board is your desktop and the tiles are your favorite apps.
Why Snap Layouts Deserve a Spot in Your Daily Routine
Snap Layouts may seem small at first glance, but they quickly become addictive. By turning messy window juggling into a couple of simple choices, they truly act as Windows 11’s multitasking superpower. You spend less time arranging windows and more time actually getting things done—which is what multitasking should be about in the first place.
As we continue this multitasking series, keep Snap Layouts in your toolkit. Try them the next time you’re working on a report while referencing a web page, or when you want chat, music, and notes all visible at once. With a little practice, you’ll wonder how you ever managed your desktop without them.
SEO Title: Day 7: How to Use Snap Layouts in Windows 11 for Effortless Multitasking
Meta Description: Learn what Snap Layouts are in Windows 11, how to open them with hover or Win+Z, and how to snap apps into place for smoother multitasking.
