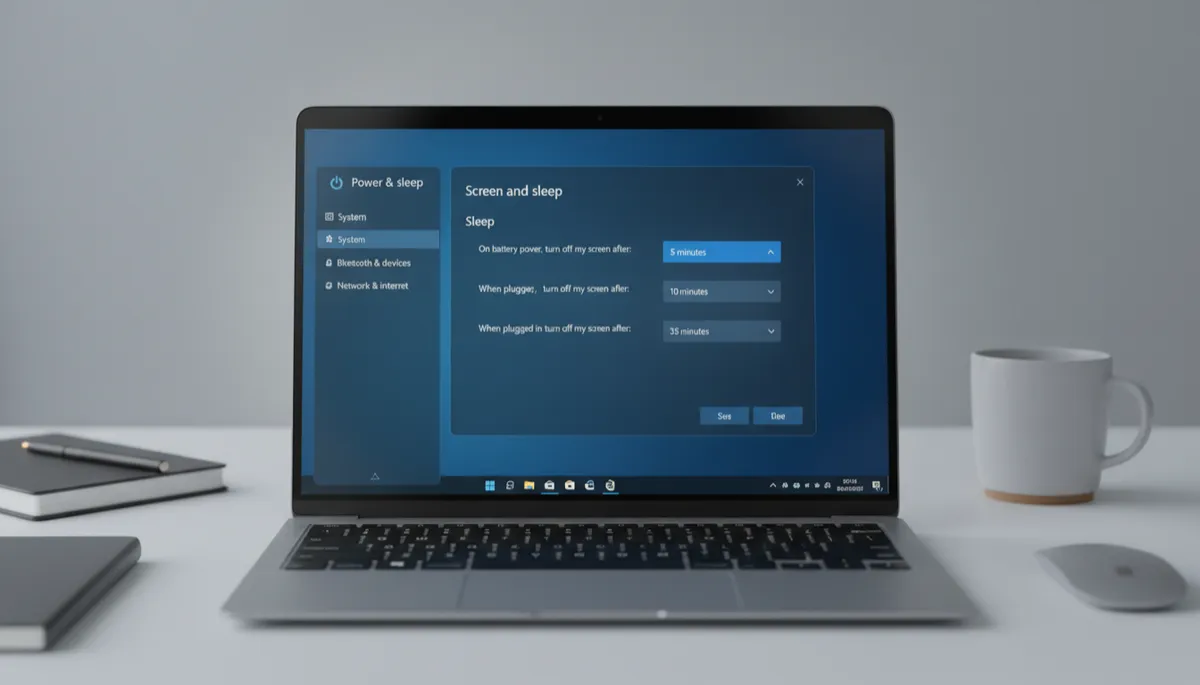
Windows 11 Screen Saver Settings: Set Up, Change, or Turn Off
Screen Savers in Windows 11 — Still Here, Mostly Decorative
Screen savers were originally designed to prevent monitor burn-in on old CRT monitors. Modern LCD and OLED displays don't have this issue in normal use, so screen savers are largely decorative today. But they do have one useful role: locking your PC after inactivity.
How to Enable and Configure a Screen Saver
- Press Win + S and search for Screen saver
- Click Change screen saver
- In the dropdown, choose a screen saver: Blank, Bubbles, Mystify, Photos, Ribbons, or 3D Text
- Set the Wait time — how many minutes of inactivity before it activates
- Check On resume, display logon screen if you want it to lock your PC when the saver triggers
- Click OK
Screen Saver as a Lock Mechanism
The "On resume, display logon screen" checkbox is the most useful screen saver setting for modern users. With this enabled, leaving your PC idle triggers the screen saver — and when you return, you must enter your PIN to unlock. An alternative to manual locking (Win + L).
The "Blank" Screen Saver
If you want the screen to go black after a set time without sleeping, set the screen saver to Blank. The screen stays technically on but shows nothing. Less efficient than simply setting a screen timeout.
Should You Use a Screen Saver?
For most users: no. Screen timeout (which turns off the display entirely) is better for energy saving and security. Use "Require sign-in" via: Settings → Accounts → Sign-in options → Require sign-in → When PC wakes from sleep.
