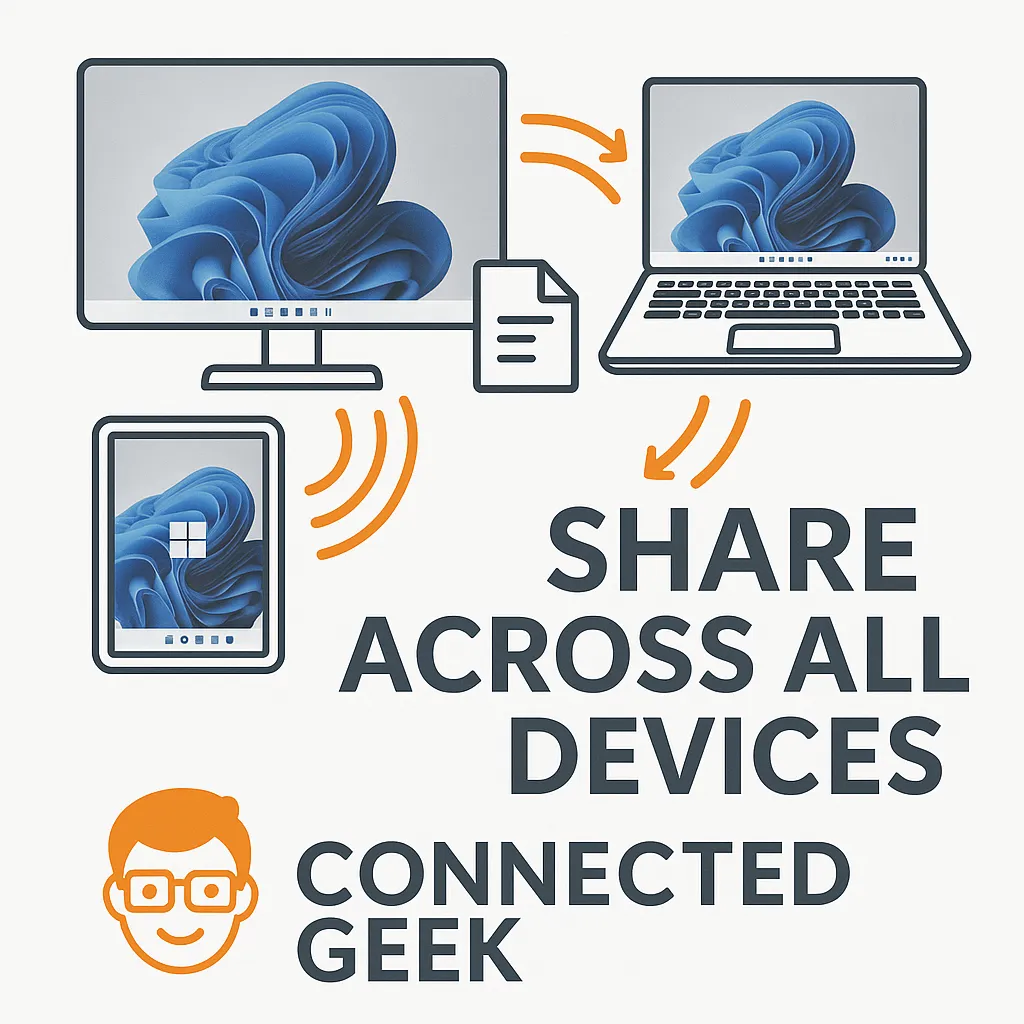
Top 5 Windows 11 Nearby Sharing Tips for Geeks
Windows 11, Nearby Sharing, Connected Geek
5 Practical Windows 11 Nearby Sharing Tips Every Connected Geek Should Know
Nearby Sharing in Windows 11 is one of those features that feels like magic when it works well—and frustrating when it doesn’t. With a few simple tweaks and habits, you can turn it into a fast, reliable way to move files between your PCs without USB drives, email, or cloud uploads. Let’s walk through five practical, step-by-step tips to make Nearby Sharing feel effortless.

1. Right‑Click Any File to Share Instantly
The fastest way to use Nearby Sharing is built right into File Explorer’s right‑click menu. No need to open Settings or dig through menus every time you want to send a file across the room.
- Open File Explorer and browse to the file you want to share—this can be a photo, document, video, or even a folder that’s been zipped.
- Right‑click the file. In the menu that appears, select Share. This opens the Windows 11 sharing panel on the right side of your screen.
- Under Nearby sharing, Windows will search for nearby devices that have Nearby Sharing turned on. Give it a second or two to discover your other PC.
- Click the name of the PC you want to send the file to. On the other computer, you’ll see a notification asking to Accept or Save the file.
Once you get used to this right‑click workflow, it becomes second nature. You’ll likely find yourself sharing locally more often instead of emailing files to yourself or juggling USB drives.
2. Keep PCs Within 30 Feet for Reliable Transfers
Nearby Sharing uses a combination of Bluetooth and Wi‑Fi to discover and send files. That means distance matters. For smooth, consistent transfers, aim to keep your devices within about 30 feet (9 meters) of each other.
- Place both PCs in the same room if possible. This reduces interference from walls, floors, and other electronics.
- Avoid thick barriers like concrete walls, large metal objects, or appliances between the two devices. These can weaken Bluetooth and Wi‑Fi signals significantly.
- If transfers are slow or devices don’t show up, move the laptops closer together and try again. You’ll often see an immediate improvement in speed and reliability.
Think of Nearby Sharing as a short‑range handoff, not a long‑distance network. Keeping devices nearby is one of the simplest ways to avoid failed transfers and time‑outs.
3. Make Sure Wi‑Fi Is Turned On (Even on Wired PCs)
This one trips up a lot of people: even if your PC is connected to the internet with an Ethernet cable, Wi‑Fi still needs to be turned on for Nearby Sharing to work properly. The feature relies on Wi‑Fi hardware for discovery and transfer, not just your network connection in general.
- Click the network icon in the taskbar (near the clock). It might look like a Wi‑Fi symbol or a little monitor with a cable, depending on your connection type.
- In the quick settings panel that opens, look for the Wi‑Fi button. If it’s grayed out or says Off, click it to turn Wi‑Fi On.
- You don’t have to disconnect your Ethernet cable. You’re simply enabling the Wi‑Fi radio so Nearby Sharing can use it, even if your main internet traffic is still going over the wired connection.
Repeat this check on both PCs. If one device has Wi‑Fi turned off, it may never show up as a target, leaving you wondering why Nearby Sharing seems broken.
4. Check Your Nearby Sharing Discovery Mode
Nearby Sharing has a discovery setting that controls who can see your PC. If it’s set too restrictively, your other devices simply won’t appear in the sharing panel. The good news: it only takes a moment to verify and adjust this.
- Open Settings (press Windows key + I), then go to System > Nearby sharing.
- Under Nearby sharing, choose who can share with you:
- My devices only – Best if you’re signed in with the same Microsoft account on both PCs and only want to share between them.
- Everyone nearby – Helpful in a home or trusted office when you’re sharing with multiple users or devices.
- Make sure both PCs are set in a way that makes sense together. For instance, if one is set to My devices only and you’re trying to share from a friend’s laptop, it won’t appear.
While you’re in this menu, it’s also a good time to confirm that Nearby Sharing itself is toggled On. A quick glance here can save you a lot of head‑scratching later.
5. Change the Default Save Location from Downloads
By default, files you receive via Nearby Sharing land in your Downloads folder. That’s convenient at first, but it can quickly become cluttered—especially if you’re trading files all day between multiple PCs. The fix is simple: choose a folder that fits your workflow better.
- Open Settings and go to System > Nearby sharing again.
- Look for the section labeled Save files I receive to. You’ll see the current folder path—usually Downloads.
- Click the Change button and browse to your preferred folder. This could be a dedicated Nearby Sharing folder, a project directory, or a shared location that’s backed up regularly.
From now on, every file you receive via Nearby Sharing will go straight to that folder. No more hunting through a messy Downloads directory trying to remember which file just arrived.
Bringing It All Together
When you combine these five tips, Nearby Sharing in Windows 11 becomes a genuinely handy everyday tool instead of a hit‑or‑miss experiment. Use the right‑click Share option for quick sending, keep your devices within about 30 feet, make sure Wi‑Fi is turned on even for wired PCs, double‑check your discovery mode, and point incoming files to a folder that actually works for you.
With those tweaks in place, you’ll spend less time troubleshooting and more time actually getting things done—just the way a Connected Geek likes it.
