Windows 11 Gaming Performance: 4 Free Ways to Boost FPS Right Now
Gaming, Windows 11 Performance
How to Boost Gaming Performance in Windows 11 for Free
If your games stutter, drop frames, or just feel sluggish on Windows 11, you do not always need new hardware. With a few targeted tweaks, you can squeeze out extra performance using only built‑in tools. Below are four practical, results‑focused changes you can make in minutes that directly translate into smoother gameplay, faster load times, and more consistent frame rates.
1. Switch to Best Performance Power Mode (Settings → System → Power)
Windows 11 tries to balance performance and battery life by default. That sounds nice, but for gaming it usually means your CPU and GPU are not running at full potential. Setting your system to a performance‑first power mode makes sure your hardware is allowed to work at full speed when you launch a game.
To change this, open Settings, go to System, then click Power. Look for the Power mode dropdown. If it is set to Balanced or Best power efficiency, switch it to Best performance. On desktops, this is a no‑brainer: you are usually plugged in, and the extra power draw is worth the higher and more stable frame rates. On gaming laptops, this mode helps your CPU boost higher and stay there longer, which can noticeably reduce in‑game slowdowns, especially in CPU‑heavy titles like large open‑world games or competitive shooters with lots of players on screen.
The result you are aiming for is simple: fewer dips when the action gets intense. After enabling Best performance, test a game you know well. Watch for smoother camera movement, faster menu responsiveness, and fewer slow‑motion moments when explosions, effects, or big fights kick off. If you play on battery, keep in mind that this mode will drain it faster, so use it mainly when plugged in or when you genuinely want maximum performance for a session.
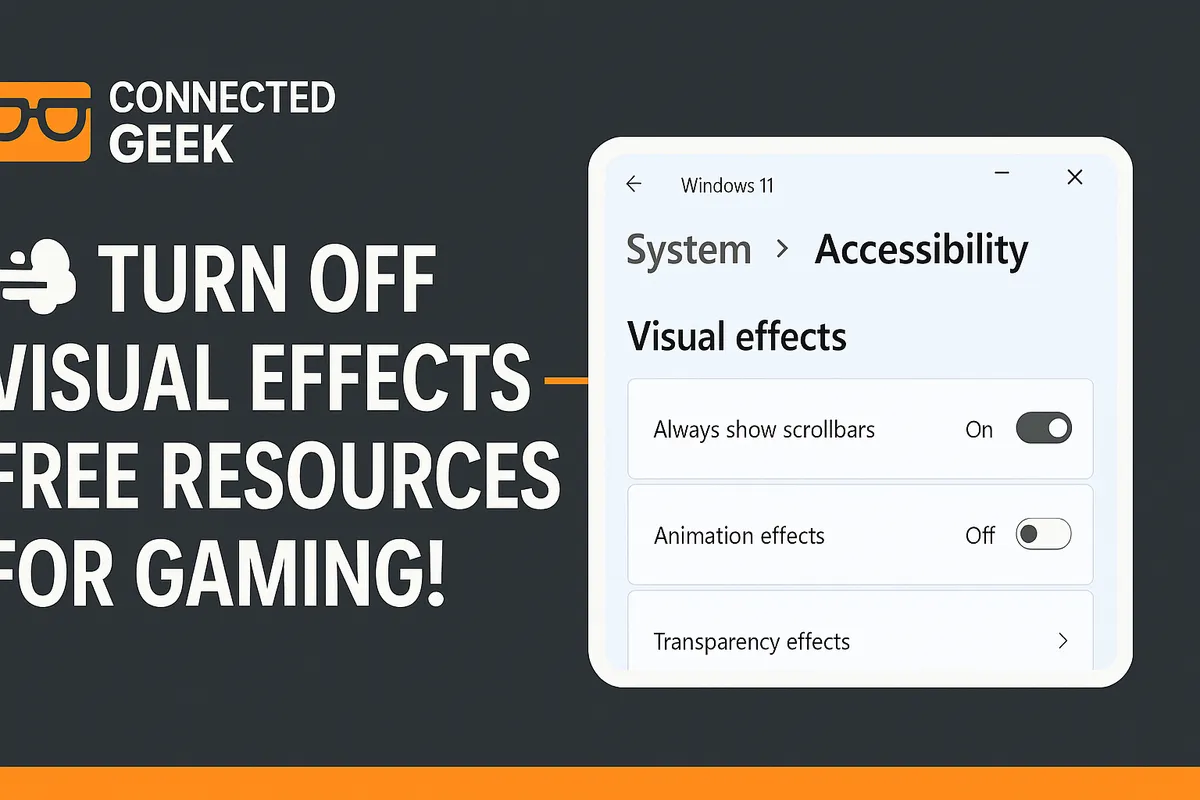
2. Adjust Visual Effects for Best Performance (Search → “Adjust the appearance and performance of Windows”)
Windows 11 looks slick with animations, transparency, and shadows, but those visual extras consume system resources. On mid‑range or older PCs, turning off these effects can free up CPU and RAM for your games instead of wasting them on window transitions you barely notice once the game is running full‑screen. This tweak is especially useful if your desktop feels sluggish or your system struggles to alt‑tab quickly.
Click the Search icon on the taskbar and type Adjust the appearance and performance of Windows, then open the matching result. In the Performance Options window, under the Visual Effects tab, select Adjust for best performance. This disables most visual flourishes, prioritizing raw responsiveness. If you prefer a small balance between looks and speed, you can then manually re‑enable a couple of options, such as Smooth edges of screen fonts, while leaving the heavier animations off.
The payoff here is more responsive navigation and slightly more available resources for your games. You may not gain dozens of frames per second, but you are cutting background overhead that can cause micro‑stutters or input lag, particularly when your system is under load from demanding titles or when you are streaming and gaming at the same time. You are trading a bit of desktop eye candy for a smoother overall gaming experience, which is a smart exchange if performance is your priority.
3. Enable Game Mode (Settings → Gaming → Game Mode)
Game Mode in Windows 11 is designed to automatically optimize your system whenever you are playing. When it is on, Windows reduces background activity, prioritizes your game process, and can help stabilize performance by limiting updates and other interruptions. It is not a magic switch that doubles your FPS, but it is a low‑effort way to keep Windows from fighting your game for resources at the worst possible time.
To turn it on, open Settings, click Gaming, then select Game Mode. Make sure the Game Mode toggle is set to On. Once enabled, Windows will automatically apply optimizations whenever it detects a game running. You do not have to configure it for each title, which makes this a straightforward, set‑and‑forget improvement for every game in your library.
In practice, Game Mode helps reduce random slowdowns caused by background tasks starting or Windows Update deciding to scan in the middle of a match. You are aiming for consistency: fewer random hitches, fewer background notifications, and a more predictable frame rate curve. Combine Game Mode with the other tweaks in this guide and you create a system environment that is clearly focused on gaming first, everything else second.
4. Close Background Apps Before You Launch a Game
Even with Game Mode on, unnecessary background apps can eat into your CPU, RAM, and even your internet bandwidth. Launchers, browsers with dozens of tabs, chat apps, and overlay tools all compete for the same resources your game needs. Closing them before you start playing is one of the simplest and most effective free performance boosts you can apply every single session, especially on systems with limited RAM or older processors.
Before you open your game, take 30 seconds to look at your taskbar and system tray. Close any apps you do not need while gaming: extra browser windows, music players you are not using, office apps, and unused launchers. For a deeper clean, press Ctrl + Shift + Esc to open Task Manager, check the Processes tab, and end tasks that are clearly non‑essential and safe to close, such as secondary updaters or helper tools you recognize. Do not end system processes you do not understand; focus on obvious apps that you opened yourself or that you know are optional.
The goal is to free as much RAM and CPU headroom as possible so your game has room to breathe. You should notice faster level loads, fewer pauses when new areas stream in, and more stable performance when a lot is happening on screen. If you play online, closing bandwidth‑hungry apps like cloud backups or video streams can also reduce ping spikes and packet loss, giving you a more responsive experience in competitive titles.
Put It All Together for a Smoother Gaming Experience
None of these tweaks cost money, and each one targets a real bottleneck: power limits, visual overhead, system scheduling, and background resource hogs. Set your power mode to Best performance, adjust Windows to best performance visual effects, enable Game Mode, and get into the habit of closing unnecessary apps before you play. Together, they create a leaner, more focused Windows 11 environment that puts gaming first and everything else second. Test these changes in your favorite titles, watch for smoother frame pacing and fewer stutters, and keep refining your setup until your system consistently delivers the performance you expect.
