Windows 11 Gaming Captures: How to Organise and Share Your Clips
Gaming, Windows 11, Clips
How to Organise and Share Your Gaming Clips Like a Pro in Windows 11
If you’re landing insane headshots, clutching 1v5s, or just accidentally yeeting yourself off a cliff in glorious fashion, those moments deserve more than disappearing into the void of your hard drive. Windows 11 quietly does a lot of the heavy lifting for recording, but the real magic is knowing where those clips live, how to tidy them up, and how to fire them off to friends or socials in seconds. Let’s turn your PC into a mini content studio without installing a single extra app.
Step 1: Meet Your Clip HQ – the Captures Folder
First things first: where do your masterpieces actually go when you hit record? By default, Windows 11 saves all your game recordings and screenshots in your Videos → Captures folder. Think of it as your personal highlight vault. Open File Explorer, click on Videos in the sidebar, and you’ll spot a folder called Captures. That’s home base for everything the Xbox Game Bar records.
Windows also helps you out with filenames, so you’re not stuck with total chaos. Each clip is auto‑named with the game title and a timestamp. You’ll see something like “Apex Legends 2024-06-01 22-14-37.mp4”. It’s not the most poetic title, but it does tell you exactly what you were playing and when you recorded it. That makes it way easier to track down that one insane match from last night at 2 a.m. when you swore you were going to bed early.
Step 2: Open the Game Bar Gallery (Your Built‑In Clip Browser)
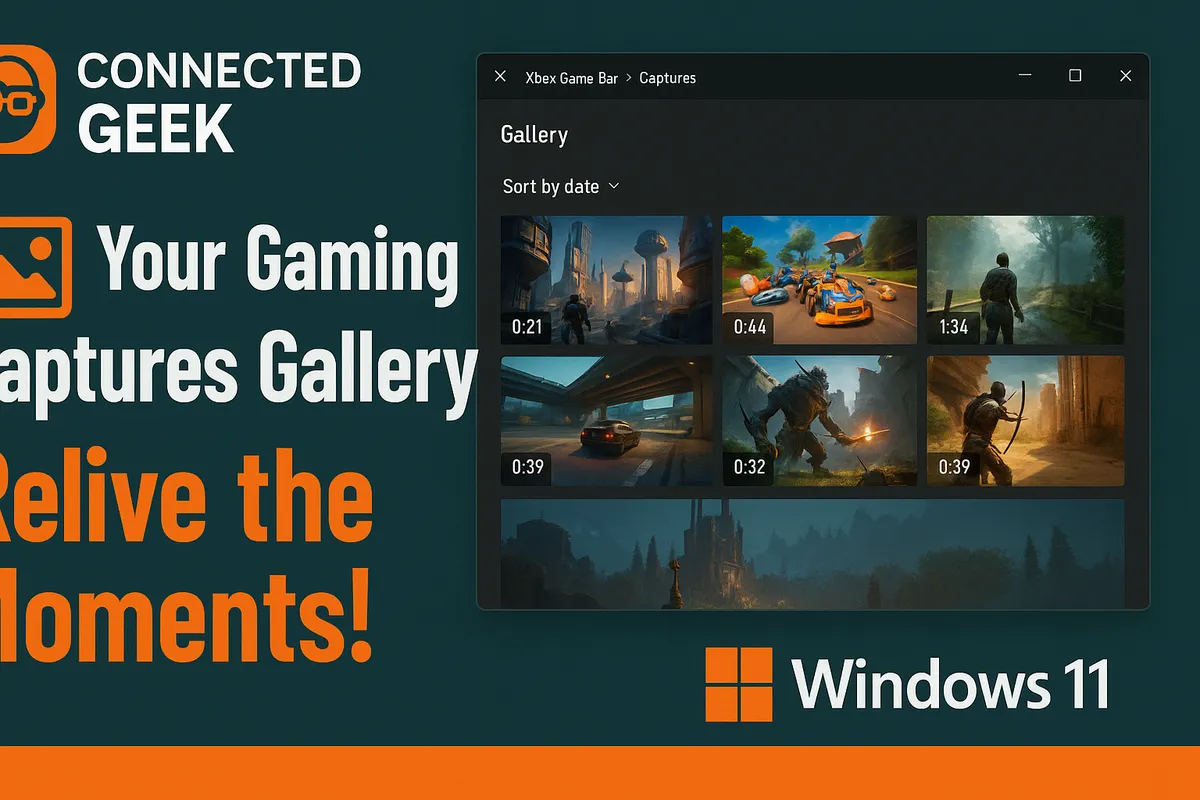
You don’t even have to leave your game to check your recordings. Hit Win + G to open the Xbox Game Bar overlay. It looks like a mini control center for your PC gaming life. Among the widgets floating around, look for the one called Gallery. If you don’t see it, click the widget menu icon and enable Gallery from the list.
The Game Bar Gallery is basically a quick-access window into that Captures folder. From here, you can preview your clips instantly without tabbing all the way out to the desktop. Just click a recording thumbnail and hit play. It’s perfect for checking if that last clip actually captured the full play or cut off your victory pose at the end. We’ve all been there.
You can also rename clips directly inside the Gallery. This is where you level up from “random timestamp files” to “actual content library.” Click the three dots on a clip, choose the rename option, and give it a title that means something to you, like “Valorant_ace_on_Haven” or “EldenRing_dragon_fail_take3”. Future you will thank you when you’re hunting for that one perfect moment to post.
Step 3: Share Clips Straight from File Explorer
Once you’ve got a clip you’re proud of, it’s time to unleash it on the world—or at least your group chat. Head back to that Videos → Captures folder in File Explorer. Find the clip you want to share, then right‑click it. This is your gateway to glory.
From the right‑click menu, you’ve got options. You can hit Share to open Windows’ built‑in sharing panel, which lets you send the clip via apps like Mail or nearby sharing. Or you can copy it, drop it into Discord, upload it to your platform of choice, or even zip a bunch of clips and send them as a highlight pack. The key thing: everything starts from that simple right‑click. No complicated export steps, no extra software—just grab, share, done.
Step 4: Create Subfolders for Each Game (Stay Sane, Stay Organised)
If you play more than one game—and let’s be real, you definitely do—your Captures folder can start to look like a digital junk drawer. Different titles, different days, random experiments; it piles up fast. The fix is simple but powerful: create subfolders for each game inside Captures and sort your clips like a true content creator.
In Videos → Captures, right‑click an empty space, choose New → Folder, and name it after a game: “Fortnite”, “Rocket League”, “Starfield”—whatever you’re grinding. Then drag and drop the matching clips into each folder. You can even go full organiser mode and add subfolders like “Ranked”, “Funny Moments”, or “Montage Material”. Suddenly, instead of scrolling forever, you’ve got a clean library where you can jump straight to the vibe you want.
The best part is that Windows doesn’t mind at all. The Game Bar Gallery still reads from the Captures folder, including your subfolders, so your clips remain accessible from both the overlay and File Explorer. It’s like giving your highlight reel actual shelves instead of just dumping it all on the floor.
Step 5: Move Captures to a Faster Drive for Smoother Recording
Here’s a pro‑level tweak that can seriously help if you’re recording a lot: move your Captures folder to a faster drive. If you’ve got Windows installed on a smaller SSD and your clips are eating space, or you’ve added a speedy secondary drive just for games and media, this is where it pays off.
Open Settings in Windows 11, then head to Gaming → Captures. Here you’ll see your recording options, including where clips are being saved. You can change the capture location so future recordings go to a different drive or folder—ideally something fast, like an SSD, to help keep recording smooth while your game is running. Point it to a new Captures folder on that drive, and Windows will treat that as the new highlight HQ from now on.
This little move does two things: it frees up space on your main drive and can help reduce stutters if your old drive was struggling. More room for long sessions, fewer worries about filling up your C: drive, and your clips live on the drive that’s built to handle them. Very content‑creator‑core.
Wrap‑Up: Turn Highlights into a Habit, Not a Hassle
With Windows 11, you’ve already got a surprisingly solid clip workflow built in: recordings land neatly in Videos → Captures, auto‑named with the game and timestamp, the Game Bar Gallery lets you preview and rename on the fly, File Explorer right‑click makes sharing effortless, subfolders keep every game in its lane, and moving the Captures folder via Settings → Gaming → Captures lets you optimise for speed and storage. No extra tools required—just a bit of setup and a habit of tidying as you go.
So next time you pull off something ridiculous in‑game, don’t let it rot in a random folder. Capture it, name it, file it, and share it. Your future montages, your friends, and maybe even your future followers will be very, very glad you did.
