Windows 11 Desktop Icon Size: Resize Icons Instantly with Ctrl + Scroll
Windows 11, Desktop Customization, Accessibility
How to Resize Desktop Icons in Windows 11 (And Why It Matters)
Your Windows 11 desktop should work the way you do. Whether you prefer a clean, minimalist workspace or big, easy-to-see icons, learning how to resize desktop icons gives you quick control over how everything looks and feels. In this guide, you will discover two simple ways to change icon size, understand when each size works best, and learn a handy bonus trick that also makes browsing files in File Explorer much more comfortable.
Why Desktop Icon Size Matters in Everyday Use
Icon size might seem like a small detail, but it affects how quickly and comfortably you can use your computer. If icons are too small, you may squint, click the wrong shortcut, or simply feel strain after a while. If they are too large, your desktop can feel cluttered and cramped, forcing you to scroll or hide icons you could otherwise keep visible. Windows 11 gives you flexibility so you can match your desktop layout to your screen size, eyesight, and working style instead of forcing you into a one-size-fits-all setup.
The good news is that changing icon size in Windows 11 is quick and reversible. You can experiment freely, see what feels right, and switch again later if your needs change. You will learn a menu-based method that is easy to remember and a keyboard-and-mouse shortcut that lets you resize icons in real time until they are exactly the size you want.
Method 1: Change Desktop Icon Size from the Right-Click Menu
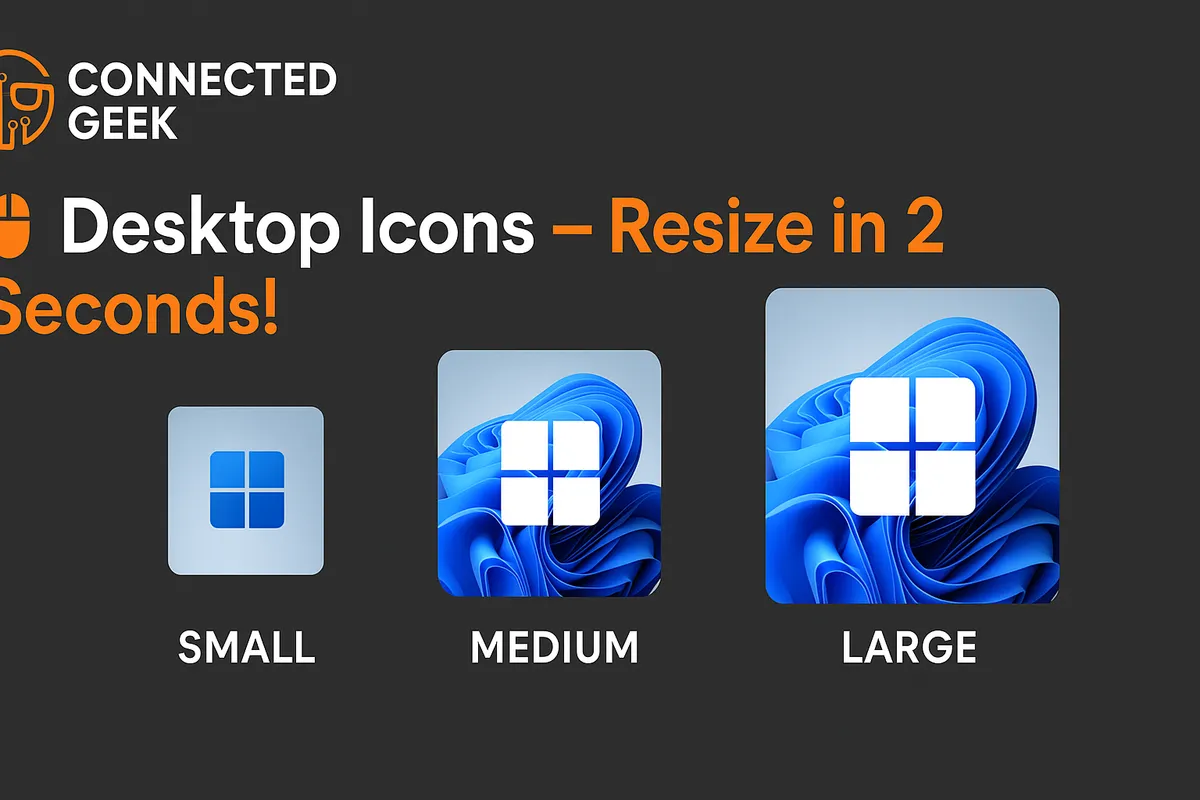
The first method uses a simple right-click menu on the desktop. This is the most straightforward way to resize icons and is perfect if you are still getting comfortable with Windows 11 or prefer clear menu options over shortcuts. It offers three preset sizes: Small, Medium, and Large.
Step-by-step: Right-click → View → Small, Medium, or Large icons
- Go to your desktop and make sure no icons are selected. You can simply click on an empty area of the desktop first to clear any selection.
- Right-click on an empty space on the desktop. A context menu will appear with several options such as View, Sort by, and more.
- Hover your mouse over View. A side menu will open, showing choices like Large icons, Medium icons, and Small icons.
- Click the size you want: Small icons, Medium icons, or Large icons. The desktop icons will immediately change to the new size.
Windows remembers your choice, so the icons will stay at that size until you change them again. If you are not sure which size you prefer, try each one for a few minutes and see how it feels as you open programs and work with files.
Method 2: Resize Icons Live with Ctrl + Mouse Wheel (Real-Time Control)
Once you are comfortable with the basic menu method, you may want more precise control. That is where the Ctrl + mouse wheel shortcut really shines. Instead of being limited to three fixed sizes, you can smoothly scale your icons up or down and watch them change live in real time until they are exactly the size you like.
How to use Ctrl + scroll to resize desktop icons
- Click on an empty area of the desktop to make sure the desktop is the active focus. This tells Windows that the shortcut should apply to the desktop icons rather than to a window or app.
- Hold down the Ctrl key on your keyboard. Keep it pressed while you move the mouse wheel.
- While holding Ctrl, scroll the mouse wheel up to make the icons larger or scroll down to make them smaller. You will see the icons change size instantly as you scroll.
- Release the Ctrl key when you are happy with the size. Windows will keep this new size as your default desktop icon size.
This method is faster than going through the View menu every time, and it gives you many more size options in between Small, Medium, and Large. Many people find that their perfect size is somewhere in the middle, and this shortcut makes it easy to find that sweet spot without guessing.
Choosing the Right Icon Size: Small, Medium, or Large?
Knowing how to change icon size is only half the story. The other half is understanding when each size makes sense. Windows 11 does not enforce one “correct” choice, because it depends heavily on your screen, your eyes, and your habits. Below are practical guidelines to help you pick the size that fits your everyday use.
Small icons: Best for maximum desktop space
Small icons are ideal when you want to fit as much as possible on the desktop. If you keep dozens of shortcuts, folders, and files on your desktop and like to see them all at once, smaller icons make that easier. They reduce clutter by shrinking each icon, so more rows and columns can fit on screen without overlapping or scrolling.
- Great for users who treat the desktop as a “command center” with many shortcuts.
- Helpful on smaller laptop screens where every bit of space counts.
- Useful if you prefer to see more of your wallpaper without large icons blocking it.
Just be sure that you can still comfortably read the icon labels. If you find yourself leaning closer to the screen or mis-clicking frequently, it may be worth moving up to Medium or using the Ctrl + scroll shortcut to find a slightly larger custom size that still saves space.
Medium icons: A balanced choice for everyday use
Medium icons are the default for a reason. They strike a comfortable balance between visibility and space. For most people on standard monitors, Medium icons make text labels easy to read while still leaving room for a reasonable number of shortcuts on the screen. If you are not sure where to start, Medium is usually the safest and most user-friendly choice.
- Ideal for typical office work, web browsing, and general home use.
- Works well on most 1080p and 1440p displays at normal viewing distances.
- A good compromise if multiple people share the same computer and have different preferences.
If Medium feels almost right but not quite, try the Ctrl + scroll method to nudge the size slightly up or down. You might discover a custom size that feels perfect for your particular desk setup and viewing distance.
Large icons: Great for touch screens, 4K displays, and accessibility
Large icons are especially helpful when precision clicking is difficult or when everything on screen looks tiny due to a very high resolution. On a 4K monitor or a small laptop with a dense display, standard icons can appear smaller than you expect. Large icons make them easier to see and select without straining your eyes.
- Excellent for touch screens, where larger targets are easier to tap accurately with a finger.
- Helpful on 4K and other high-resolution displays, where default sizes can appear very small.
- A smart choice for accessibility if you have vision difficulties or simply want to reduce eye strain.
Large icons can also make the desktop feel more welcoming for new or occasional computer users who may be overwhelmed by tiny text and crowded layouts. If you are setting up a computer for a family member who is less comfortable with technology, larger icons can make their experience much less intimidating.
Bonus Tip: Use Ctrl + Scroll in File Explorer for Dynamic Views
The handy Ctrl + mouse wheel trick is not just for the desktop. The same shortcut also works inside File Explorer, where you browse folders and files. This makes it incredibly easy to switch between different view styles, such as large icons, small icons, lists, and detailed views, without digging through menus every time.
How Ctrl + scroll changes views in File Explorer
- Open File Explorer and navigate to any folder that contains files or subfolders. Click once inside the file list area to make sure it is active.
- Hold down the Ctrl key on your keyboard.
- While holding Ctrl, scroll the mouse wheel up or down. As you scroll, File Explorer will cycle through different views: extra large icons, large icons, medium icons, small icons, list, and details. You will see the layout change instantly with each notch of the wheel.
- Release Ctrl when you reach a view that suits what you are doing at the moment.
This is especially useful when you are working with different types of content. For example, you might want large icon previews for photos and videos, but a detailed list with dates and sizes for documents. Instead of clicking the View menu and choosing each time, you can simply hold Ctrl and scroll until the view looks right.
Troubleshooting: When Icon Resizing Does Not Seem to Work
Most of the time, changing icon size is smooth and instant. However, if something does not behave as expected, a few simple checks can help. These suggestions keep things friendly and low-stress, even if you are not a technical user.
- Nothing happens when you use Ctrl + scroll: Make sure you first click on the desktop (for desktop icons) or inside the File Explorer window (for folder views). The shortcut only affects the area that is currently active.
- The mouse wheel does not scroll: Try scrolling in a web browser or another app to confirm the wheel is working. If it does not move anything, you may need to check the mouse connection or batteries.
- Icons look oddly spaced or misaligned: Right-click the desktop, go to View, and make sure Auto arrange icons and Align icons to grid are set the way you prefer. Then use the View size options or Ctrl + scroll again to reset the layout.
If things still feel off, you can always switch back to the default Medium size through the right-click View menu. From there, you can slowly adjust again until the icons look natural on your screen.
Making Windows 11 Feel Like Your Own Workspace
Customizing icon size is a small but powerful way to make Windows 11 feel like it truly belongs to you. By using the right-click View → Small/Medium/Large icons menu, you can quickly pick a size that suits your current needs. With the Ctrl + scroll shortcut, you gain fine-grained control and the ability to see changes happen live in real time, both on the desktop and in File Explorer.
Remember these practical guidelines:
- Choose Small icons when you want maximum desktop space and can still read labels comfortably.
- Stick with Medium icons for balanced, everyday use on most screens.
- Use Large icons for touch screens, 4K displays, or accessibility needs where visibility and ease of clicking are more important than fitting many icons on screen.
- Take advantage of the Ctrl + scroll trick in both the desktop and File Explorer to switch dynamically between icon, list, and detail-style views without hunting through menus.
With these tools, you can shape your Windows 11 desktop and folders to match your eyes, your hardware, and your habits. Do not be afraid to test different sizes and views over a few days. As you fine-tune things, using your computer will feel smoother, less tiring, and more personal—exactly what a good desktop experience should be.
