How to Connect to Wi-Fi in Windows 11 and Auto-Connect Every Time
Windows 11, Wi‑Fi Setup
How to Connect to Wi‑Fi in Windows 11: A Clear Step‑by‑Step Guide
Getting your Windows 11 PC online should feel simple, not stressful. This guide walks you through each step of connecting to Wi‑Fi, from opening the Wi‑Fi panel to choosing the right network profile. Whether you are setting up a new laptop or helping a family member, you can follow along at a calm, steady pace.
Step 1: Open the Wi‑Fi panel from the taskbar
In Windows 11, most network actions start from the taskbar at the bottom of the screen. Look to the right side, near the clock. You will see a group of small icons for sound, battery (on laptops), and network. The network icon might look like a set of curved Wi‑Fi bars or a small globe if you are not connected yet.
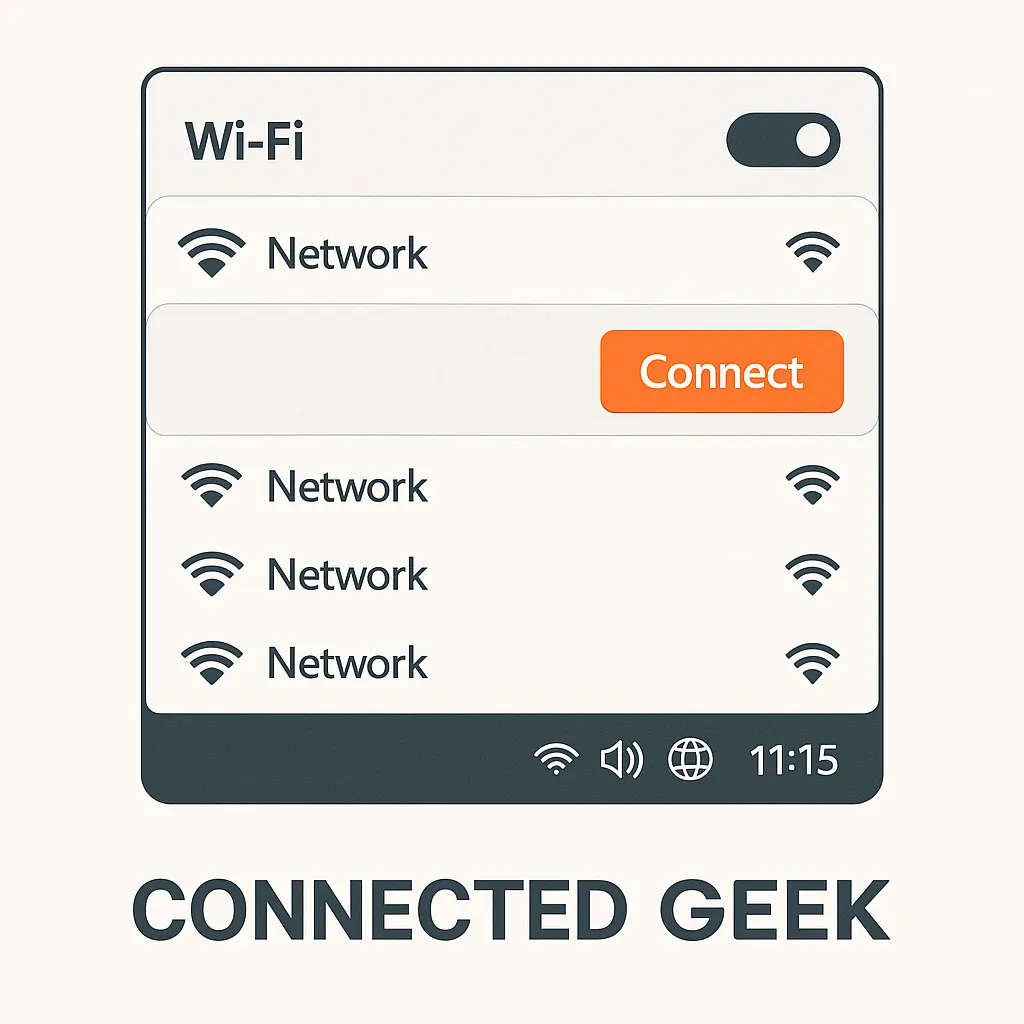
Click once on this network icon. A small panel will slide up showing several quick settings. In this panel, find the Wi‑Fi button. If it is turned off, click it so it becomes highlighted, which means Wi‑Fi is enabled. Then click the small arrow or text next to Wi‑Fi to open the full list of available wireless networks.
Step 2: Select your Wi‑Fi network from the list
After opening the Wi‑Fi list, you will see the names of nearby wireless networks, often called SSIDs. Your home router’s name might be printed on a label on the device, or you may have chosen it when the router was first set up. Scan the list until you find the name that matches your own network. If you are in a public place, such as a café or library, staff can usually tell you which network name to use.
Click the network name once. A small box will expand under it with options. This is where you confirm that this is the network you want and prepare to enter the password if needed. If you see a padlock icon next to the name, the network is secured and will require a password to join, which is normal for most home and office networks.
Step 3: Enter the Wi‑Fi password correctly
Once you have selected your network, click the Connect button. Windows 11 will prompt you to type the network security key, which is simply the Wi‑Fi password. On many routers, this is printed on a sticker labelled “Wi‑Fi password,” “Wireless key,” or “WPA2 key.” In a workplace or public area, you might receive the password from an information sheet or a staff member.
Type the password carefully, paying attention to capital letters, numbers, and any symbols. If you want to double‑check what you typed, click the eye icon in the password box to briefly show the characters. When you are sure it is correct, press Next or hit Enter on your keyboard. Windows will attempt to connect and, if the password is right, you should be online within a few seconds.
Step 4: Tick “Connect automatically” for future convenience
Before you click Connect, you will notice a small checkbox labelled Connect automatically. Turning this on tells Windows 11 to remember the network and reconnect to it whenever it is in range. This is useful for your main home or work Wi‑Fi so that you do not have to repeat the setup every time you start your computer or wake it from sleep.
For networks you use only once, such as a hotel network, you may prefer to leave this box unticked. That way, your computer will not try to connect automatically later, which keeps your list of trusted networks more manageable and slightly improves security.
Step 5: Manage and forget saved networks in Settings
Over time, your PC may remember many different Wi‑Fi networks. If you want to tidy this list, remove old ones, or fix connection issues, you can manage saved networks in the Settings app. Click the Start button, choose Settings, then go to Network & internet, and select Wi‑Fi. From there, click Manage known networks.
You will see a list of all Wi‑Fi networks your PC remembers. To remove one, click its name and choose Forget. Forgetting a network deletes the stored password and settings for that network. Next time you want to use it, you will need to select it from the Wi‑Fi panel and enter the password again. This is helpful when a network’s password changes or if you no longer want your device to connect there at all.
Step 6: Connect to a hidden Wi‑Fi network by entering the SSID
Some Wi‑Fi networks are “hidden,” which means they do not broadcast their name in the usual list. You can still connect, but you must type the exact network name, called the SSID, yourself. To do this, open Settings > Network & internet > Wi‑Fi, then choose Manage known networks and click Add network.
In the window that appears, type the SSID exactly as given by your router or network administrator. Select the correct security type (for most modern home networks, this is usually WPA2‑Personal or WPA3‑Personal), then enter the Wi‑Fi password. If you plan to use this hidden network regularly, you can tick Connect automatically here as well. When you click Save, Windows will try to connect using the information you entered.
Step 7: Understand public vs private network profiles
When you first connect to a new Wi‑Fi network, Windows 11 may ask whether you want your PC to be discoverable on the network. This choice controls whether the network is treated as public or private. A private network is one you trust, such as your home or small office. On a private network, Windows can allow features like file and printer sharing, and other devices on the same network may be able to see your PC if you enable those options.
A public network is one you do not fully trust, such as Wi‑Fi in cafés, airports, hotels, or other shared spaces. On a public network, Windows tightens security by blocking most sharing features and making your PC less visible to others. As a simple rule, choose Private only for networks you control or know well, and choose Public everywhere else.
If you need to change this later, go to Settings > Network & internet, click Wi‑Fi, then click the network you are connected to. Under Network profile type, switch between Public and Private as needed. For example, you might set your home Wi‑Fi to private so your devices can share files, and set a hotel network to public for better protection.
Bringing it all together
Connecting to Wi‑Fi in Windows 11 becomes straightforward once you know the steps: open the Wi‑Fi panel from the taskbar, select the right network, enter the password carefully, and decide whether to connect automatically. From there, you can manage saved networks, add hidden ones by entering the SSID, and choose between public and private profiles to balance convenience and security. With these basics in place, your Windows 11 PC should stay connected reliably wherever you go.
