Windows 11 Bluetooth & Devices Settings: Everything You Can Do from One Page
Windows 11, Bluetooth & Devices
Windows 11 Bluetooth & Devices: Your Central Command Hub
In Windows 11, the Bluetooth & devices page is your central command hub for everything wireless and peripheral-related. Instead of hunting through multiple menus, you can toggle Bluetooth, review connected gear, manage each device, and even jump straight into printer and scanner settings from one place. This guide walks through the key sections and options in a practical, step-by-step way so you can quickly configure and troubleshoot your everyday devices.
Getting to the Bluetooth & Devices Command Center
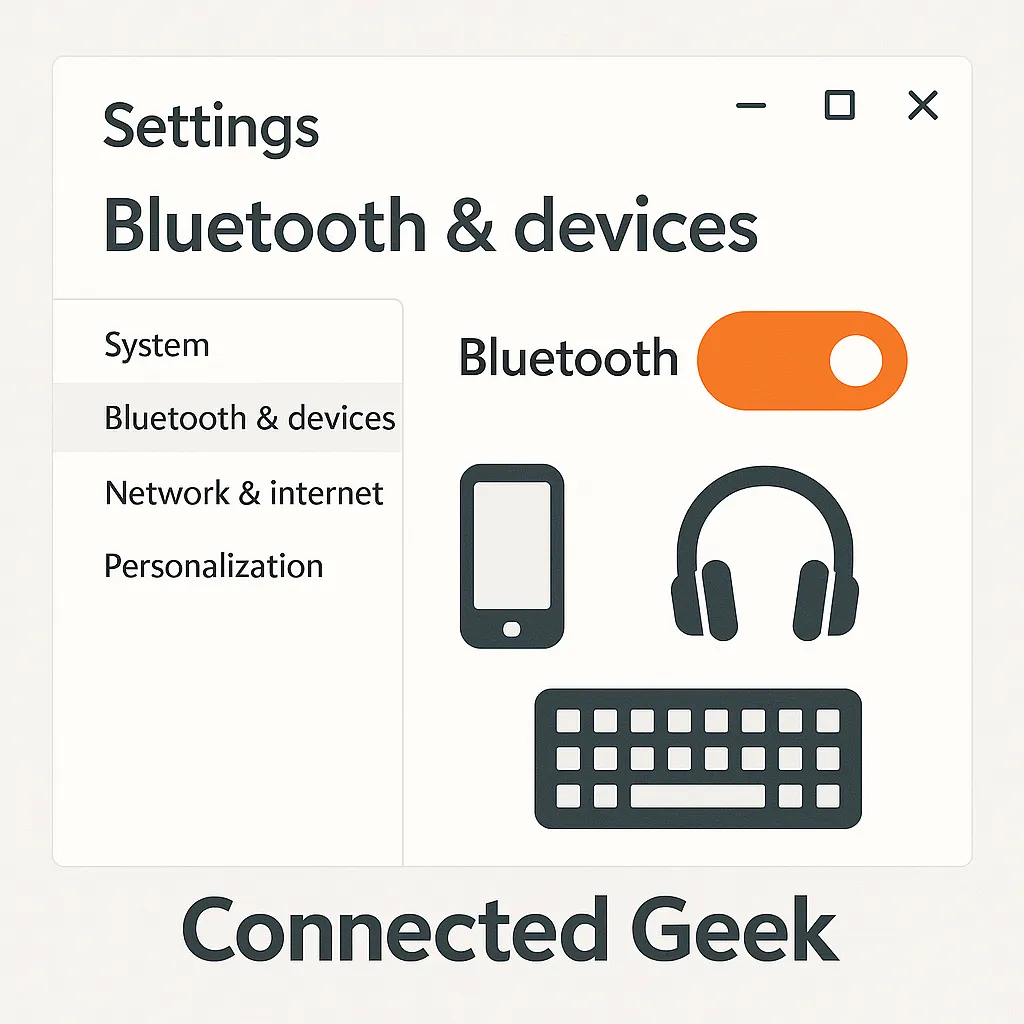
To open the page, select Start > Settings, then choose Bluetooth & devices from the left-hand sidebar. This brings up a dashboard-style view. At the top, you see the main Bluetooth switch and a summary of your most recent or frequently used devices. Below, tiles lead to related areas like Printers & scanners, Mouse, and more. Think of this screen as the launchpad for controlling how your PC talks to headphones, keyboards, phones, and accessories.
Toggling Bluetooth On and Off Quickly
The most important control on this page is the Bluetooth toggle near the top. When the switch is set to On, your PC’s Bluetooth radio is active and ready to connect or pair with nearby devices. When it is set to Off, all Bluetooth connections are disabled and your computer will not search for or talk to wireless accessories. If you are troubleshooting connection issues, turning Bluetooth off, waiting a few seconds, and then turning it back on is a simple but effective first step. For laptops, switching it off when you do not need it can also help conserve battery life, especially during travel or long meetings.
Viewing Paired Devices, Status, and Battery Levels
Just below the toggle, Windows 11 lists your paired devices. Each entry typically shows the device name, its category (for example, audio, keyboard, pen, or phone), and a connection status such as Connected, Paired, or Not connected. This makes it easy to confirm whether your headphones are actually connected to the PC or still paired to a different device like your phone. Many modern accessories also report their battery level to Windows. When supported, you will see a percentage indicator or a small battery icon next to the device. This is particularly useful for wireless mice, keyboards, and earbuds, allowing you to recharge or swap batteries before they die in the middle of a call or presentation.
Managing Individual Devices: Disconnect, Remove, Rename, Properties
Each device in the list has its own set of controls. Selecting a device opens a detail view or context menu where you can manage how it interacts with your PC. The most commonly used controls are:
- Disconnect: Temporarily breaks the active connection without unpairing the device. Use this when you want to keep the device remembered but stop using it for the moment, such as disconnecting Bluetooth speakers so that audio returns to your laptop’s built-in speakers.
- Remove device: Completely unpairs the accessory from Windows. This is helpful when you no longer use a device, are giving it to someone else, or need to reset a problematic connection and pair from scratch.
- Rename: Lets you give the device a clearer label, such as changing a generic name like “Headphones” to “Office Headset” or “Living Room Speaker”. Renaming is especially useful if you manage several similar devices and need to identify the right one at a glance.
- Properties: Opens a more detailed panel. Here you may see additional information like device type, manufacturer, connection options, and permissions. For some accessories, this is where you confirm whether the device can be used for audio, input, or both.
Treat this area as your maintenance station. When something does not behave as expected, checking the device’s status, renaming it for clarity, or removing and re-adding it often resolves confusion and connection problems.
Swift Pair: Instant Pop-Ups for Nearby Devices
Windows 11 includes Swift Pair, a feature that speeds up pairing certain Bluetooth devices. When Swift Pair is enabled and a compatible accessory is put into pairing mode near your PC, Windows displays a notification pop-up prompting you to connect. Instead of manually opening Settings and scanning for devices, you can simply click the notification to start pairing. This is particularly convenient for Microsoft-branded accessories and other supported hardware. The option to turn Swift Pair on or off is available within the Bluetooth & devices page, usually under additional settings. If you prefer fewer pop-ups, disable it; if you like quick, guided pairing, keep it enabled as your fast lane for new accessories.
Adding New Devices from the Same Central Screen
When you are ready to connect something new, stay on the same command page. Click Add device near the top of the Bluetooth & devices screen. Windows opens a dialog that lets you choose the type of device you want to add, such as Bluetooth, Wireless display or dock, or other categories. For standard Bluetooth accessories, select the Bluetooth option and make sure the device is in pairing mode. Windows scans for nearby hardware and lists anything it finds. Selecting the correct entry starts the pairing process, and in most cases you only need to confirm the connection or enter a short PIN. When the process completes, the new device appears in your main list with its status and, where available, battery level. Because everything is initiated from this one page, you do not need to jump between different tools to expand your setup.
Accessing Printers & Scanners from Bluetooth & Devices
The Bluetooth & devices page is not limited to audio or input hardware. It also acts as a gateway to other device categories, including Printers & scanners. From the main view, you will see a tile or entry labeled Printers & scanners. Selecting it opens a dedicated section where you can add new printers, set a default printer, manage existing ones, or run troubleshooting tools. Having this entry on the same central screen is practical when you are setting up a new workspace: you can pair your mouse and keyboard, connect your headset, and then immediately configure your office printer, all starting from the same Settings area. For Bluetooth-capable printers, this workflow keeps everything aligned, but even for networked or USB printers, the path begins in Bluetooth & devices.
Using Bluetooth & Devices as Your Daily Control Panel
In everyday use, treat the Windows 11 Bluetooth & devices page as your control panel for anything that connects to your PC. Toggle Bluetooth on or off as needed, scan the list to confirm what is connected, watch battery levels before important calls, and use the device management options to keep your list organized and accurate. Rely on Swift Pair for quick setup when compatible accessories are nearby, and use the Add device button when bringing new hardware into your environment. Finally, remember that printers and scanners are just a click away from the same screen, reinforcing the idea that this area is the central command for your Windows 11 hardware ecosystem.
