How to Use Virtual Desktops in Windows 11 (Win+Tab)
Windows 11, Virtual Desktops, Multitasking
Multiple Desktops, Multiple Lives: Master Virtual Desktops in Windows 11
If your Windows 11 desktop is constantly buried under overlapping windows, apps, and browser tabs, you are not alone. The good news is that Virtual Desktops can give you the feeling of having several computers in one, neatly separating work, personal life, and play. As we say at ConnectedGeek, “Multiple desktops = multiple lives!”—and Windows 11 makes this surprisingly simple to set up.
Step 1: Open Task View with Win+Tab or the Taskbar Button
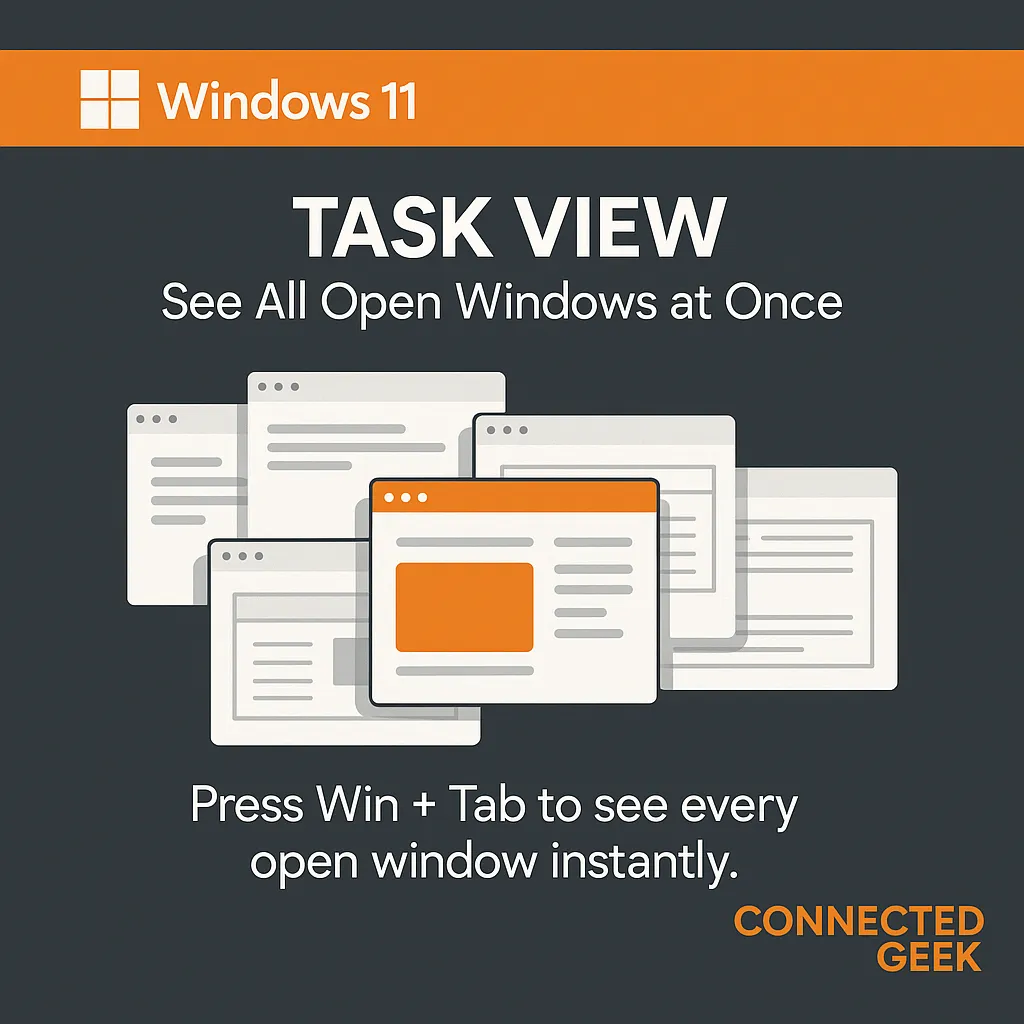
Everything starts with Task View, the command center for your Virtual Desktops in Windows 11. To open it, you have two easy options. First, you can press Win+Tab on your keyboard. This instantly zooms out to show all your open windows and desktops. If you prefer using the mouse, simply click the Task View button on the taskbar—it looks like two overlapping rectangles. Either way, you will land in the same multitasking hub where the desktop magic happens.
Step 2: Click “New Desktop” to Create Extra Spaces
Once Task View is open, look along the top or bottom edge of the screen for small desktop thumbnails. On the far side, you will see a plus sign labeled New Desktop. Go ahead and click New Desktop. Instantly, Windows 11 creates a fresh, empty workspace. You can repeat this a couple of times so you end up with three desktops ready to organize your day. This simple step is the foundation of smoother multitasking and a cleaner digital life.
Desktop 1: Your Focused Work Zone
Now that you have multiple desktops, it is time to assign them roles. Start by using Desktop 1 for work. Keep your email, Teams or Zoom, spreadsheets, and documents here. When you are on Desktop 1, you are in “work mode” with no social media distractions peeking out from behind your windows. This clear separation helps you stay focused and makes it easier to mentally clock in and out, even if you are working from home.
Desktop 2: A Calm Space for Personal Life
Next, set Desktop 2 for personal use. This is where you can keep your web browser for shopping, banking, news, and social media, plus apps like Photos or Spotify. By giving your personal tasks their own Virtual Desktop, you avoid cluttering your work view and reduce the temptation to quickly “check one thing” during an important meeting. When you switch to Desktop 2, you know you are officially off the clock and back in your own time.
Desktop 3: Dedicated Gaming and Entertainment
Finally, reserve Desktop 3 for gaming and entertainment. Launch your favorite games, store your game launchers, and keep streaming apps or chat tools here. With a dedicated gaming desktop, your work documents will not get mixed up with your latest RPG or racing title. It also makes it easier to jump into fun mode without closing everything from your workday first—perfect for quick breaks or evening sessions.
Switch Desktops Instantly with Ctrl+Win+Arrow
Of course, Virtual Desktops shine when you can move between them quickly. That is where the keyboard shortcut Ctrl+Win+Arrow comes in. Press Ctrl+Win+Right Arrow to move to the desktop on the right, and Ctrl+Win+Left Arrow to move to the one on the left. With a little practice, you can glide between work, personal, and gaming spaces in seconds, turning Windows 11 into a true multitasking powerhouse.
Try setting up your three-desktop layout today and see how much calmer your screen—and your mind—feel. At ConnectedGeek, we love simple tricks that make everyday technology friendlier, and Virtual Desktops in Windows 11 are one of the best upgrades you can give your multitasking routine.
