How to Search for Files in Windows 11 File Explorer
Windows 11, File Explorer search, Productivity, ConnectedGeek
Stop Scrolling and Start Searching in Windows 11 File Explorer
If you’ve ever spent way too long scrolling through folders trying to find a single document, you’re not alone. The good news is that Windows 11 gives you a powerful, built‑in way to find files quickly using File Explorer search. With just a few clicks and a couple of handy tricks, you can track down almost anything on your PC in seconds—no more endless scrolling required.
Start with the Search Bar at the Top of File Explorer
The magic all starts in one simple place: the search box at the very top of File Explorer. Open File Explorer (you can press Windows key + E), then look toward the upper‑right corner. You’ll see a field labeled Search Quick access, Search This PC, or the name of whatever folder you’re in. That’s your File Explorer search bar.
Instead of scrolling through every file, simply click the search bar at the top of File Explorer and start typing. Windows 11 will immediately begin looking for matches inside the folder (and subfolders) you’re currently viewing. It’s a small habit change that saves a surprising amount of time once you get used to it.
How Windows 11 Finds Your Files: Name, Content, and Metadata
One of the biggest advantages of Windows 11 is how smart its File Explorer search has become. When you type into the search box, Windows 11 searches by filename, content, and metadata—not just the file’s name. That means it can find:
- Filename – For example, typing budget finds files named 2024‑budget.xlsx or budget_notes.docx.
- Content inside files – If you remember a phrase from a document, type it, and Windows can match it even if the file name is different.
- Metadata – Things like author, tags, date, and other details stored with the file also help Windows 11 find what you need.
This three‑layer approach means you don’t have to remember exactly what you named something. As long as you recall a keyword, a project name, or even a snippet of text, File Explorer search can usually track it down for you.
Use Wildcard Search to Narrow Things Down Fast
Sometimes you don’t care about a specific file—you just want to see every file of a certain type. That’s where wildcard search comes in handy. A wildcard is a symbol that stands in for “anything,” and in Windows 11 the most useful one is the asterisk: *.
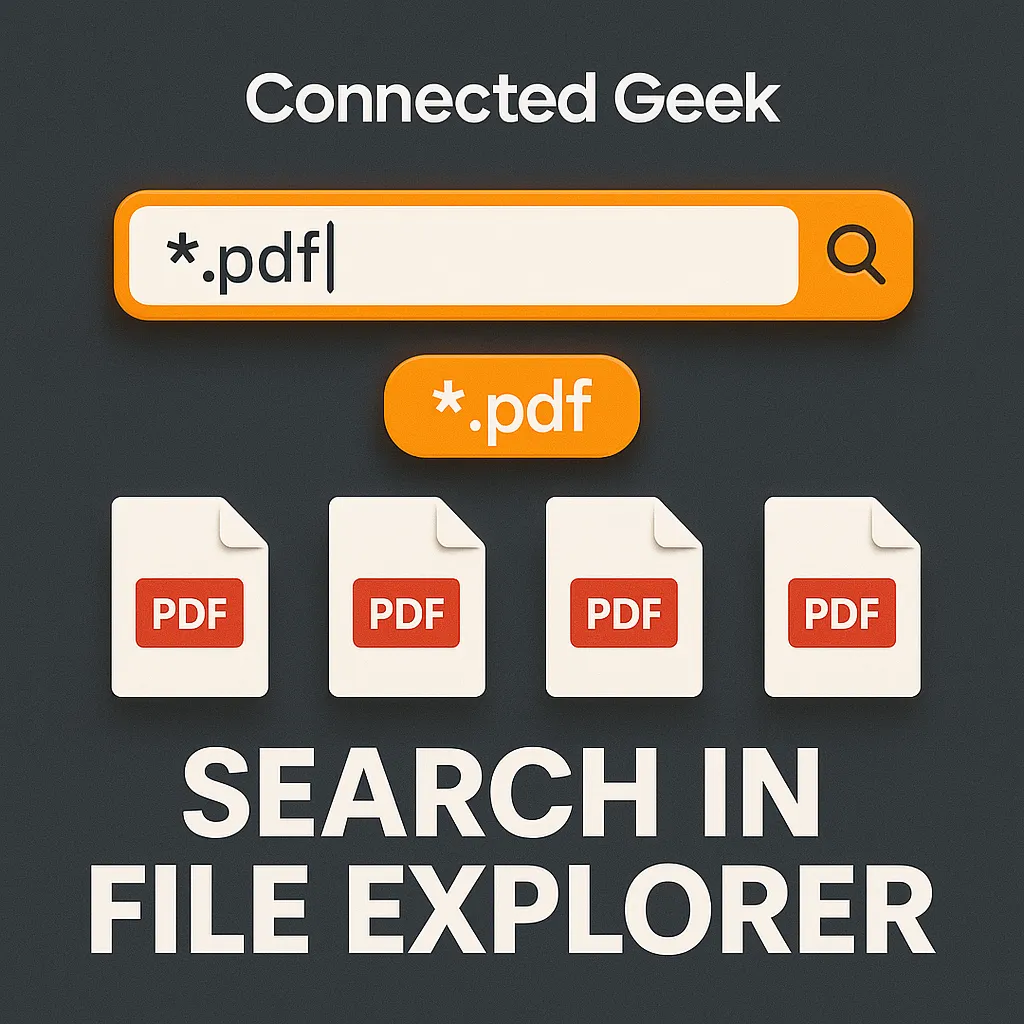
For example, if you want to find files that are all PDFs in the folder you’re in, just click the search bar and type *.pdf. Instantly, File Explorer will show every PDF in that folder and its subfolders. It’s like a filter you can apply on the fly, and it works for other file types too:
- *.docx – all Word documents
- *.xlsx – all Excel spreadsheets
- *.jpg or *.png – all pictures in those formats
That simple *.pdf wildcard search is a ConnectedGeek favorite because it’s so fast and easy. One quick search, and every PDF in view pops up—perfect for grabbing reports, manuals, or tickets without hunting through multiple folders.
Make File Explorer Search a Daily Habit
The next time you open Windows 11 and need a document, resist the urge to scroll. Instead, open File Explorer, click the search bar at the top, and type what you remember—whether that’s part of the name, some text from inside, or a wildcard like *.pdf. With Windows 11 searching by filename, content, and metadata, you’ll spend less time looking and more time actually getting things done.
Once you get comfortable with File Explorer search, you’ll wonder how you ever managed without it. It’s a small change in how you use Windows 11, but it delivers a big boost in everyday productivity—just the kind of simple, smart tweak ConnectedGeek loves to share.
