Pin Accessibility Tools in Windows 11 Quick Settings
Windows 11, Accessibility, Productivity
Pin Accessibility Tools to Quick Settings in Windows 11 for One‑Tap Access
If you regularly use accessibility tools in Windows 11, you don’t want to hunt through menus every time your eyes get tired or you need your screen read aloud. A simple tweak lets you pin the Accessibility shortcut to Quick Settings, so Magnifier, Narrator, Colour Filters, and more are never more than a tap or click away.
Step 1: Open Quick Settings with Win+A
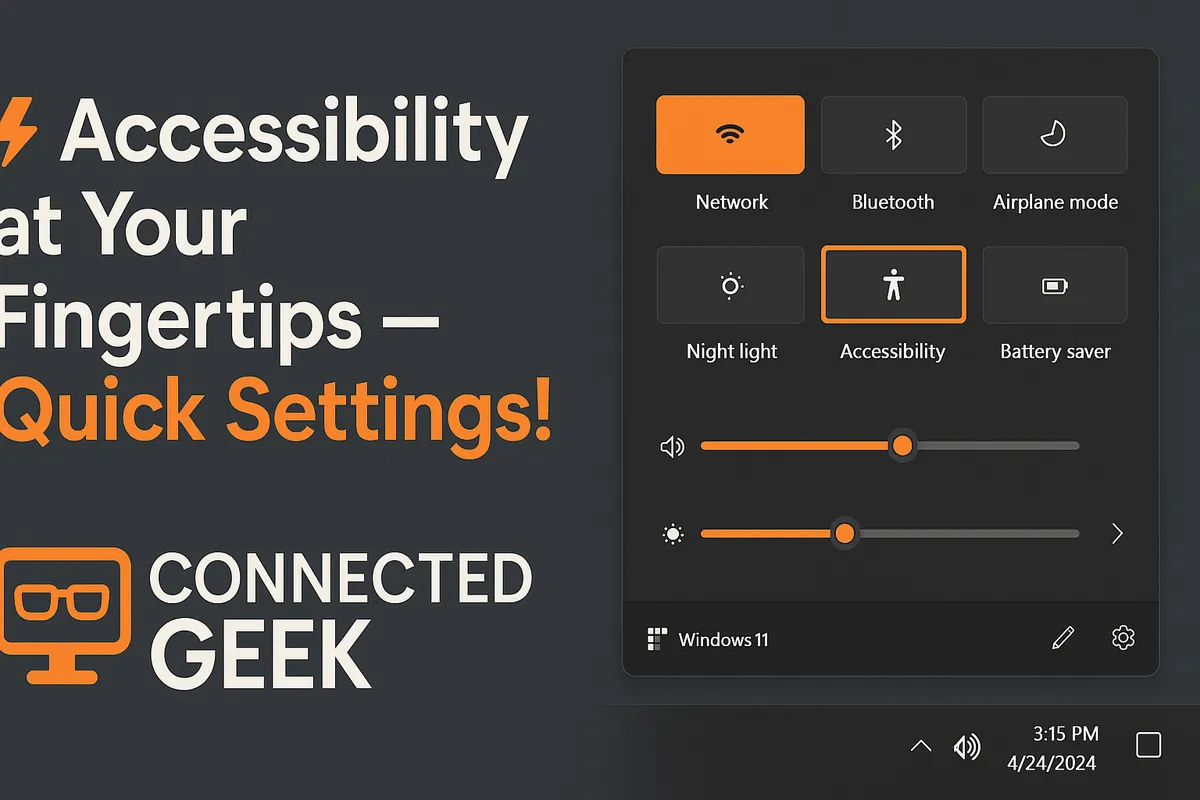
Quick Settings is the small control panel that appears when you click the network, sound, or battery icons on the taskbar. The fastest way to open it, though, is with a keyboard shortcut. Press Windows logo key + A (often written as Win+A) and Quick Settings will slide into view from the bottom-right corner of your screen. Once you get used to pressing Win+A, it becomes second nature, and you can open your favourite controls in an instant.
Step 2: Edit Quick Settings to Pin the Accessibility Shortcut
With Quick Settings open, you can customise which buttons appear. Look for the small Edit quick settings icon, which usually looks like a pencil or the word Edit at the bottom of the panel. Click it, and your existing tiles will show little pins or remove icons, along with an option to Add more.
Next, select Add. A list of available Quick Settings tiles will appear. Scroll until you find the one called Accessibility. Click it once to add it to your Quick Settings layout. When you are happy with the arrangement, choose Done to save your changes. From now on, every time you press Win+A, the Accessibility button will be right there in the panel, ready to tap or click.
Step 3: Enjoy One‑Tap Access to Magnifier, Narrator, Colour Filters, and More
Now the fun part: using that new Accessibility button. Open Quick Settings again with Win+A and click or tap Accessibility. A compact menu will appear with your most useful tools grouped together, so you can turn them on or off in a single step instead of digging through the Settings app.
Need to zoom in on fine print or a tiny button? Turn on Magnifier from this menu and your screen will instantly enlarge, making details easier to see. When you are done, you can switch Magnifier off from the same place just as quickly. It is perfect for reading small text, checking design details, or helping tired eyes at the end of the day.
If you prefer to listen instead of read, tap Narrator in the Accessibility menu. Narrator will start reading what is on your screen out loud, guiding you through apps, buttons, and text. Being able to start Narrator with effectively one tap from Quick Settings makes it much more convenient to use it whenever you need a break from staring at the display.
For anyone with colour vision difficulties, or for those who simply find certain colour combinations more comfortable, the same menu gives you quick control over Colour Filters. With this option, you can apply filters tailored to various types of colour blindness or switch to greyscale to reduce visual clutter. Having Colour Filters only a tap away means you can adjust your view depending on what you are working on, without interrupting your flow.
Best of all, the Accessibility shortcut in Quick Settings is a doorway to many more tools than just those three. Features like high contrast, sticky keys, and other helpful options are all gathered in one friendly place. Instead of opening the full Settings app, navigating to Accessibility, and scrolling through multiple sections, you simply press Win+A, tap Accessibility, and choose what you need. It is a small change that can make Windows 11 feel far more welcoming, especially if you rely on assistive features every day.
