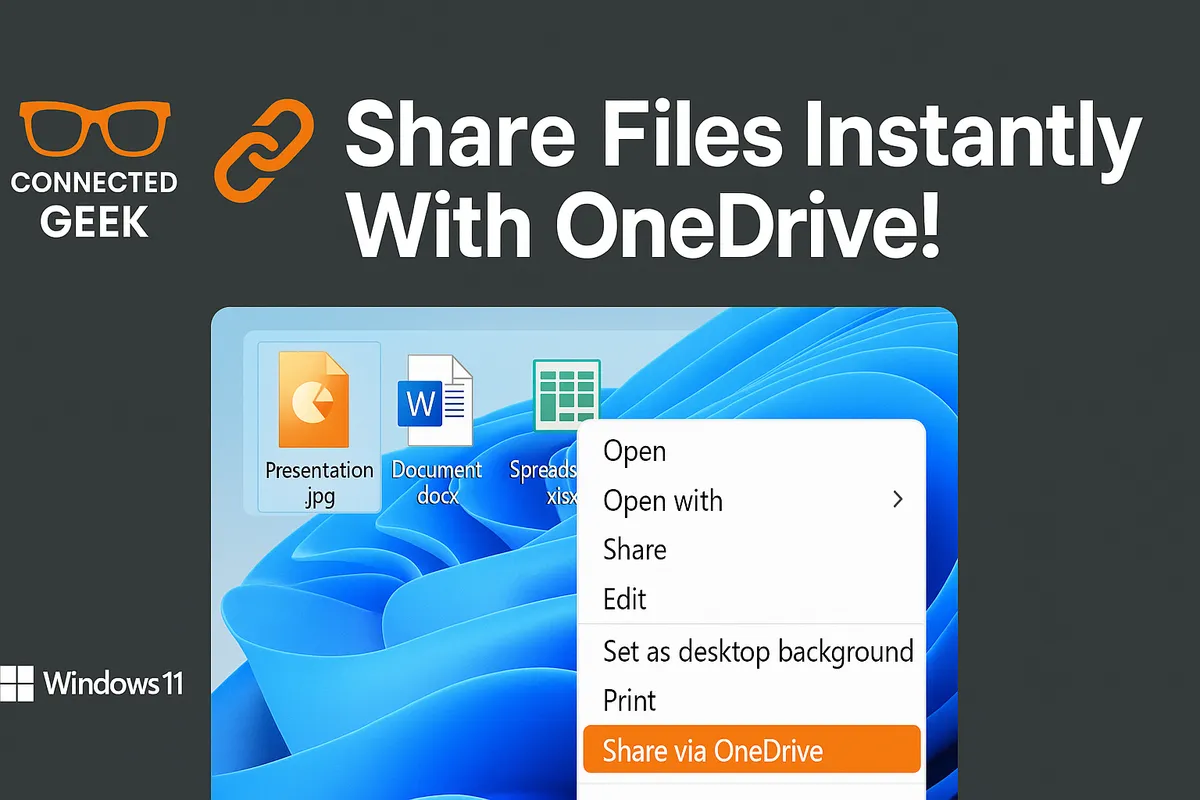
Share Files from OneDrive Without Email Attachments
Productivity, OneDrive, File Sharing
How to Share Files from OneDrive Without Email Attachments in Windows 11
If you regularly send documents, photos, or presentations, switching from traditional email attachments to OneDrive sharing links is one of the simplest ways to work smarter. It keeps file versions under control, avoids size limits, and gives you far better security and flexibility than attachments ever could.
Why Use OneDrive Links Instead of Email Attachments?
Before we get into the how-to steps, it helps to understand why sharing from OneDrive is worth the change. If you are used to dragging a file into Outlook and pressing Send, using a link may feel like an extra step at first. In practice, it saves time and avoids problems later on.
- The recipient always sees the latest version. When you send an attachment, it is a snapshot in time. If you update the file afterwards, everyone still has the old copy. With a OneDrive link, the link always opens the current version stored in your cloud folder. Update the file once; everyone sees the new version automatically.
- No email size limits. Large PowerPoint decks, long videos, or big photo collections regularly hit email attachment limits. OneDrive links avoid this entirely because you are sending a small link, not the actual file. The file stays in the cloud and can be gigabytes in size without causing issues for your email.
- Access can be revoked at any time. Once an attachment leaves your outbox, you have no control over it. With a OneDrive link, you can turn access off later, change permissions, or set an expiry date. This is particularly useful for sensitive documents or temporary collaborations.
- Less clutter and fewer duplicates. Emailing attachments back and forth creates multiple versions: Final, Final2, Final_Reviewed, and so on. A shared OneDrive file becomes one central copy that everyone works from, which keeps your folders and inbox much tidier.
Step 1: Right‑Click the OneDrive File and Use “Share” to Get a Link
The easiest way for everyday Windows 11 users to create a sharing link is directly from File Explorer. You do not need to open a browser or visit onedrive.com for basic sharing.
- Open File Explorer and go to your OneDrive folder in the left-hand pane. This might be labelled “OneDrive – Personal” or “OneDrive – <Your Organisation>” depending on your account type.
- Locate the file or folder you want to share. This could be a Word document, Excel workbook, PowerPoint presentation, PDF, or even an entire folder of files.
- Right‑click the file or folder and choose Share from the context menu. In Windows 11, this opens the OneDrive sharing panel.
From this panel you can either type email addresses to send the link directly, or you can click to copy a link and paste it yourself into an email, Teams chat, or any other app. The key is that you are sharing a link, not attaching the file itself.
Step 2: Choose View‑Only or Editable Permissions
The next practical decision is what people are allowed to do with your file. OneDrive makes this straightforward by letting you choose between view‑only access and editing access for the link you generate.
View‑Only Links: When You Just Want People to Read
View‑only access is ideal for situations where you want to share information but keep full control of the content. Examples include:
- Sending a policy document or handbook to staff
- Sharing a price list or brochure with a customer
- Providing a report that has already been finalised
In the sharing panel, look for an option that describes who can use the link (for example, “Anyone with the link” or “People in your organisation”). Click that line to open the Link settings. There you will see a checkbox such as Allow editing. To create a view‑only link, clear that checkbox so editing is not allowed, then apply the settings and copy the link.
Editable Links: When You Need Collaboration
If you want others to contribute, comment, or update the file, an editable link is more practical. Typical uses include:
- Co‑authoring a Word document or PowerPoint deck with colleagues
- Collecting data in a shared Excel spreadsheet
- Working with a partner organisation on a joint proposal
To allow editing, open the same Link settings panel and make sure Allow editing is turned on. Anyone who opens the link (and meets your access rules) can then make changes, which you will see in real time if you are working in Word, Excel, or PowerPoint on the web or in the desktop apps connected to OneDrive.
Step 3: Add Optional Expiry Dates and Passwords for Extra Security
For many everyday documents, a simple link with basic permissions is enough. However, when you are sharing something sensitive—such as financial information, personal data, or internal plans—it is worth taking advantage of OneDrive’s extra security options: expiry dates and passwords for links.
Setting an Expiry Date for a Link
An expiry date automatically stops a link from working after a certain day. This is perfect for temporary access, such as:
- Sharing a quote that is only valid until the end of the month
- Providing short‑term access to a contractor or consultant
- Making a time‑limited offer or event information available
In the Link settings panel, look for an option labelled something like Set expiration date. Choose the date when you want the link to stop working, save your settings, and then copy and send the link as usual. Once the date is reached, anyone who tries to use the link will no longer have access, without you needing to remember to revoke it manually.
Protecting a Link with a Password
For an extra layer of protection, you can also set a password for some types of OneDrive sharing links. This means that even if someone forwards the link by accident, the file is still protected because the recipient must know the password to open it.
In the same Link settings window, look for a Password option. Enter a strong but memorable password, confirm your settings, and then send the link. Share the password separately—ideally via a different channel, such as a quick phone call or a separate message—so that both the link and the password are not stored in the same place.
Step 4: Decide Who Can Access the Link
OneDrive gives you control over who is allowed to use your link. This is more precise than simply attaching a file, where anyone who receives the email can forward it freely. In the Link settings panel, you will typically see options like the following (wording can vary slightly depending on your account type):
1. Anyone with the Link
This is the most open option. Anyone who gets the link—whether you send it to them directly or it is forwarded—can access the file (subject to any password or expiry date you set). It is practical for low‑risk content such as marketing materials, flyers, or public information where you are not concerned about strict control.
2. People in Your Organisation
If you have a work or school account, you will usually see an option like People in <Your Organisation> with the link. This restricts access to people who sign in with an account from your organisation. It is a practical default for internal documents where you do not want the link to work for external contacts but still want colleagues to access it easily.
3. Specific People
For the tightest control, choose Specific people. With this setting, you specify exactly who can use the link by entering their email addresses. The link will not work for anyone else, even if it is forwarded. This is particularly useful for:
- Sharing confidential documents with a small group of named colleagues
- Sending personal information (such as HR forms) to a single recipient
- Collaborating with specific external partners where you must limit who can see the content
Why Sharing Links Beats Email Attachments in Everyday Work
We have already touched on the benefits, but it is worth summarising how these features add up in practical day‑to‑day use, especially for Windows 11 and Office users who spend much of their day in Outlook, Word, Excel, and Teams.
- Always‑up‑to‑date content: When you fix a typo, update a figure, or add new information, everyone with the link automatically sees the new version. There is no need to resend updated attachments or track who has which copy.
- Fewer inbox problems: Large attachments clog inboxes and can trigger storage warnings or bounce‑backs. Links keep emails light and reduce the load on both your mailbox and your recipient’s.
- Better control and security: With attachments, your only real option after sending is to ask someone to delete the file. With OneDrive links, you can change permissions, add a password, or revoke access entirely, even after the email has been read.
- Smoother collaboration: Multiple people can work on the same file at the same time. Office apps highlight who is editing which part, and you avoid the messy process of merging changes from several different attachments.
Over time, these advantages add up to less time spent hunting for the “right” version of a document, fewer email headaches, and more confidence that your files are being shared appropriately.
Step 5: Manage or Revoke Links Later from OneDrive.com
A major advantage of OneDrive links over traditional attachments is that you can change your mind later. If a project ends, a contract is signed, or you simply shared the wrong file, you can manage or revoke existing links from the OneDrive website without touching the original email.
Opening the File’s Sharing Settings on OneDrive.com
- Go to onedrive.com in your browser and sign in with the same Microsoft account you use on your Windows 11 PC (personal, work, or school).
- Navigate to the folder that contains the file or folder you previously shared.
- Select the file and look for the Information icon (often an “i” in a circle) or a Manage access option in the toolbar or context menu. Click it to open the access details.
Viewing and Adjusting Existing Links
In the Manage access panel, you will see a list of the links that currently provide access to the file, along with any individuals or groups who have direct access. From here, you can:
- Change link permissions (for example, switch from edit to view‑only)
- Update expiry dates or passwords if you need to extend or tighten access
- Remove specific people who no longer need access, while leaving others unchanged
Revoking a Link Completely
If you want to make a link stop working altogether, look for an option such as Remove link or an “X” icon next to the link in the Manage access panel. Once you remove a link:
- Anyone who tries to use that link will no longer be able to open the file
- The original email or chat message still exists, but the link inside it is effectively disabled
Putting It All Together: A Simple Workflow for Everyday Use
To make OneDrive link sharing part of your normal routine, you do not need to memorise every option. Instead, follow a short checklist each time you share a file:
- Save the file in OneDrive rather than on your desktop or local Documents folder.
- Right‑click → Share in File Explorer (or use the Share button inside Word, Excel, or PowerPoint).
- In Link settings, choose: who can access (Anyone, Organisation, or Specific people), whether they can edit, and whether you need an expiry date or password.
- Copy the link and paste it into your email, Teams chat, or document instead of attaching the file.
- If circumstances change, visit onedrive.com, open Manage access for the file, and adjust or revoke the link.
Conclusion: Small Habit Change, Big Productivity Gain
Moving from email attachments to OneDrive sharing links is a small habit change with a big practical payoff. You get cleaner inboxes, fewer version‑control headaches, and better control over who can see and edit your files. For Windows 11 and Office users who already have OneDrive built in, the tools are ready and waiting—you simply need to start right‑clicking and choosing Share instead of attaching.
Next time you are about to attach a file to an email, pause for a moment. Save it to OneDrive, create a link with the right permissions, and send that instead. After a few days, you will likely find this approach not only more secure, but also more convenient for you and the people you work with.
