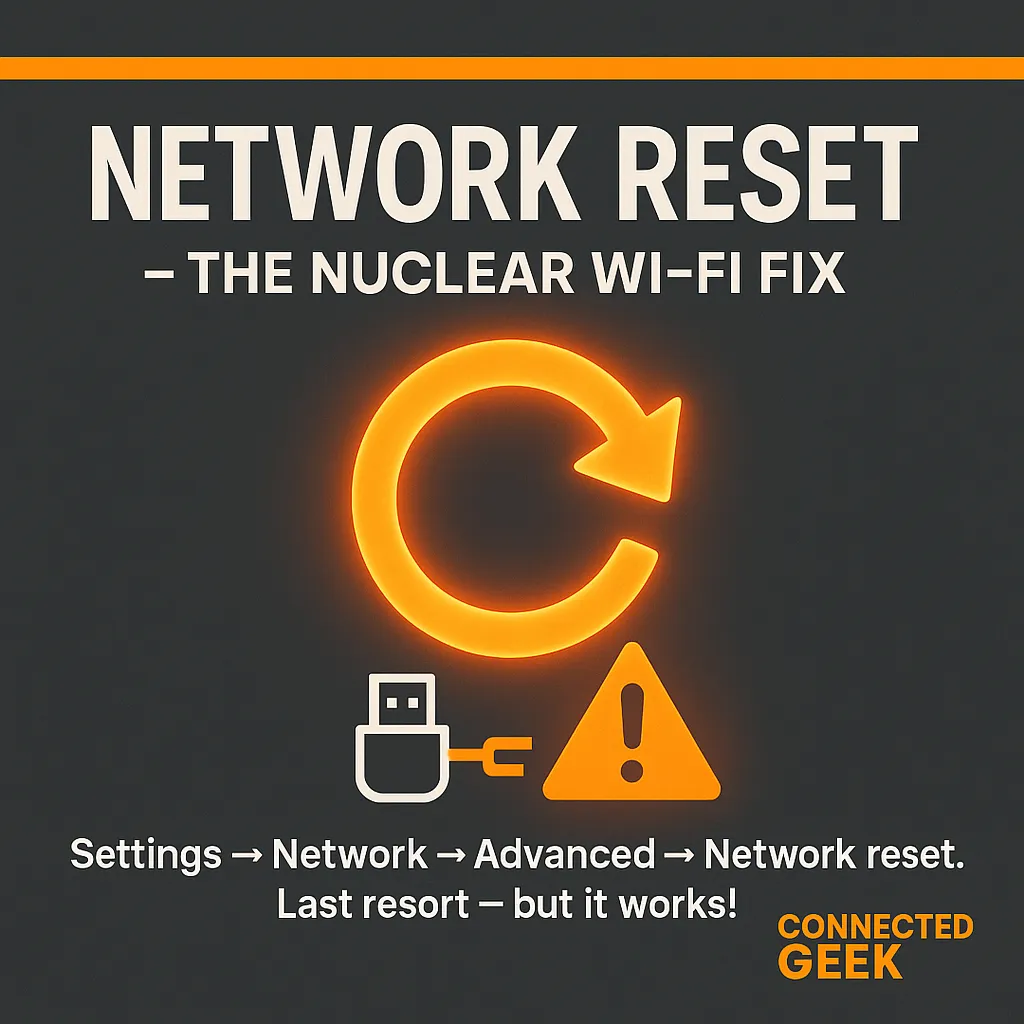
Network Reset in Windows 11: Troubleshooting Guide
Windows 11, Network Troubleshooting
How to Do a Network Reset in Windows 11 (and When You Actually Should)
If your Windows 11 PC keeps dropping Wi‑Fi, refuses to see your network, or stubbornly says “No internet” while everything else in your home is online, a Network Reset can sometimes feel like a magic fix. It’s not the first step you should take, but when simpler tricks fail, this built‑in tool can give your network settings a clean slate and help you get back online.
What a Network Reset in Windows 11 Actually Does
A Network Reset is like hitting the “factory reset” button for your network configuration. When you run it, Windows 11 will:
- Reinstall all your network adapters (Wi‑Fi, Ethernet, and virtual adapters). Windows removes and then adds them back as if they were brand‑new devices.
- Reset all networking components to their default settings. That includes things like your TCP/IP stack, firewall rules related to networking, and other low‑level options you may not even know you changed.
After the reset and a required restart, Windows rebuilds your network configuration from scratch. This often clears out corrupt settings, conflicting drivers, or stubborn glitches that ordinary restarts and troubleshooting tools can’t fix.
How to Navigate to Network Reset in Windows 11
Getting to the Network Reset option is straightforward once you know where to look. Just follow these steps:
- Click the Start button and choose Settings, or press
Windows key + Ion your keyboard. - In the left‑hand menu, click Network & internet.
- Scroll down and select Advanced network settings.
- Under More settings, click Network reset.
On the Network reset page, you’ll see a short explanation of what will happen. When you’re ready, click Reset now, confirm your choice, and Windows will schedule a restart to complete the process.
Important Warning: You’ll Need Your Wi‑Fi Passwords Again
Before you click that reset button, there’s one big thing to keep in mind: Windows 11 will forget all your saved Wi‑Fi networks. That means every wireless network you’ve connected to on this PC will be removed, along with its stored password.
After the restart, you’ll need to reconnect to your Wi‑Fi by choosing your network name and entering the password again. If you don’t know your password, make sure you find it on your router, in your ISP paperwork, or from another device that remembers it before you reset. This small bit of preparation can save you a lot of frustration later.
When Should You Use Network Reset?
Because Network Reset is so thorough, it’s best treated as a last resort, not your first move. Try simpler fixes first: restarting your PC and router, running the built‑in Network troubleshooter, or updating your network drivers. If those don’t help and you’re still dealing with persistent connection issues, Network Reset is a sensible next step.
Consider using it when:
- Your PC can’t connect to any network, even though other devices can.
- You’ve tried driver updates and restarts, but the problem keeps coming back.
- Your network settings have become messy after VPNs, virtual adapters, or multiple tweaks over time.
Used thoughtfully, Network Reset in Windows 11 is a powerful way to wipe out stubborn network problems and start fresh—with just a few clicks and a quick restart.
SEO Title: How to Do a Network Reset in Windows 11 (Step‑by‑Step Guide)
Meta Description: Learn how to use Network Reset in Windows 11, what it does, when to use it as a last resort for connection issues, and why you’ll need your Wi‑Fi passwords afterward.
