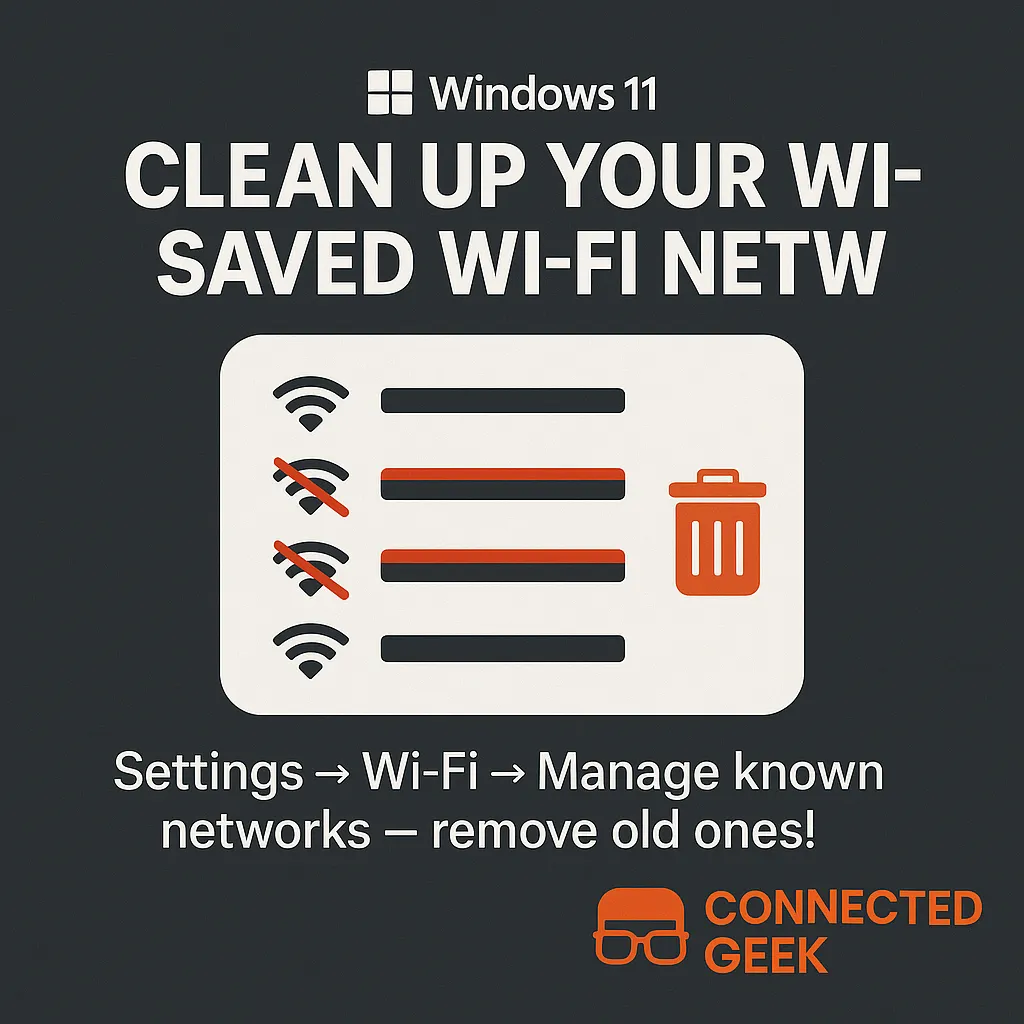
Forget Old Wi-Fi Networks in Windows 11 Easily
Windows 11, Wi‑Fi Troubleshooting
How to Forget Old Wi‑Fi Networks in Windows 11 for Smoother Connections
If your Windows 11 laptop keeps clinging to the wrong Wi‑Fi or struggles to stay connected, the problem might be a long list of old, saved networks. The good news is that tidying up this list only takes a few minutes and can make your everyday browsing feel noticeably smoother.
Why Too Many Saved Wi‑Fi Networks Cause Problems
Every time you connect to a new Wi‑Fi network and tick “connect automatically,” Windows quietly adds it to a list of known networks. Over time, this list grows with hotel Wi‑Fi, cafes, friends’ houses, and old routers you no longer own. While this seems harmless, it can create a few headaches:
- Auto‑connect confusion: Windows may try to connect to a weaker or outdated network instead of the strong one right beside you, slowing things down or failing to connect at all.
- Network conflicts: If different places reuse similar network names (like “Guest” or “Office”), your PC can attempt to auto‑connect to the wrong one, leading to dropped connections or repeated password prompts.
- Slower connection decisions: With a crowded list, Windows has more options to check before settling on a network, which can delay how quickly you get online after waking your device.
By removing networks you no longer use, you help Windows focus on the connections that really matter, reducing conflicts and making auto‑connect more reliable.
How to Reach “Manage Known Networks” in Windows 11
Cleaning up old Wi‑Fi entries starts in the Settings app. Follow these friendly, step‑by‑step instructions:
- Click the Start button and choose Settings, or press Windows key + I on your keyboard to open Settings directly.
- In the left‑hand menu, select Network & internet. This is where Windows 11 keeps all your connection options in one place.
- Click Wi‑Fi in the main panel. You will see options related to your wireless connections.
- Choose Manage known networks. This opens the full list of Wi‑Fi networks your PC remembers, including ones you may not have visited in years.
Once you are on this screen, you are in the perfect spot to clean up old entries and fine‑tune how your computer connects.
Removing Old Wi‑Fi Networks You No Longer Use
Now for the satisfying part: trimming the list. Take a moment to scan through the networks shown under Manage known networks. You will probably spot hotels, airports, or old home routers you have not used in ages.
- Click the name of a network you no longer need. A small panel will expand with options for that connection.
- Select Forget. Windows 11 will immediately remove that Wi‑Fi from your known networks list.
- Repeat this for any other networks you do not recognize, no longer visit, or know are tied to an old router or password.
Do not worry: if you ever need one of these networks again, you can simply reconnect and enter the password like you did the first time. For now, you are just helping your PC stay focused on the Wi‑Fi networks that are actually useful day to day.
Enjoy a Cleaner, More Reliable Wi‑Fi Experience
After forgetting old networks, you should notice that Windows 11 connects more consistently to your preferred Wi‑Fi, especially at home and work. Auto‑connect will feel more predictable, and you are less likely to see your device stubbornly hanging on to a weak signal in the background.
As a friendly habit, consider revisiting Settings → Network & internet → Wi‑Fi → Manage known networks every few months. A quick tidy‑up keeps your list lean, your connections smoother, and your Windows 11 experience that little bit less frustrating.
Meta Title: How to Forget Old Wi‑Fi Networks in Windows 11 for Better Performance
Meta Description: Learn how to navigate to Settings → Network & internet → Wi‑Fi → Manage known networks in Windows 11, remove old Wi‑Fi networks, and fix auto‑connect conflicts for smoother, more reliable wireless performance.
