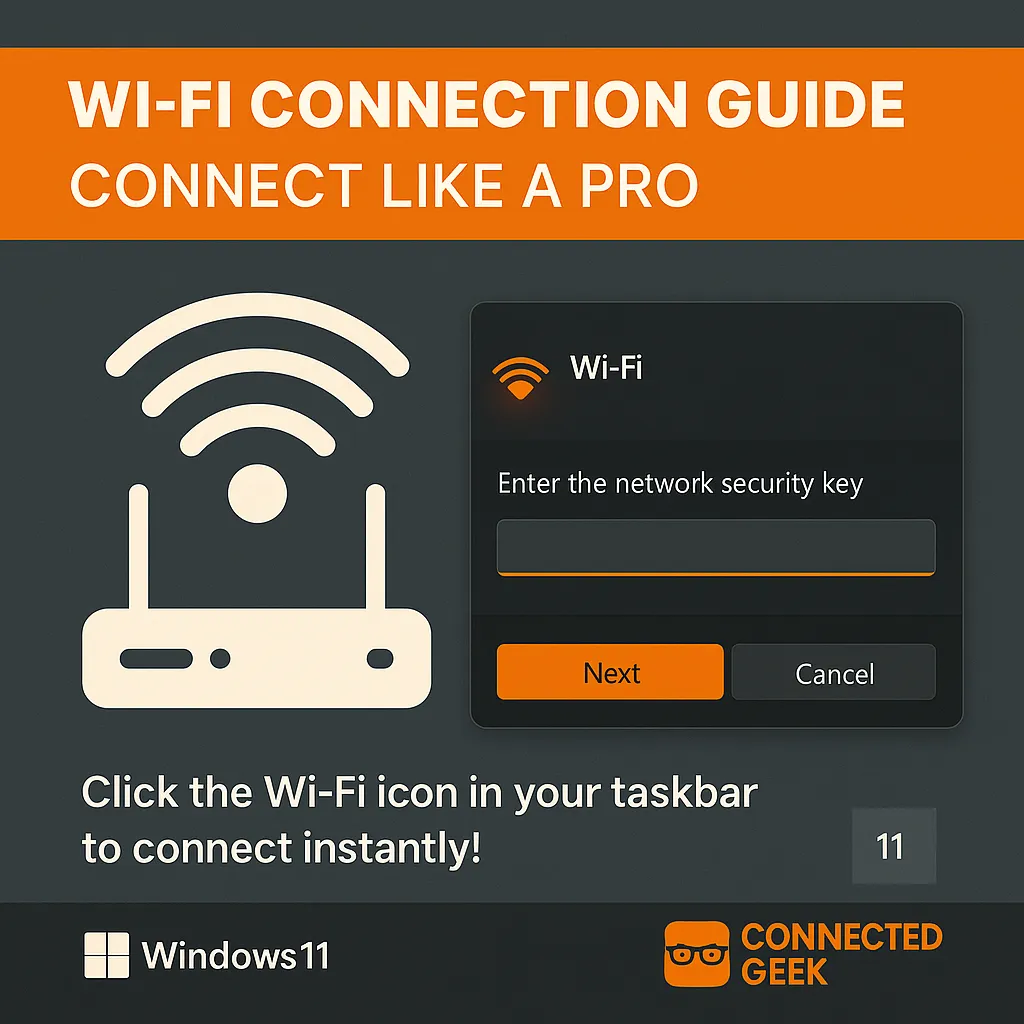
Connect to Wi-Fi in Windows 11: Step-by-Step Guide
Networking Basics, Windows 11, Wi‑Fi
Day 6: How to Connect to Wi‑Fi in Windows 11 (Step‑by‑Step for Beginners)
Welcome back to our beginner‑friendly networking series! Today is all about a simple but essential skill: connecting your Windows 11 computer to Wi‑Fi. If you’ve ever felt a bit unsure about which buttons to click or where to find your network, this guide is for you. We’ll walk through each step slowly, using clear language, so you can follow along with confidence.
Step 1: Click the Wi‑Fi icon in the system tray
Let’s start at the bottom‑right corner of your screen. This area is called the system tray or notification area. You’ll see the time and date there, along with small icons for sound, battery (on laptops), and network. Look for the Wi‑Fi icon. It usually looks like a set of curved lines forming a small fan shape. If you’re using a desktop with a cable connection, you might see a little monitor with a plug, but on Wi‑Fi‑enabled devices the wireless symbol should be there as well.
With your mouse, click the Wi‑Fi icon in the system tray. This single click opens a small panel showing your current network status and a list of available wireless networks. If Wi‑Fi is turned off, you’ll see a button labeled “Wi‑Fi” that looks dim. Click it once to turn it on; it should light up to show it’s active. Give it a second or two to search for nearby networks.
Step 2: Select your network from the list
Once Wi‑Fi is on, you’ll see a list of network names, also called SSIDs. These might include your home network, your neighbor’s networks, or public options like a café or library. Take your time and find the exact name of the network you want—for example, “SmithFamily‑WiFi” or the name printed on the label of your home router.
When you’ve found it, click the network name in the list. This will expand a small box underneath with more options, including the Connect button and a checkbox to control whether Windows should remember this network in the future. Don’t worry, we’ll come back to that checkbox in a moment.
Step 3: Enter the Wi‑Fi password carefully
Most home and office networks are protected with a password (sometimes called a network security key). After you choose your network, Windows 11 will prompt you to enter the password. Type it slowly and carefully, paying attention to uppercase and lowercase letters, numbers, and any symbols.
If you’re not sure what the password is, check the sticker on your router or ask the person who set up the network. Many routers use a long, randomly‑generated password by default, so don’t be surprised if it looks a bit complicated. You can click the small “eye” icon in the password box to briefly show what you’ve typed, which helps you spot mistakes before you continue.
Step 4: Hit “Connect” to join the network
After entering the password, it’s time to hit the “Connect” button. Windows 11 will take a few moments to verify the password and establish a secure connection. During this short wait, you might see a message that it’s “Checking network requirements” or “Connecting.” This is completely normal, so just give it a little time to finish.
If everything is correct, the Wi‑Fi icon in your system tray will change to show a solid connection, and the network name will display “Connected, secured.” If you get an error, double‑check the password and try again. Mistyping a single character is very common, so don’t feel discouraged if it takes a second attempt.
Step 5: Check “Connect automatically” for next time
Before you move on, there’s one small option that can save you time in the future. When you selected your network earlier, you may have noticed a little box labeled “Connect automatically.” Make sure this box is checked. By checking “Connect automatically”, you’re telling Windows to remember this network and reconnect every time you’re in range, without asking for the password again.
This is especially handy for places you use often, like your home or office. As soon as your computer starts and detects that familiar Wi‑Fi signal, it will quietly connect in the background. That means less clicking for you and a smoother start to your day. If you’re on a public or shared network that you don’t fully trust, you can leave this box unchecked so your device doesn’t automatically reconnect later.
Wrapping up Day 6
That’s all there is to it! You’ve learned how to click the Wi‑Fi icon in the system tray, select your network from the list, enter the password, hit Connect, and use the “Connect automatically” option to make future connections effortless. With this skill in your toolkit, you’re ready to move comfortably through the rest of our networking series and explore more ways to stay connected in Windows 11.
