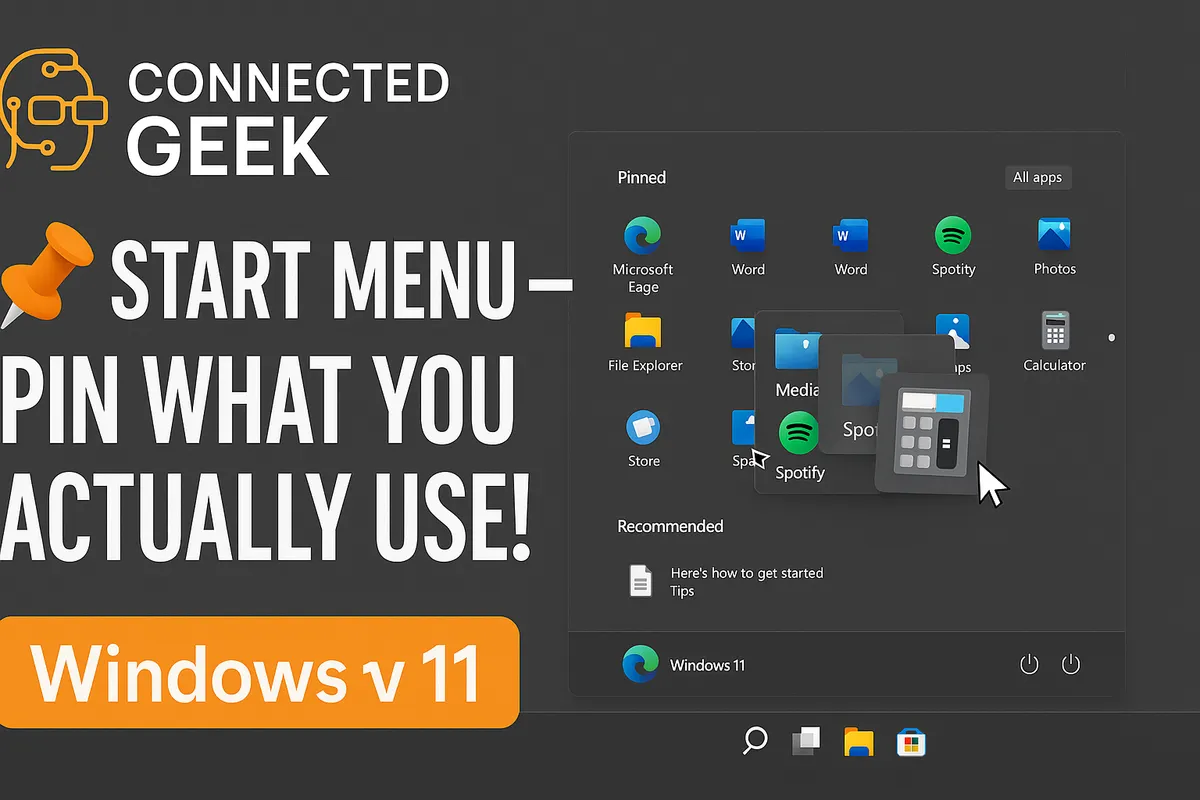
Windows 11 Start Menu Pins: How to Pin, Reorder, and Group Apps into Folders
Windows 11, Start Menu, Productivity, Organisation
How to Organise the Windows 11 Start Menu with Pins and Folders
The Windows 11 Start Menu can be more than just a place you click to shut down your PC. With a few simple tweaks, you can turn it into a clean, organised launchpad for the apps you actually use every day. In this guide, you’ll learn, step by step, how to pin apps, reorder them, group them into folders, and adjust Start settings for a layout that feels calm instead of cluttered.
Why Bother Organising the Start Menu?
If you’ve ever found yourself hunting through long lists of apps, or scrolling endlessly to find that one program you use every day, a tidy Start Menu can save you time and frustration. Instead of relying on search every single time, you can keep your most important apps right at your fingertips, grouped in a way that makes sense to you.
Windows 11 makes this surprisingly easy. You don’t need any special tools or technical skills—just a few right-clicks and drags. Let’s walk through it together, one step at a time.
Step 1: Pin Your Favourite Apps to Start
The first step in organising your Start Menu is deciding which apps deserve a permanent spot there. These should be the programs you open daily or at least several times a week—things like your browser, email, office apps, music player, or favourite games.
How to Pin an App from the All Apps List
- Click the Start button in the taskbar (the Windows logo in the centre or left, depending on your settings).
- In the Start Menu, click All apps in the top-right corner of the menu to see a full list of installed programs.
- Scroll through the list to find the app you want to pin. You can also start typing the app’s name to jump straight to it.
- Right-click the app’s name.
- From the menu that appears, click Pin to Start.
That’s it. The app is now added to the Pinned section at the top of your Start Menu. You can repeat this process for as many apps as you like, but try to be selective—too many pins can quickly turn into clutter again.
Pin Apps Directly from Search or the Taskbar
You don’t always have to go through the full All apps list. If you’re in the habit of using search, you can pin from there too:
- Press the Windows key on your keyboard and start typing the name of the app (for example, “Word” or “Spotify”).
- When the app appears in the search results, right-click it and choose Pin to Start.
You can also right-click an app icon on the taskbar (if it’s already pinned there) and look for a Pin to Start option, which appears for many apps. This is handy when you realise you use an app so often that it deserves a spot in both places.
Step 2: Reorder Pinned Apps by Dragging Them
Once your favourite apps are pinned, the next step is to arrange them so they’re easy to find. Windows 11 lets you drag pinned apps into any order you like, across multiple rows and even across pages of pins if you have a lot of them.
How to Move a Pinned App to a New Position
- Open the Start Menu so you can see your Pinned apps grid at the top.
- Move your mouse over the app icon you want to move. Click and hold the left mouse button on the icon.
- While holding the mouse button, drag the icon to its new position in the grid. You’ll see other icons move aside to make space.
- Release the mouse button to drop the app in its new place.
You can repeat this as many times as you like. Think of it like arranging icons on your phone’s home screen—you’re simply dragging and dropping until it feels right.
Simple Layout Ideas for Everyday Use
- Put your top five apps in the very first row so they’re always visible as soon as you open Start (for example: browser, email, file explorer, note-taking app, calendar).
- Use the second row for communication and social apps (Teams, Zoom, WhatsApp Desktop, etc.).
- Reserve a row for work tools (Office apps, design tools, coding editors) and another for entertainment (music, streaming, games).
Step 3: Create Folders of Apps by Dragging One on Top of Another
If you’ve used a smartphone, you’re probably familiar with app folders: drag one app onto another, and a little folder appears containing both. Windows 11 brings this same idea to the Start Menu, letting you group related apps together into neat folders that take up less space and make more sense at a glance.
How to Create an App Folder in the Start Menu
- Make sure you have at least two related apps pinned (for example, Word and Excel, or two different browsers).
- In the Pinned section of Start, click and hold one of those app icons with the left mouse button.
- Drag that app icon directly on top of the other related app icon. When you hover over it, you’ll see a subtle visual change indicating a folder will be created.
- Release the mouse button. Windows 11 will automatically create a folder containing both apps, and a small folder tile will appear in the grid.
You can now click that folder tile to open it and see the apps inside. This is perfect for keeping related tools together without filling your entire Start Menu with individual icons.
Adding More Apps to an Existing Folder
- Make sure the extra app is already pinned in the Start Menu (if not, pin it first using Pin to Start).
- Click and hold the app icon you want to add to the folder.
- Drag it on top of the folder tile, not on an individual app inside. When the folder highlights, release the mouse button.
The folder will now include the new app. You can repeat this for as many related apps as you like, though it’s usually best to keep each folder to a manageable size so you’re not digging through a huge list again.
Renaming Your App Folders for Clarity
- Click the folder tile in the Start Menu to open it and show the apps inside.
- At the top of the folder, you’ll see a text area where the folder name appears. Click that text area.
- Type a clear, simple name that describes the group, such as Office, Browsers, Games, Work Tools, or Media.
- Press Enter or click outside the name area to save it.
Removing Apps from a Folder or Deleting the Folder
If you change your mind about how apps are grouped, you can easily adjust or undo folders:
- To remove an app from a folder, open the folder, then click and drag the app icon out of the folder area and drop it back into the main Pinned grid.
- If you remove all but one app from a folder, the folder itself disappears and the remaining app returns to being a normal pinned icon.
This makes it easy to experiment. Try different groupings until the layout feels natural for how you work and play.
Step 4: Use Start Settings to Show More Pins or Hide Recommended
By default, the Windows 11 Start Menu shows a balance of pinned apps at the top and a Recommended section below, which highlights recently opened files and new apps. If you’d rather see more pins and less recommendation clutter, you can change this in Settings.
How to Open the Start Customisation Settings
- Click the Start button, then click the Settings icon if it’s pinned, or type “Settings” and press Enter to open it.
- In the Settings window, click Personalisation in the left-hand menu. This is where you control the look and feel of Windows 11’s interface.
- Within Personalisation, click Start. You’ll now see a page of options specifically for the Start Menu.
Choose to Show More Pins or More Recommendations
Near the top of the Start settings page, you’ll see layout options such as More pins, Default, and More recommendations. These control how much space is given to your pinned apps versus the Recommended section.
- More pins: Increases the number of rows available for pinned apps and reduces the space for Recommended items. This is ideal if you want your Start Menu to act more like a traditional app launcher.
- Default: Keeps a balanced view with a moderate number of pinned rows and a moderate Recommended area.
- More recommendations: Gives more space to recently used files and apps. This can be useful if you often open items you were just working on, but it means fewer pins are visible at once.
For a cleaner, more app-focused Start Menu, choose More pins. Once you select it, open the Start Menu again and you’ll see extra rows of pinned apps, making your folders and icons more prominent and reducing the need to scroll.
Hide or Limit the Recommended Section for a Cleaner Layout
On the same Settings → Personalisation → Start page, you’ll also find switches that control what appears in the Recommended area. Depending on your version of Windows 11, you may see options like:
- Show recently added apps
- Show most used apps
- Show recently opened items in Start, Jump Lists, and File Explorer
If you prefer a minimal, private, or less busy Start Menu, you can turn these switches off. This reduces the amount of personal activity shown and helps keep the focus on your pinned apps and folders.
Extra Touches: Unpinning, Cleaning Up, and Keeping Things Tidy
Once you’ve set up pins, folders, and layout options, it’s worth doing a quick cleanup so only genuinely useful items remain. Over time, it’s easy for rarely used apps to creep into your Start Menu and make it harder to spot what matters.
How to Unpin Apps from Start
- Open the Start Menu and find the pinned app you no longer want there.
- Right-click the app icon.
- Click Unpin from Start.
This does not uninstall the app; it simply removes it from the Pinned area. You can still find it in the All apps list or via search whenever you need it.
A Simple Maintenance Routine for Your Start Menu
- Every few weeks, glance over your pinned apps and ask: Did I actually use this recently? If not, consider unpinning it or moving it into a less prominent folder.
- When you install a new app and find yourself using it a lot, immediately right-click → Pin to Start and drag it into the right place or folder. Doing this as you go keeps things under control.
- If your folders start to feel crowded, split them into two clearer groups—for example, change one big “Work” folder into “Office” and “Tools”.
Putting It All Together: A Start Menu That Works for You
With just a few simple actions—pinning apps, dragging them into position, creating folders, and adjusting the Start layout—you can turn the Windows 11 Start Menu into a personalised control centre instead of a random grid of icons and suggestions. The key is to shape it around your real daily habits, not what Windows thinks you might want.
To recap the core steps:
- Pin your essentials: Right-click any app and choose Pin to Start so it appears in the Pinned section.
- Reorder by dragging: Click and drag pinned apps to your preferred positions so your most-used tools sit front and centre.
- Create folders: Drag one pinned app on top of another to form a folder, then name and organise those folders like you would on a phone.
- Tune Start settings: Go to Settings → Personalisation → Start to show more pins and hide or limit the Recommended section for a cleaner, more focused layout.
Take ten minutes to follow these steps, and you’ll feel the difference every time you click the Start button. Instead of searching and scrolling, you’ll simply glance, click, and get on with what you wanted to do. That’s the power of a well-organised Start Menu—quietly saving you time, every single day.
