How to Search Network Drives on Windows 11
Network Drives Are Handled Differently Than Local Drives
Windows Search indexes your local files automatically — but network drives (shared folders, NAS devices, mapped drives) are not indexed by default. This means searching a network location works differently and requires a few extra steps.
Why Network Drives Don't Show Up in Windows Search
The Windows Search index only covers your local drives (C:, D:, etc.) and connected cloud storage (OneDrive). Network locations are excluded because indexing a network drive requires a constant connection and can be slow.
How to Search a Network Drive in File Explorer
- Open File Explorer
- Navigate to the network drive or shared folder (under Network in the left panel, or via a mapped drive letter)
- Click in the search bar in the top-right corner
- Type your search query
File Explorer will search the network location — but without an index, it scans files one by one. This is slower than local search, especially on large network shares. Be patient.
Speed It Up: Add Network Locations to the Index
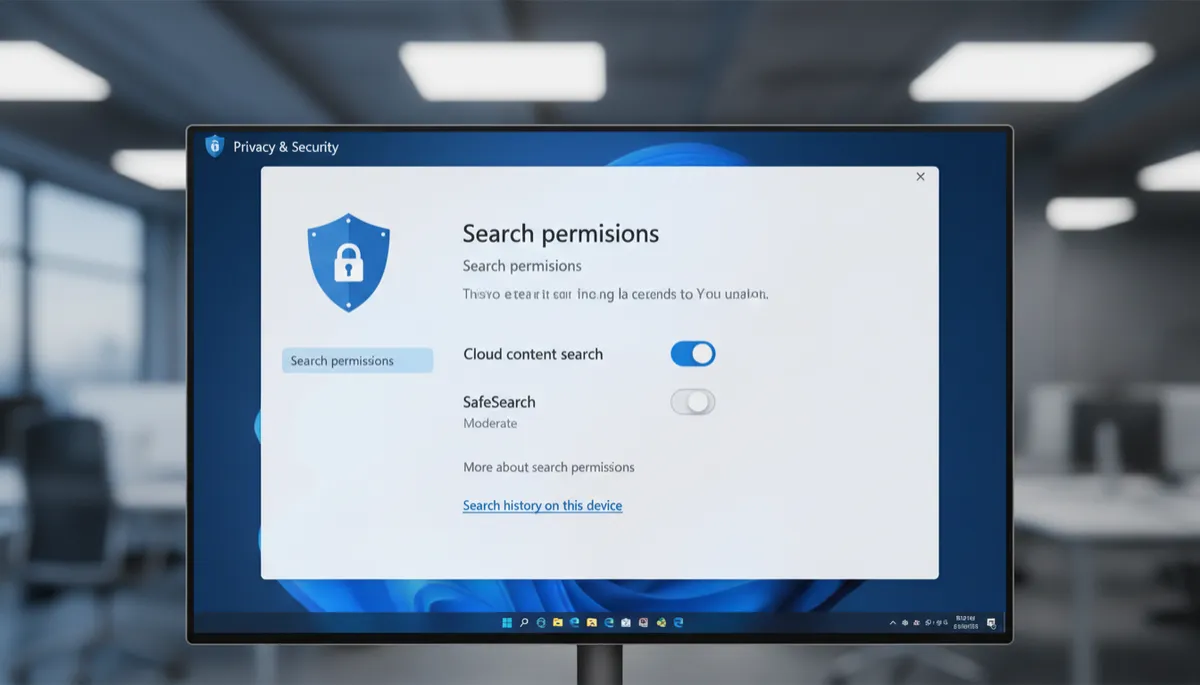
- Open Settings → Privacy & Security → Searching Windows → Advanced indexing options
- Click Modify
- Click Show all locations
- Expand Network and check the network folders you want indexed
- Click OK — Windows will begin indexing those locations
Note: The network location must be accessible and online when indexing runs. Indexing speed depends on network speed and folder size.
Searching UNC Paths Directly
You can navigate directly to a network location by typing its UNC path in the File Explorer address bar: \\servername\sharename — then use the search bar from there.
