Windows 11 Recent Files: How to View, Access, and Manage Them
Recent Files — A Useful Shortcut With a Privacy Side
Windows 11 automatically tracks the files you've opened recently and surfaces them in multiple places for quick access. This is genuinely convenient — but it's worth knowing how to manage it, especially on shared PCs.
Where Recent Files Appear
- File Explorer → Quick Access (Home): Shows your most recently opened files at the top of File Explorer
- Start menu → Recommended: Recent files and apps appear here when you open Start
- Individual apps: Most Office apps, text editors, and media players show a recent files list in their own File menu
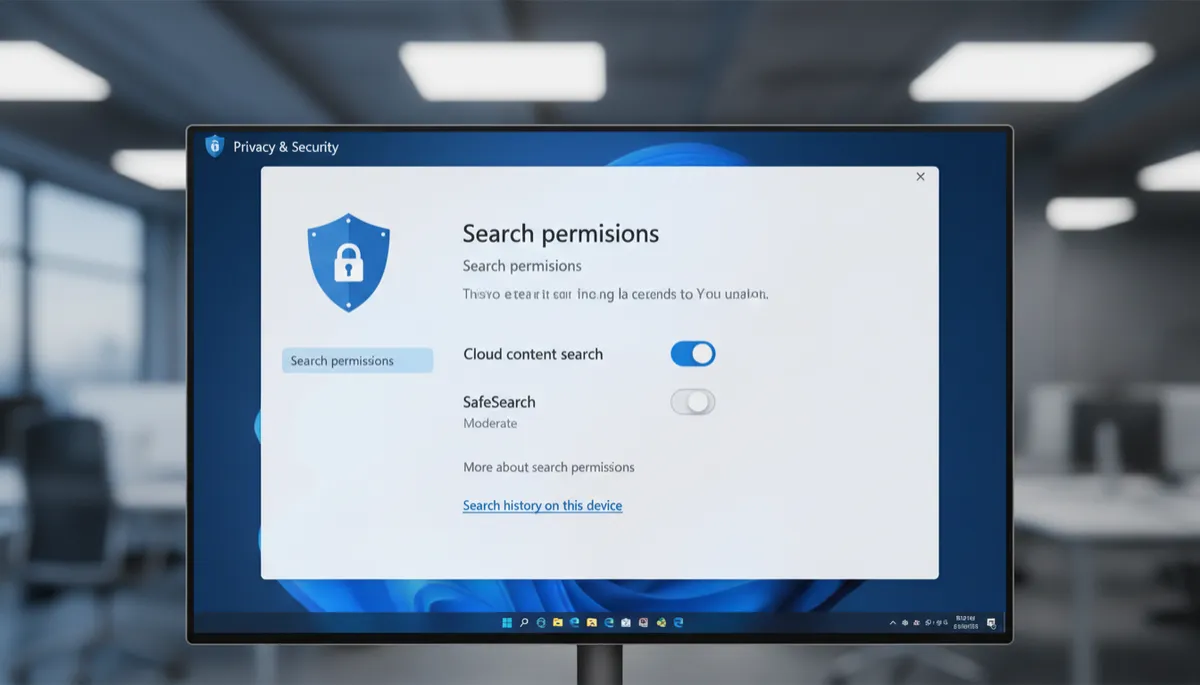
- Windows Search: Click the Search bar without typing — recent files appear automatically
How to Jump Back to a Recent File
The fastest method: press Win + S (open Search) and don't type anything. Your recent files appear immediately — click any to open it instantly. No need to remember where it was saved.
Remove a File from Recent (Without Deleting It)
In File Explorer Quick Access: right-click any recent file → Remove from Quick Access. This removes it from the recent list without deleting the actual file.
Clear All Recent Files
- Open File Explorer
- Right-click Quick Access (or Home) in the left sidebar
- Click Options
- Click Clear under Clear File Explorer history
- Click OK
Turn Off Recent Files Completely
- In File Explorer Options (as above)
- Uncheck Show recently used files in Quick Access
- Uncheck Show frequently used folders in Quick Access
- Click OK — Quick Access will no longer track your activity
