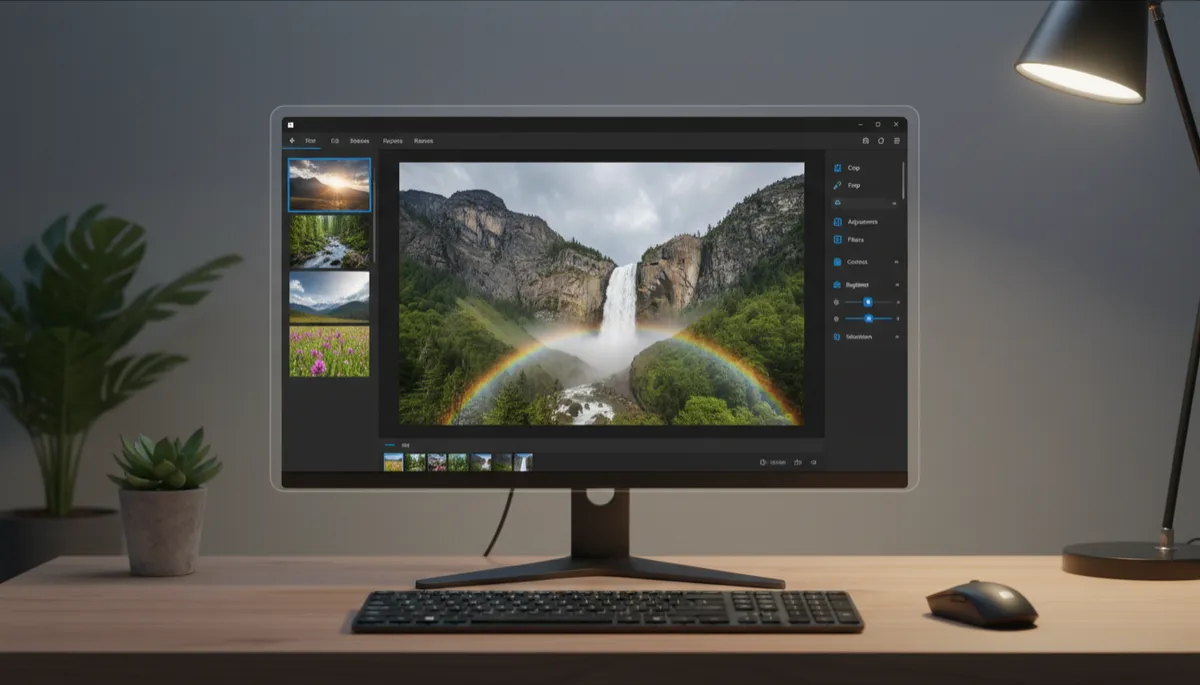
How to Use the Video Editor in Windows 11 Photos
A Video Editor Hidden in Your Photos App
Most Windows 11 users don't realize the Photos app includes a basic video editor — good enough for trimming clips, adding music, overlaying text, and creating simple video projects without any additional software.
How to Open the Video Editor
- Open the Photos app
- Click the Video editor tab in the left sidebar (or search "Video editor" in Start)
- Click New video project
- Give your project a name
Adding and Arranging Clips
- Click Add → From this PC to import your video clips and photos
- Drag them from the Project library into the Storyboard at the bottom
- Rearrange clips in the storyboard by dragging them into order
Key Editing Tools
- Trim: Right-click a clip → Trim. Drag handles to cut the start and end
- Split: Right-click → Split. Divides a clip at the current playback position
- Text: Right-click → Add text. Overlay titles or captions on any clip
- Motion: Add a Ken Burns pan-and-zoom effect to still photos
- Filters: Apply color filters to individual clips or the whole video
- Music: Click the Music button to add background audio — use included tracks or your own files
- Speed: Right-click → Speed. Make clips slow motion or fast forward
Exporting Your Video
Click Finish video → choose quality (540p, 720p, or 1080p) → click Export. Saves as an MP4 file.
Limitations
The Photos video editor is intentionally basic — no multi-track audio, color grading, or advanced transitions. For more complex projects, Clipchamp (also built into Windows 11) or free tools like DaVinci Resolve offer more capability.
