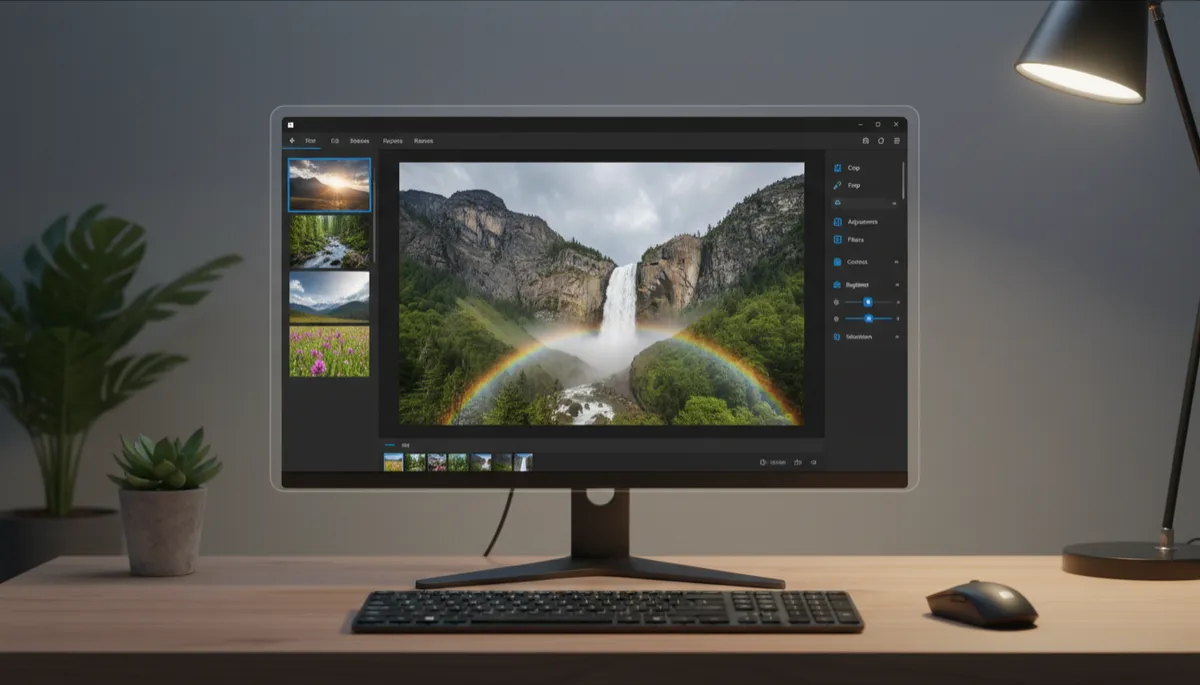
How to Blur and Remove Backgrounds in Windows 11 Photos
Two Background Tools Built Into Windows 11 Photos
The Photos app includes two AI background tools: Background blur (adds a portrait-style bokeh effect) and Background removal (removes the background entirely). Here's how to use both.
Background Blur: Add Portrait Mode to Any Photo
- Open a photo in the Photos app
- Click Edit image (or press Ctrl + E)
- In the editing panel, click Background blur
- The AI detects your subject automatically and blurs everything behind it
- Use the Blur intensity slider to control the strength of the effect
- Click Apply, then save your edited photo
Best for: Portrait photos, pet photos, product shots — any image where you want the subject to stand out from a distracting background.
Background Removal: Cut Out the Subject
- Open a photo in Photos → Edit image
- Click Remove background
- The AI removes the background, leaving a transparent area
- Use the Restore brush if the AI removed part of the subject
- Use the Erase brush to clean up any remaining background areas
- Save as PNG (PNG supports transparency; JPEG does not)
Best for: Product photos for online selling, profile photos, creating stickers, or extracting people for use in other designs.
Tips for Better Results
- Both tools work best with clear contrast between subject and background
- Complex backgrounds with overlapping objects produce less clean results
- Use the Restore and Erase brushes to manually refine edges on tricky photos
