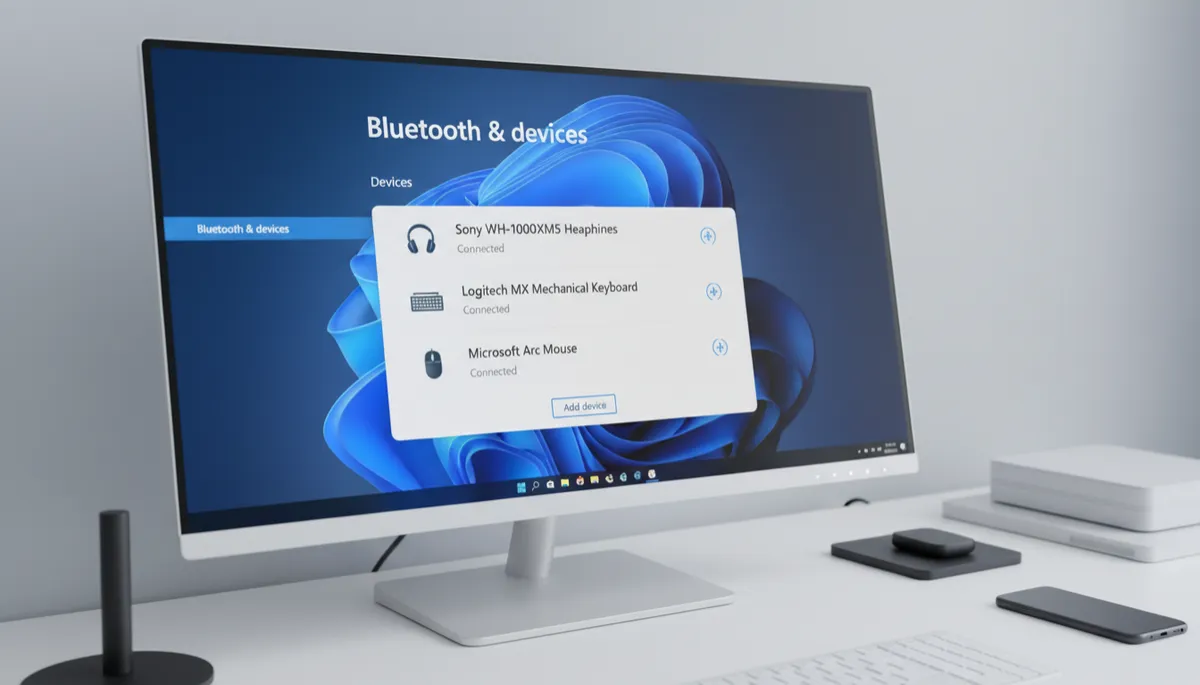
How to Manage and Remove Bluetooth Devices on Windows 11
Keep Your Bluetooth Devices List Clean and Organized
Over time, your Windows 11 Bluetooth devices list accumulates everything you've ever paired — old devices, things you no longer own, duplicates from re-pairing. Here's how to manage and clean it up.
View All Paired Bluetooth Devices
- Go to Settings → Bluetooth & devices
- Scroll down to see all currently paired devices with their connection status
Connect or Disconnect a Device
- To connect a paired device: turn it on — it connects automatically, or click the device → Connect
- To disconnect without removing: click the device → Disconnect. The device stays in your paired list and can reconnect later.
Remove a Device
- In Settings → Bluetooth & devices
- Find the device you want to remove
- Click the three-dot menu (⋯) next to the device name
- Click Remove device and confirm
Removing a device forgets the pairing. To reconnect it later, you'll need to pair it again from scratch — put it in pairing mode and go through the Add device process.
Rename a Bluetooth Device
Windows shows device names as reported by the device itself — sometimes unhelpfully generic. To rename: click the device → click the pencil icon next to the name → type a new name → save. The rename is local to your PC only.
Troubleshoot: Device Shows Connected But Isn't Working
If a device shows "Connected" but audio isn't routing or input isn't working: remove the device, put it in pairing mode, and re-add it. Stale connection states are a common cause of Bluetooth devices that appear connected but don't function correctly.
