How to Change the Default App for Any File Type in Windows 11
Windows 11, Default Apps, File Types
How to Change the Default App for a File Type in Windows 11
In Windows 11, you are not stuck with the apps that automatically open your files. You can choose which program opens each file type, such as setting a different browser for .html pages or a new photo viewer for .jpg images. This tutorial walks you step by step through changing default apps using the Settings app, shows you how to choose defaults by file type directly, and explains what to do if your preferred app does not appear in the list.
Before You Start: Know the File Type You Want to Change
To change the default app effectively, it helps to know the file extension you are working with. The extension is the group of letters after the dot in a file name, like .pdf, .docx, or .mp4. If you are not sure what the extension is, right-click the file in File Explorer, choose Properties, and look at the Type of file line. Make a note of this extension, because you will use it later when assigning a default app.
Method 1: Change the Default App by Searching for the App Name
The first method starts with the app you want to use. This is helpful if you have just installed a new program and want to see all the file types it can open. Follow these steps carefully in order.
- Open Settings. Click the Start button and select the Settings gear icon, or press Windows + I on your keyboard to open Settings directly.
- Go to Apps. In the left-hand sidebar of the Settings window, click Apps. This section controls how programs behave on your system, including which ones are set as defaults.
- Open Default apps. In the main Apps panel, click Default apps. Windows 11 will show a long list of installed apps and some recommended defaults for common actions like email and web browsing.
- Search for your app by name. At the top of the Default apps page, you will see a search box labeled Set defaults for applications. Type the name of the app you want to use, such as “VLC”, “Photoshop”, or “Chrome”, and then click the app when it appears in the results list.
- Review the file types the app can handle. After you select the app, Windows 11 displays a list of file types and link types that the app is capable of opening. Each entry shows the extension on the left, such as .mp3 or .png, and the current default app on the right.
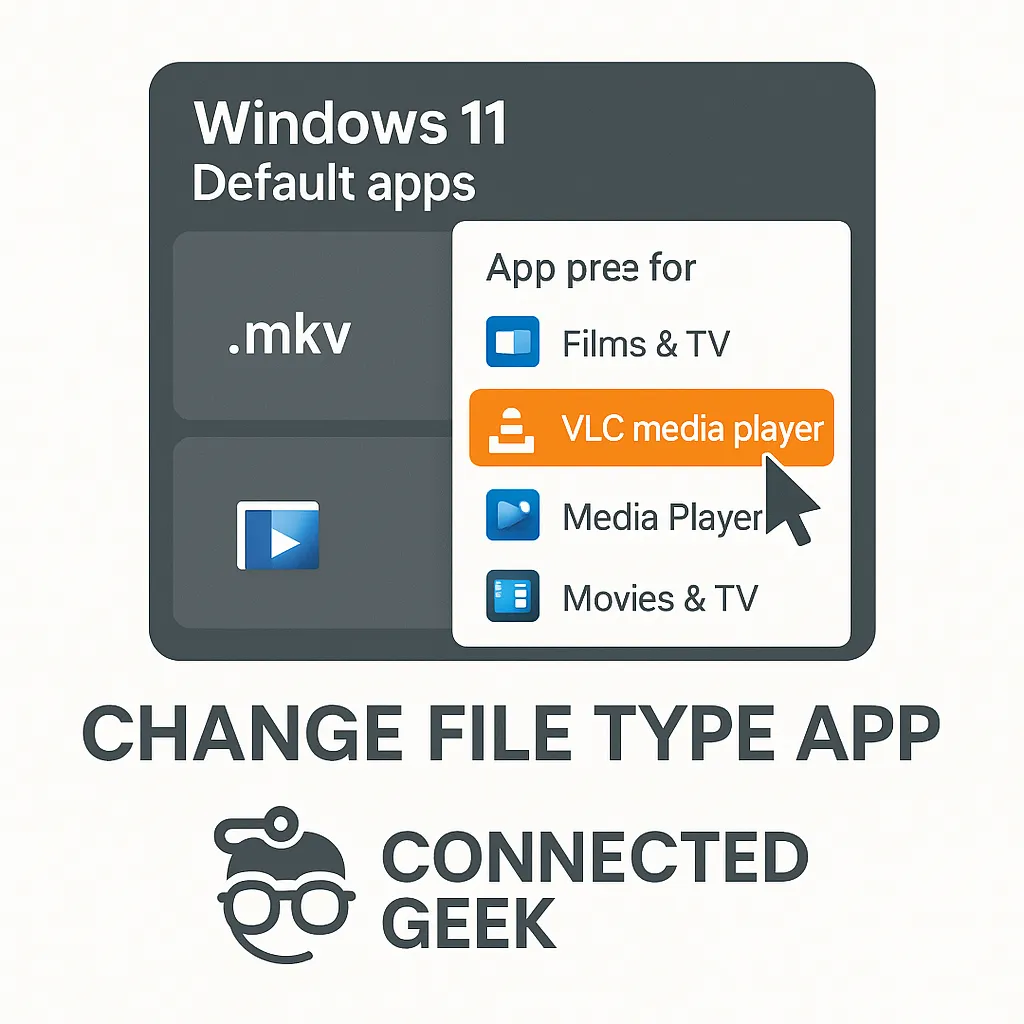
- Click each extension to assign your app. To make your chosen app the default for a specific file type, click the file extension in the list. A small window will open, showing apps that can open that type of file. Select your preferred app and click OK or Set default. Repeat this process for each extension you want to associate with the app.
After you complete these steps, any time you double-click files with those extensions, Windows 11 will automatically open them in the app you selected. If something does not work as expected, you can return to the same screen and change the default again at any time.
Method 2: Change the Default App by File Type Directly
The second method starts with the file extension itself rather than the app. This is useful when you know the exact file type you want to change, such as .pdf or .txt, and you want to see all compatible apps at once. You will use the Choose defaults by file type section for this approach.
- Open Settings and go to Default apps. Use the same path as before: Settings → Apps → Default apps.
- Scroll down to “Choose defaults by file type”. On the Default apps page, scroll all the way down until you see a link or section labeled Choose defaults by file type. Click this option to open a detailed list of extensions.
- Find the extension you want to change. You will now see an alphabetical list of every file extension Windows recognizes. Scroll through the list, or use the search box at the top if available, to locate the extension you noted earlier, such as .jpg or .xlsx.
- Click the current default app next to the extension. To the right of each extension, you will see either the name of the current default app or a plus sign if no default is set. Click this area to open a small window listing compatible apps.
- Select your preferred app and confirm. Choose the app you want to use from the list, then confirm your choice. Windows 11 will immediately update the default for that file type. You can repeat this process for as many extensions as you need.
This method gives you a clear, file-type-first view of your defaults and can be especially helpful if you are troubleshooting a single extension that always seems to open in the wrong program.
What If Your App Does Not Appear in the List?
Sometimes the app you want to use is installed, but it does not show up when you try to set it as a default. When that happens, work through the following steps to resolve the issue systematically.
- Make sure the app is installed correctly. If you recently installed the program, restart Windows 11 to allow it to register fully with the system. If it still does not appear, reinstall the app from a reliable source, such as the Microsoft Store or the developer’s official website.
- Check whether the app supports that file type. Not every app can open every file. Visit the app’s website or documentation and confirm that it supports the extension you are trying to change. If it does not, Windows will not list it as an option for that file type.
- Use “Open with” from File Explorer as a workaround. In File Explorer, right-click a file of the type you want to change, choose Open with, and then click Choose another app. If your program appears in this dialog, select it and check the box that says Always use this app to open .ext files (where .ext is your extension). This can sometimes add the app to the default apps system for that file type.
- Update Windows and the app. Outdated software can occasionally cause compatibility issues. Make sure Windows 11 is up to date through Settings → Windows Update, and install any updates available for your app.
If you have tried all these steps and the app still does not appear, the program may not be fully integrated with Windows 11’s default app system. In that case, continue using the Open with method for specific files, or consider an alternative app that officially supports setting itself as a default.
Final Tips for Managing Default Apps in Windows 11
Managing default apps is an ongoing part of keeping Windows 11 working the way you prefer. As you install new programs, revisit Settings → Apps → Default apps to review which apps handle your most common file types. If something starts opening in the wrong program, use either the app-based method or the Choose defaults by file type section to correct it. By following the steps in this tutorial, you can keep control over how your files open and make your daily work on Windows 11 more efficient and predictable.
