Windows 11 App Launch Shortcuts: Open Any App in Seconds Without the Mouse
Windows 11, Keyboard Shortcuts, Productivity
Launch Windows 11 Apps Without Touching Your Mouse
If you’re serious about speed on Windows 11, your mouse is a bottleneck. Power users live on the keyboard because every trip to the cursor costs seconds, and seconds add up to hours. The good news: Windows 11 is packed with built-in ways to launch apps entirely from the keyboard. Once you wire these into muscle memory, clicking icons will feel painfully slow.
Win+R: The Run Dialog as Your Instant Command Launcher
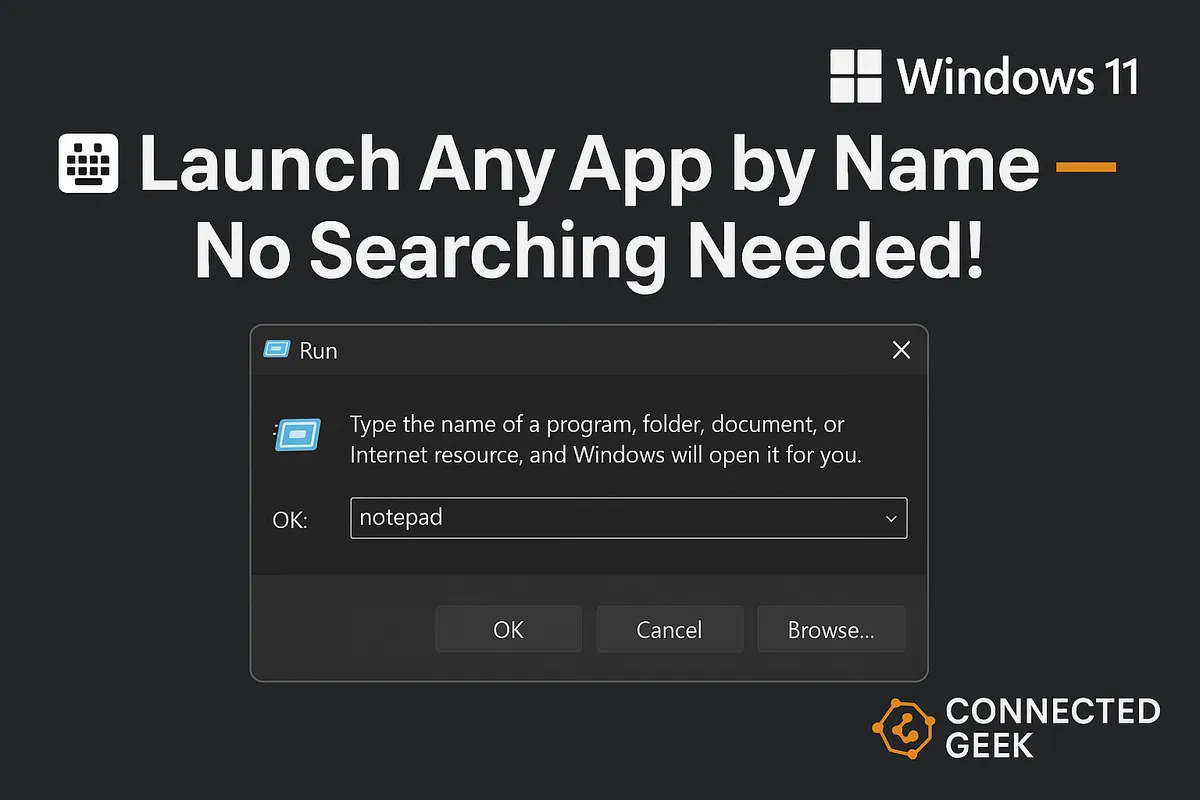
The Win+R Run dialog is the fastest built-in launcher in Windows 11. It’s minimal, always available, and ignores all visual clutter. Hit Windows key + R, type a command, press Enter, and the app opens immediately. No menus, no tiles, no pointer hunting.
Start with a few essentials that every power user should know:
- notepad — Launches the classic Notepad editor. Great for quick notes, scratch work, or temporary text cleanup.
- calc — Opens the Calculator app instantly. No need to search or pin anything to the Taskbar.
- mspaint — Fires up Paint. Perfect for quick screen annotation or basic image edits without loading heavier tools.
- cmd — Opens the classic Command Prompt. Ideal when you want a lean terminal window without extra features.
- powershell — Launches Windows PowerShell for scripting, automation, and advanced system control.
The Run dialog remembers your history, so once you’ve run something, you can often just hit Win+R, type the first letter or two, use the arrow keys if needed, and press Enter. Over time, this becomes a personalized mini-launcher tuned to your habits. Treat Win+R as your low-friction command line for GUI apps and system tools alike.
Start Search: Press Win, Type, Enter, Done
For apps that don’t have a neat Run command, the Start search workflow is your next weapon. Tap the Windows key (no mouse, no clicking the Start icon), and the Start menu opens with the search box ready. Just start typing the app name and hit Enter when it appears at the top of the results.
The flow is simple and fast:
- Press Win.
- Type the first few letters of the app (“edge”, “word”, “slack”, etc.).
- Press Enter to launch the top match.
Power users optimize even further. If multiple apps share similar names, rename shortcuts so the first few letters uniquely identify the one you actually use. You can also use the arrow keys to move through results without breaking your keyboard-only flow. The more you rely on this, the less you’ll ever open the Start menu with your mouse again.
Win+Number: Launch Pinned Taskbar Apps by Position
The Taskbar is more than a row of icons; it’s a numbered launcher. Every pinned app from left to right is mapped to a number key. Combine that with the Windows key and you get instant, predictable access to your core tools without ever looking at the screen edge.
Here’s how it works:
- Win+1 launches (or focuses) the first pinned app on the Taskbar.
- Win+2 targets the second pinned app, and so on up to Win+0 (which maps to the tenth position).
The power move is to curate your Taskbar layout deliberately. Put your everyday essentials in fixed positions: maybe browser at 1, mail or chat at 2, file manager at 3, code editor or main work app at 4. Once that layout is stable, Win+1, Win+2, Win+3 become reflex actions. You stop thinking about where apps are and simply summon them by number.
You can go further: if an app supports multiple windows, pressing its Win+Number shortcut repeatedly can cycle through or open new instances, depending on the app’s behavior and your settings. The key idea is consistency. Don’t reshuffle your Taskbar every day. Treat those positions as reserved slots in your personal command deck.
Custom Keyboard Shortcuts: Your Own Global Launch Keys
Built-in shortcuts are great, but true power users create their own. Windows 11 still supports assigning custom keyboard shortcuts to individual shortcuts, giving you near-instant access to any app, script, or document you care about. Once configured, these work system-wide as long as they don’t conflict with higher-priority Windows shortcuts.
The process is straightforward:
- Locate or create a shortcut to the app or file (on the Desktop or in a folder).
- Right-click the shortcut and choose Properties.
- In the Shortcut tab, click into the Shortcut key field.
- Press the key combination you want (Windows will automatically add Ctrl+Alt in most cases).
- Click Apply, then OK.
From now on, pressing that combination will launch the shortcut’s target, no mouse required. For example, you might map your primary editor to Ctrl+Alt+E, your time-tracking tool to Ctrl+Alt+T, or a specific project folder to Ctrl+Alt+P. Think in terms of workflows: which apps or locations do you open dozens of times per day? Those deserve their own dedicated keys.
One pro tip: keep your custom shortcuts logically grouped and easy to remember. Use consistent patterns (for example, Ctrl+Alt + first letter of the app) and avoid conflicts with existing app shortcuts. The goal is to build a mental map where your fingers know exactly what to press before your brain finishes the thought.
Make the Keyboard Your Default Interface
Power users don’t move faster because they have better hardware; they move faster because they remove friction. Using Win+R for direct commands, Start search for anything indexed, Win+Number for pinned Taskbar apps, and custom Shortcut key mappings for your personal tools, you can turn Windows 11 into a keyboard-centric environment where apps appear the moment you think of them.
Pick one technique today and commit to it for a week. Then layer in the next. Over time, your reliance on the mouse will drop, your workflows will tighten, and Windows 11 will start to feel like it’s keeping up with you, instead of the other way around.
