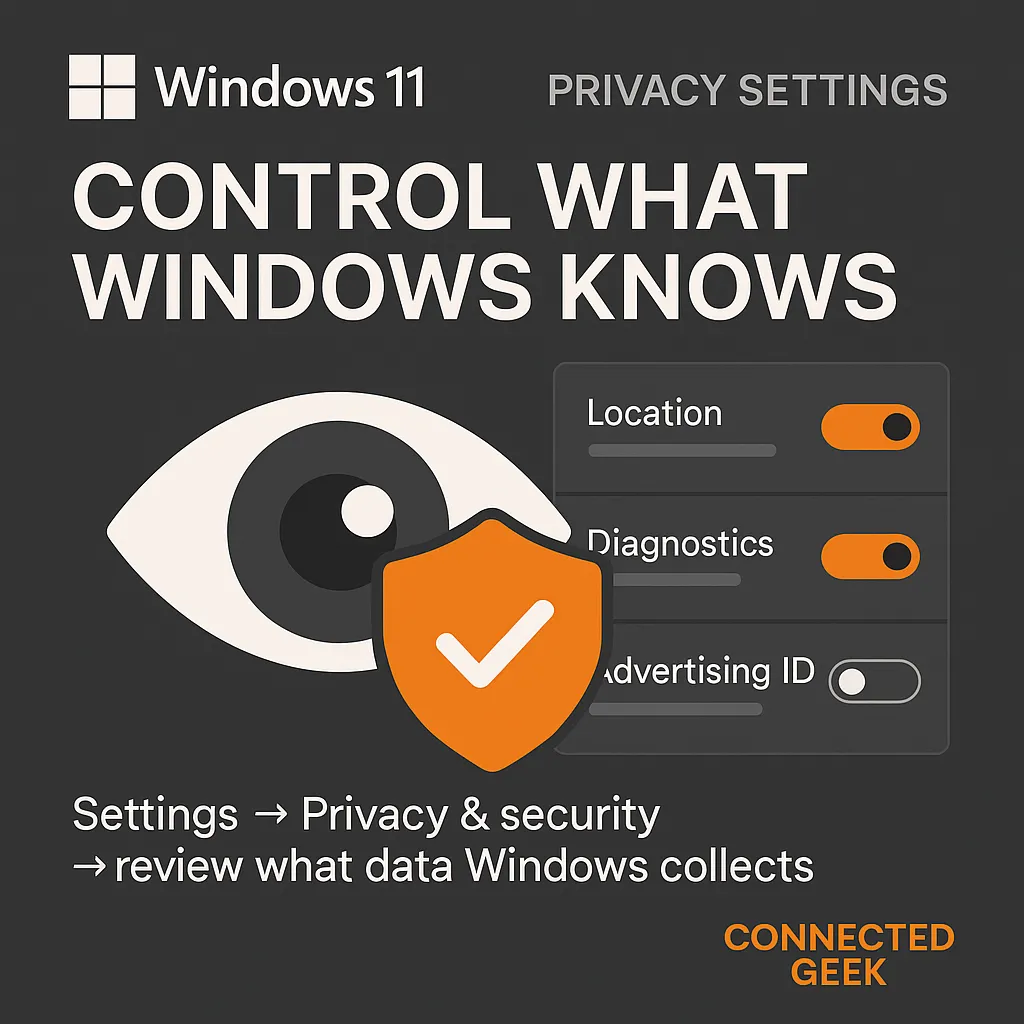
Windows 11 Privacy Settings: Control Which Apps Access Your Location, Mic & Camera
Windows 11, Privacy Settings, ConnectedGeek
How to Review and Control Privacy Settings in Windows 11
Your privacy matters, and Windows 11 gives you clear tools to stay in control. In just a few minutes, you can see which apps are using your location, microphone, camera, and notifications, then revoke anything you do not feel comfortable with. This friendly guide from ConnectedGeek walks everyday Windows 11 users through the essential privacy settings, step by step, so you can use your PC with confidence instead of guesswork.
Start in Settings → Privacy & security
Everything you need lives in one place: the Privacy & security section of Windows 11 settings. To get there, click the Start button, choose Settings, then select Privacy & security from the left-hand menu. Think of this page as your control center for privacy settings, where you decide which apps can use sensitive features like location, microphone, camera, and notifications.
Check which apps have access to your Location
Location access can be handy for maps, weather, or finding nearby services, but not every app needs to know where you are. In Privacy & security, click Location. At the top, you can turn location services on or off for the whole device. Scroll down and you will see a list of apps that can use your location. Go through them one by one and ask yourself, “Does this really need my location?” If the answer is no, simply toggle it off. This is an easy win for tightening your Windows 11 privacy settings without losing useful features.
Review which apps can use your Microphone
Your microphone is another sensitive tool that deserves attention. Back on the Privacy & security page, select Microphone. You will again see a main switch that controls microphone access for the entire device, followed by a list of apps that have requested microphone permission. Keep it enabled for apps you actually speak into, like video calling tools or voice recorders, and turn it off for anything that does not clearly need audio input. If you are unsure what an app does, it is perfectly reasonable to revoke access first and re-enable it later if something stops working.
Control which apps can access your Camera
Many people feel especially cautious about camera access, and for good reason. From Privacy & security, click Camera. Just like with the microphone, you can disable camera use entirely or manage it app by app. Keep access for trusted video chat apps and perhaps your camera software, but disable it for games or utilities that have no obvious reason to see you. This simple review helps ensure that only apps you trust can turn your camera on, adding a comforting extra layer of control in Windows 11.
Decide which apps can send Notifications
Notifications may not feel as private as your camera or microphone, but they still reveal information on your screen, sometimes at awkward moments. In Privacy & security, open the Notifications section or go via System → Notifications. Here you can see which apps are allowed to pop up alerts. Turn off notifications for apps that spam you, distract you, or show content you would rather keep to yourself. You will still be able to open those apps when you want; they just will not shout for your attention.
Revoke permissions you do not need – and review regularly
The most important habit is simple: revoke permissions you do not want or do not use. Windows 11 makes it easy to flip a switch for any app that feels unnecessary or intrusive. If you change your mind, you can always turn access back on later. Try to revisit Settings → Privacy & security every few months, especially after installing new apps. A quick check of location, microphone, camera, and notifications keeps your privacy settings aligned with how you actually use your PC. With a little help from ConnectedGeek and a few thoughtful clicks, you stay firmly in charge of your Windows 11 experience.
