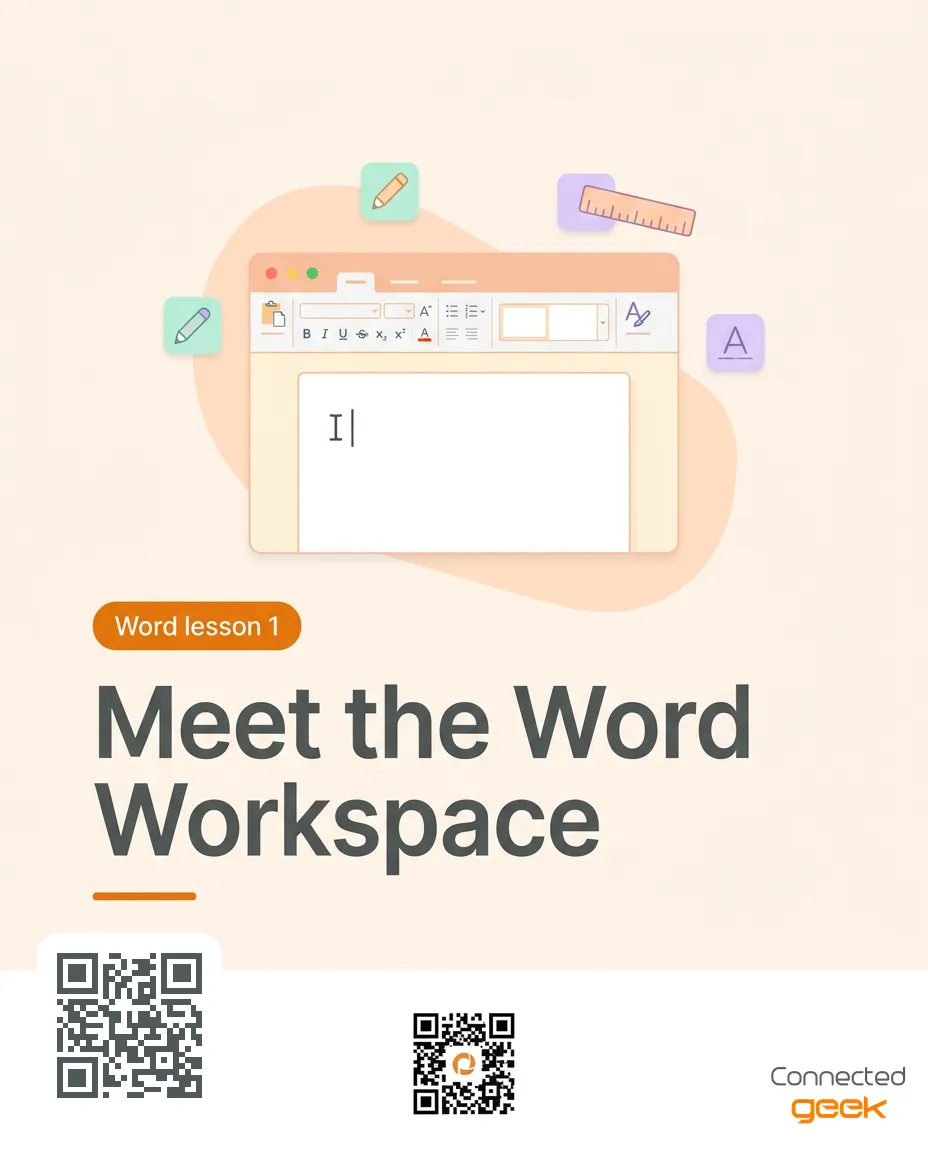
Microsoft Word for Beginners: Meet the Workspace
The first time you open Microsoft Word, the screen can feel crowded. There is a large white page, a wide strip of buttons across the top, and a handful of small labels and numbers around the edges. If you have ever wondered where to look first, you are in good company, because almost every beginner starts exactly there.
The good news is that the Word workspace follows a simple layout. Once you can name its main parts, you will always know where to find a command. This lesson is a guided tour. We will walk through each area slowly and then finish with a keyboard trick that lets you reach the ribbon without touching the mouse.
The lesson in short
New to Word? Start by spotting the page in the center, the ribbon across the top, and the tabs that organize its tools. The blinking line marks where your next text will appear. Join us today to learn your way around the Word workspace.
Step by step
Find the page. The large white area in the center is your document page. Anything you type appears here, laid out roughly the way it will look when printed.
Spot the blinking line. The thin blinking vertical line is the insertion point. It marks the exact spot where your next letter will appear. Click anywhere in your text to move it.
Look across the top for the ribbon. The wide band of buttons is the ribbon. It is organized into tabs, such as Home, Insert, Layout and View. The exact list of tabs can differ a little between versions and settings.
Click a tab to see its groups. Each tab holds groups of related commands. On the Home tab, for example, the Font group holds text formatting and the Paragraph group holds alignment and lists.
Check the title bar. At the very top you will see the name of the document that is open. A brand-new document usually shows a generic name until you save it.
Glance at the bottom edge. The status bar along the bottom usually shows the page you are on and a word count. On the right side you will find a zoom control that makes the page larger or smaller.
Press Alt to show KeyTips. Press and release the Alt key. Small letters and numbers appear beside tabs and commands. Type the letter shown to open that tab, then follow the next letters to reach a command. Press Esc to back out.
Why learning the layout first pays off
Most frustration with Microsoft Word comes from not knowing where something lives. People type, then hunt for a button, then give up and ask a coworker. When you understand how the workspace is arranged, that hunt gets much shorter, because you can reason your way to the right place.
The ribbon, tabs and groups explained
The ribbon has three layers. The tabs are the names along the top. Under each tab are groups, which are small clusters of related buttons with a label beneath them. Inside each group are the commands themselves, such as Bold, Bullets or Insert Table.
Here is a quick map of the tabs you will use most. Home is for everyday formatting such as fonts, alignment and lists. Insert is for adding things such as tables, pictures and page numbers. Layout controls the page itself, including margins and orientation. View changes how you see the document, including zoom.
If the ribbon ever seems to have shrunk to just the tab names, it has probably been collapsed to give you more room on screen. Click a tab name to bring the commands back, or press Ctrl+F1 to show or hide the ribbon.
A closer look at KeyTips
KeyTips are small badges that appear when you press Alt. They are Microsoft Word's built-in map for keyboard users. Each badge shows the letter or number you can press to open a tab or run a command, so you can reach almost anything without the mouse.
You press the keys one after another rather than holding them together. Press Alt, then the letter for the tab, then the letter for the command. If you change your mind, press Esc once to step back, and press it again to leave KeyTips completely.
The letters can vary by screen and by version, so always read the badges that appear instead of relying on memory. After a few tries you will notice that the badges for the tabs you use most become familiar.
A real-world example from a small office
Imagine you run a small landscaping company and you open Microsoft Word to write a quote. You see the page, so you click near the top and begin typing a heading. The blinking line shows you are in the right spot. You then want to make the heading larger, so you look at the Home tab and find the Font group.
Later you need to add a table of services. You remember that adding things lives on the Insert tab, so you open it and look for Table. You never memorized the steps. You just used the layout to find them, and that is the skill we are building this month.
Common mistakes and how to fix them
Hunting for a command that seems to be missing. It is usually on a different tab, or the ribbon is collapsed. Click through the tabs, and press Ctrl+F1 if you only see tab names.
Typing without checking where the insertion point is. If text lands in the wrong place, click exactly where you want to type and look for the blinking line before you continue.
Expecting KeyTips letters to match someone else's screen. The letters can vary, so press Alt and read the badges on your own screen each time.
Quick tip of the day
Quick Word tip: press Alt to show KeyTips—letters or numbers beside ribbon commands. Follow the keys shown to open a tab and reach a command; the letters can vary by screen. Press Esc to back out.
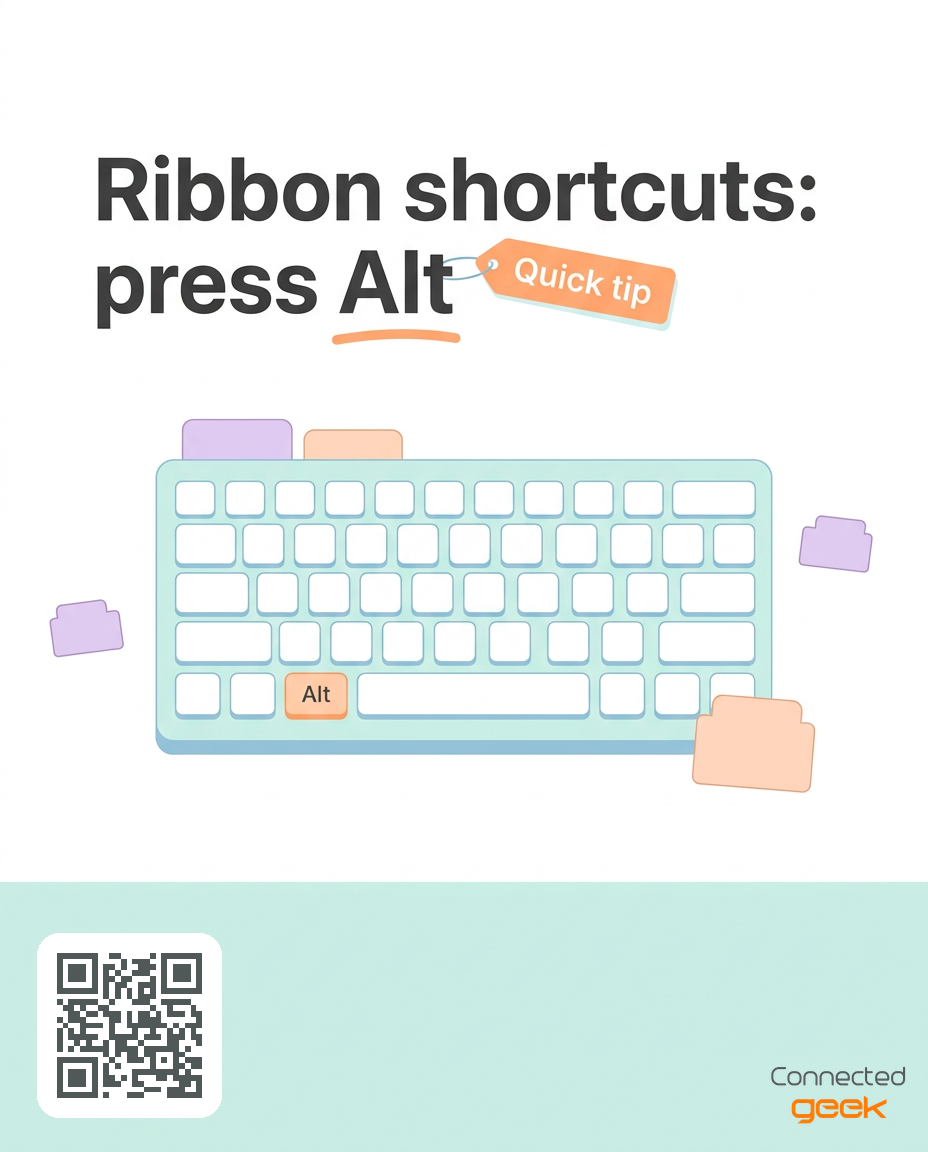
If you are new to keyboard shortcuts, KeyTips are the gentlest way to start. You never have to memorize a list. The screen tells you which key to press next, and Esc is always there as your safety net.
Frequently asked questions
What is the ribbon in Microsoft Word?
The ribbon is the wide band of tabs and buttons across the top of the window. It groups commands by purpose so you can find tools such as fonts, tables and page setup without searching menus.
Why does my screen look different from the examples?
The tabs and buttons can vary a little depending on your version, your window size and your settings. The layout idea stays the same: page in the center, ribbon on top, status bar along the bottom.
What does the blinking line mean?
It is the insertion point. It shows exactly where the next character you type will appear. Click in your text to move it.
Do I need to memorize the KeyTips letters?
No. Press Alt and the letters appear on screen. They can vary by screen, so read them each time. With practice, the ones you use often will stick.
How do I get out of KeyTips if I pressed Alt by accident?
Press Esc. Each press backs out one step, and pressing it again returns you to normal typing.
Key takeaways
The page is in the center, and the blinking line shows where your next text will appear.
The ribbon runs across the top and is organized into tabs, which hold groups of related commands.
The title bar shows the document name, and the status bar at the bottom shows page information and zoom.
Press Alt to show KeyTips, follow the letters to reach a command, and press Esc to back out.
If the ribbon looks collapsed, click a tab name or press Ctrl+F1 to bring the commands back.
Try it now
Open a blank document in Microsoft Word and take a one-minute tour. Point to the page, find the blinking line, then click the Home, Insert and View tabs one after another and read the group names. Finally, press Alt, look at the KeyTips, and press Esc to back out. When you can do that comfortably, you have mastered the workspace.
Where to go from here
Knowing where things live is the foundation for everything else in this series. Tomorrow we move on to a habit that protects every document you write: saving your work with confidence. Keep your blank document open and practice the tour once more before then.
You can find more lessons and tips at https://connectedgeek.net, and each day's lesson also arrives by email and on our social channels.
Need help? Call 248-648-1717 or email [email protected].
