Microsoft Word for Beginners: Add Tables and Pictures
A useful business document does more than store information; it helps someone find the right detail without hunting. When a quote, checklist, or handout has a short list of related facts, a table can keep those facts aligned. A picture can also make a procedure easier to recognize or give a document a clear visual example. I’m Larry Miller, and today I’ll show you how to add both in Microsoft Word without making the page feel crowded.
The lesson in short
Give related details a tidy home in Word: a table keeps short entries aligned, while a picture can add context. Today’s lesson covers inserting a table, moving cell to cell with Tab, adding a picture, and choosing how text sits beside it.
Step by step
Choose where the table belongs. Click in the document at the point where the information should appear. If the table should start a new paragraph, click after the preceding text and press Enter once. A clear gap helps readers see that the table is a separate unit.
Open the table choices. Select the Insert tab, then choose Table. Word displays a grid of small squares. Move across the grid to indicate the number of columns and rows you need, then select the matching square. For a simple contact or stock list, begin with only a few columns rather than building a wide table before you know what belongs in it.
Label the first row. Click the first cell and enter a brief heading for each column, such as Date, Item, and Status. Keep each heading short enough to scan. A reader should be able to tell what a value means without asking what the column represents.
Fill the cells in order. Type a value into the active cell, then press Tab to move to the next cell. Shift+Tab moves back one cell. In the last cell of the table, Tab creates another row, so use it when you are ready to continue. Avoid using arrow keys as your main way of advancing between cells; they move the insertion point through text inside a cell.
Add a picture where it supports the message. Click near the paragraph that introduces the image, open Insert, choose Pictures, and select the picture source or file offered on your computer. Use a picture you have permission to use. After it appears, select it and drag a corner handle inward or outward to resize while keeping the proportions.
Decide how the text should sit. A picture set in the text flow behaves much like a large character in a paragraph. If you want text beside it, choose an available text-wrapping layout option. Read the nearby paragraphs afterward and check that the picture has not separated a heading from its explanation or made a line hard to follow.
Why tables and pictures matter
A table helps readers compare related details because each column gives information a consistent place. It works well for concise facts such as dates, items, and statuses; numbered steps or a few bullets may be clearer without a table. A picture can show a tool or result, but add it only when it helps explain the text. Keeping both elements purposeful protects the page’s readability.
Where to find it
Use the Insert tab, then Table to choose a starting grid. For a picture, choose Insert, then Pictures, and select the source where the image is stored. Word adds each object at the insertion point, so click where it belongs first. If it lands in the wrong place, Undo and insert it again at the intended location.
What you will see on screen
A table appears as a grid of cells. The active cell contains the insertion point; Tab moves forward, and Tab in the last cell adds a row. A picture appears as an object with sizing handles. Text may flow above and below it or beside it, depending on the selected layout. Use a corner handle to resize while preserving proportions, then review the full page for awkward breaks or crowded text.
A small-business example
For a service visit summary, I could use Date, Item, and Status columns, with one visit on each row. A photo of a completed setup might sit after a short sentence that explains what it shows. For a brief checklist, Task and Owner headings can make assignments easy to scan. In either case, concise labels and one idea per cell keep the page practical.
Common mistakes and how to fix them
Using arrow keys to move to the next cell. Arrow keys move within the text in a cell. Press Tab to advance to the next cell, or Shift+Tab to go back.
Adding a row too soon. Tab in the final cell creates a new row. If you only meant to finish editing, click outside the table instead. If an extra row appears, use Undo right away or remove the unneeded row using the table controls.
Making the table too wide. Start with the columns readers genuinely need. Shorten headings and remove redundant columns before adding more visual formatting.
Stretching a picture. Drag a corner sizing handle rather than a side handle when you want to preserve its proportions. If the image looks distorted, undo and resize from a corner again.
Letting a picture interrupt the reading order. If text wraps in an awkward place, try another available layout option or move the picture below the relevant paragraph. Check the paragraph flow after every placement change.
Quick tip of the day
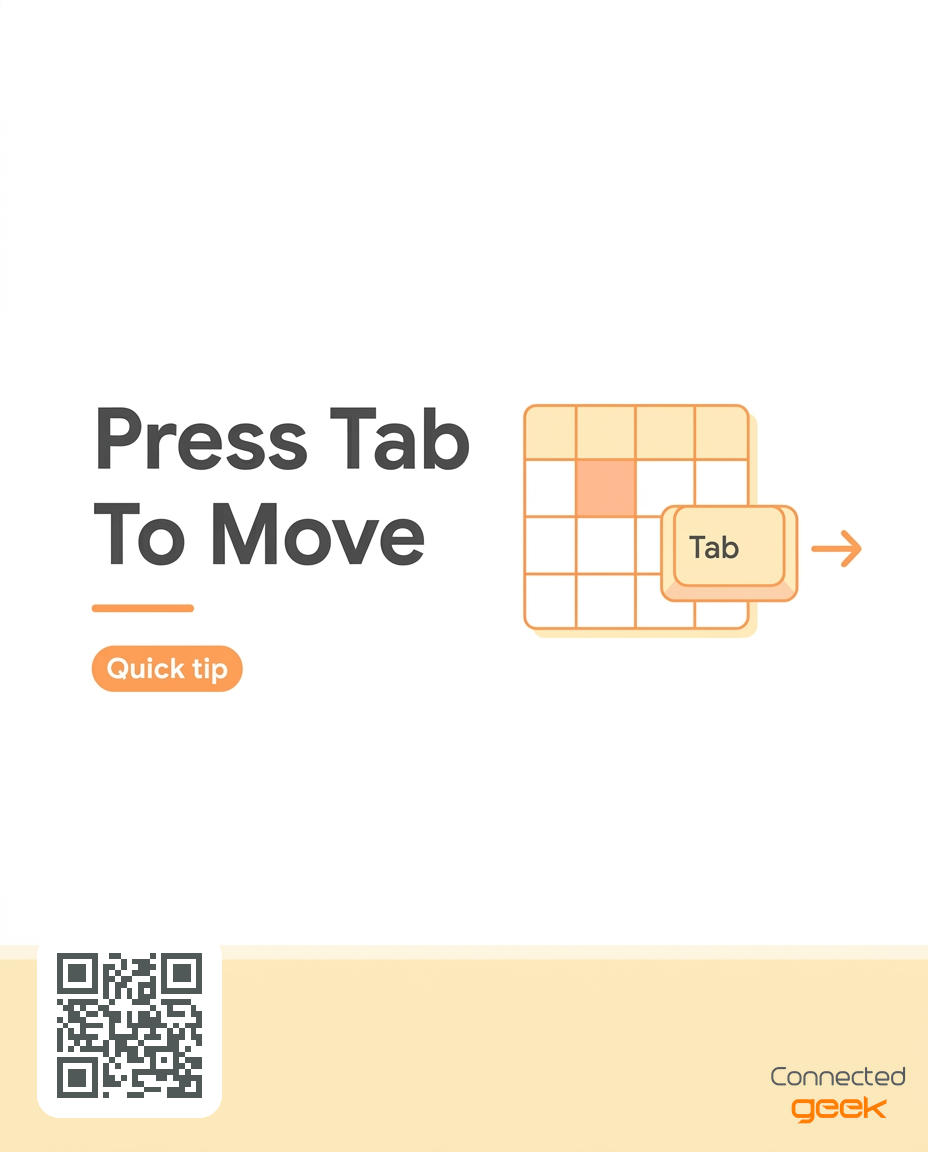
Filling a Word table? Press Tab to move to the next cell. From the last cell, Tab adds a row; Shift+Tab moves back one cell.
Frequently asked questions
Can I add a table after I have already written the document?
Yes. Click where you want the table to appear, use Insert, then Table, and choose the starting size. You can place it between paragraphs or on a new line. Review the nearby text after insertion so the table sits in a sensible reading order.
What happens when I press Tab in a Word table?
Tab moves the insertion point to the next cell. When the active cell is the final cell, Tab adds a new row. Shift+Tab moves to the previous cell. This is especially helpful when you are entering short values in sequence.
How can I keep a picture from looking stretched?
Use a corner handle to resize it. A corner change adjusts its width and height together, which helps preserve the original proportions. Review the image after resizing and undo if it no longer looks right.
Should text always wrap beside a picture?
No. Text can stay in the normal text flow, or you can choose an available wrapping option when beside-text placement improves the page. Use whichever choice makes the relationship between the image and the words easiest to understand.
How many columns should my table have?
Use only the columns needed to describe the information. A short table with clear labels is easier to read than a wide table filled with details that belong in a separate note or paragraph.
Key takeaways
Use Insert, then Table to choose a starting grid.
Give each column a short, descriptive heading.
Press Tab to move forward and Shift+Tab to move back.
Remember that Tab in the final cell adds a row.
Insert pictures where they explain or clarify the content.
Resize from a corner and check how text flows around the image.
Try it now
Create a small table with three labeled columns and enter two sample records, using Tab to advance. Add one picture beneath a sentence that explains it, then choose whether the picture should remain in the text flow or sit beside the text. Look over the page and remove anything that does not help a reader.
I hope this gives you a straightforward way to organize details and add useful visuals to a Word document. Keep the table concise, keep the picture purposeful, and check the page after making changes. For more learning resources, visit https://connectedgeek.net. Need help? Call 248-648-1717 or email [email protected].
