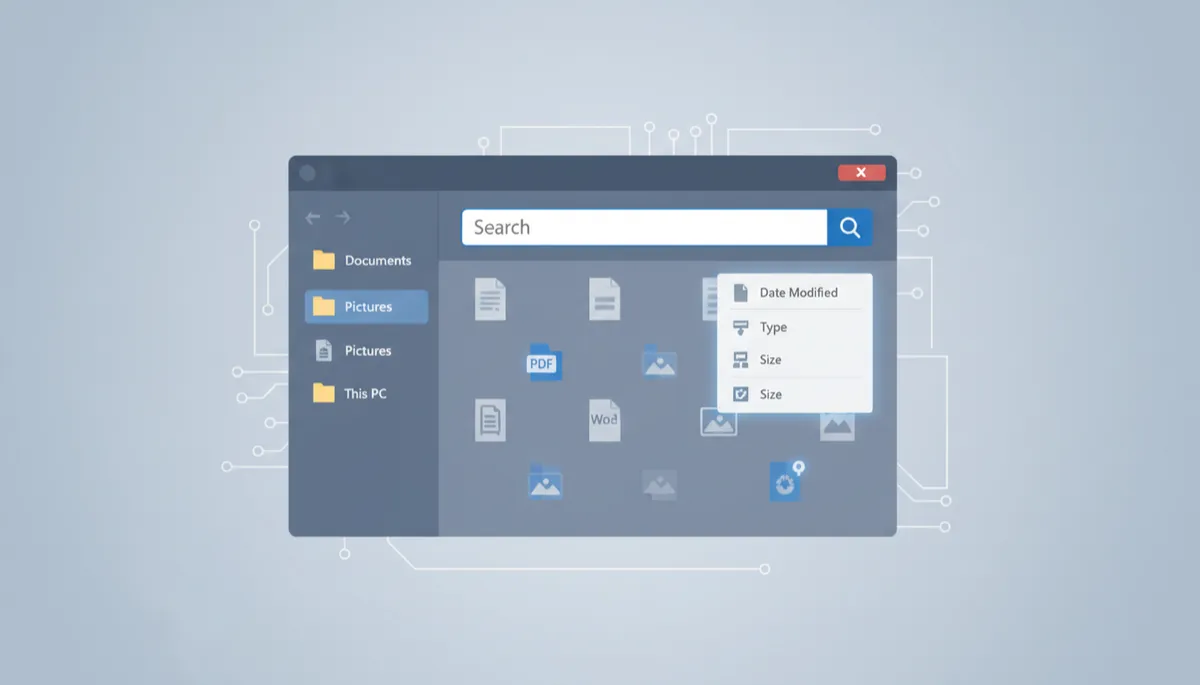
Master Windows 11 File Explorer Search Tips
Windows 11, File Explorer, Search Tips
Mastering the File Explorer Search Bar in Windows 11
If you’ve ever spent way too long hunting for a file you know is “somewhere on this PC,” the built-in search box in Windows 11’s File Explorer is about to become your new best friend. This guide walks you through using that top‑right search bar, fine‑tuning results with filters, saving your favorite searches, and deciding when to search a specific folder versus your entire drive.

Where to Find the File Explorer Search Box
First things first: we’re talking about the search box inside File Explorer, not the Windows taskbar search or the Win + S shortcut. Open any folder—say, Documents or Downloads—and look to the top right corner of the File Explorer window. You’ll see a text box with a magnifying glass icon. That’s your built‑in search bar, and it’s always focused on whatever folder you’re currently viewing.
Click, Type, and Find Files in the Current Folder
Using it is wonderfully simple. Click the search bar at the top right of any File Explorer window, then start typing. As you type, File Explorer begins looking for matches inside the folder you’re currently in, plus any subfolders beneath it. This is perfect when you know roughly where something lives but can’t remember the exact file name.
For example, if you’re in Documents and you type budget, File Explorer will return all files in Documents (and its subfolders) with “budget” in the file name, and even in some file contents depending on type and indexing. The more you type, the more focused your results become. You don’t need to press Enter, but doing so tells File Explorer to fully commit to the search and dig a bit deeper if needed.
Meet the Search Tab: Filters for Faster Results
Once you click in the search box or start typing, Windows 11 reveals a Search tab on the ribbon at the top of File Explorer. This is where things get powerful. Instead of scrolling through a long list of results, you can narrow things down using handy filters like Date modified, Kind (file type), and Size.
Filter by Date Modified
If you remember when you last worked on a file, use Date modified. Click the option on the Search tab and pick a range like Today, This week, or This month. Windows will instantly trim your results to files changed during that period, which is great when you’re looking for something recent and don’t want to see ancient documents cluttering the list.
Filter by File Type (Kind)
Next up is Kind, which helps you filter by the general type of file. Maybe you only want Pictures, Documents, Videos, or Music. Choose the kind that fits, and File Explorer hides everything else. This is especially helpful in folders like Downloads, where every type of file tends to pile up together.
Filter by Size
The Size filter comes in handy when you’re tracking down large files. Maybe you’re clearing space and looking for anything Enormous (> 4 GB) or just Large (> 128 MB). Pick a size category, and File Explorer will only show files that match. Pair this with a keyword in the search bar and you can find that giant video project or ISO file in seconds.
Saving Searches You Use All the Time
If you find yourself running the same search over and over—maybe “all Word documents in Documents modified this week”—you don’t have to rebuild it every time. File Explorer lets you save searches so they’re just a double‑click away.
After you’ve entered your keyword and applied your filters in the Search tab, look for the Save search option (usually on the ribbon). Click it, choose a name you’ll recognize, and pick a location—by default, Windows suggests your Searches folder. Next time, just open that saved search like a normal folder, and File Explorer will run the search again with the same criteria, showing up‑to‑date results automatically.
Searching a Specific Folder vs. the Whole Drive
One of the biggest advantages of using the File Explorer search box instead of the general Windows search is control over where you’re searching. Because the search bar is tied to the folder you’re viewing, you can keep things focused—or deliberately go broad—just by choosing your starting point.
When to Search a Specific Folder
If you have a good idea where something lives, it’s usually fastest to navigate to that folder first, then use the search bar. For example:
- Looking for a work document? Start in your main Documents folder or the specific project folder.
- Trying to find a photo from a trip? Begin in Pictures or the album folder you created.
This keeps results relevant and usually makes searches complete more quickly, since Windows doesn’t have to scan your entire drive.
When to Search the Whole Drive
Sometimes, though, you truly have no idea where a file ended up. Maybe it was saved to the wrong folder or moved by accident. In those cases, open File Explorer, click This PC, and then use the search bar. Now you’re searching across the entire drive (or drives, depending on what you select). It might take longer, but it’s your best bet when the file could be anywhere.
To keep whole‑drive searches manageable, combine them with the Search tab filters—especially Kind and Date modified. That way, even a wide‑ranging search still feels under control.
Final Thoughts: Let File Explorer Do the Heavy Lifting
Once you get comfortable with the File Explorer search bar—clicking it in the top right, typing keywords, using the Search tab filters, and saving your favorite searches—you’ll spend far less time digging through folders. Whether you’re searching a single project folder or your entire drive, Windows 11 is ready to help you track down what you need so you can get back to actually using your files, not just looking for them.
