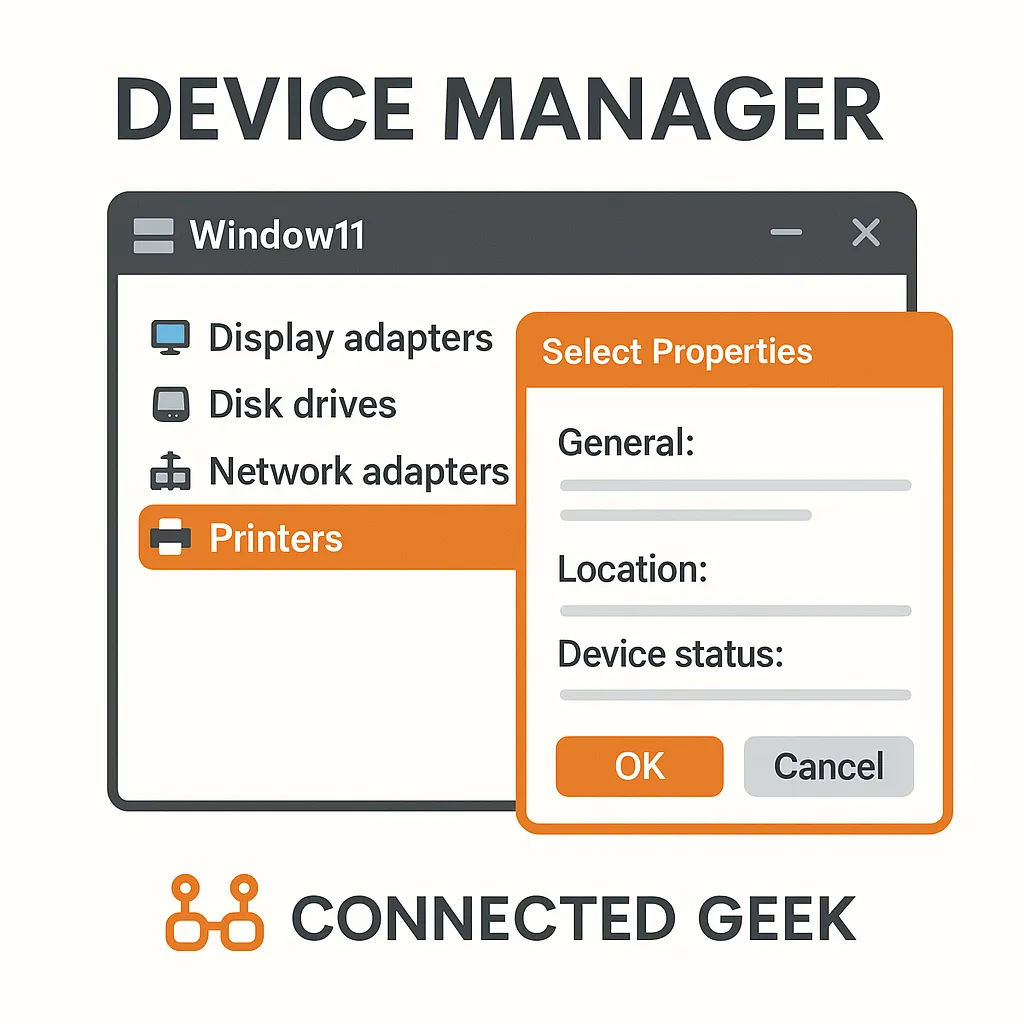
Master Advanced Printing in Windows 11
Windows 11, Printing Tips
Mastering Advanced Printing Options in Windows 11
Printing in Windows 11 can be much smarter than simply hitting “Print” and hoping for the best. With a few clicks, you can save ink, paper, and time, and make your documents look exactly the way you want. Let’s walk through the advanced printing options in a friendly, step‑by‑step way so you can print like a Connected Geek pro.

Step 1: Open the Print Dialog (Hello, Ctrl+P!)
Almost every app in Windows 11 shares the same simple shortcut for printing: Ctrl+P. Whether you are in Word, Edge, Excel, or even many third‑party apps, pressing Ctrl+P opens the print dialog instantly. It is much faster than hunting through menus, and once you get used to it, it becomes second nature.
If you prefer using the mouse, you can usually click File > Print instead. Either way, you will see a preview of your document, a list of available printers, and some basic options like number of copies and which pages to print. This is your starting point before diving into the more powerful controls.
Step 2: Open “Printer properties” or “More settings”
To reach the advanced options, look for a link or button labelled Printer properties, More settings, or sometimes Preferences. The exact wording can vary slightly depending on your printer, but it is usually near the printer name or below the basic options in the print dialog.
Clicking this opens a more detailed window supplied by your printer’s driver. This is where the real control lives: print quality, colour settings, paper size, duplex (double‑sided) printing, and more. Think of this as the “advanced cockpit” for your printer, giving you fine‑tuned control over how each job comes out.
Understanding Print Quality: Draft, Standard, and High
One of the most important settings you will see is Print Quality. Common options include Draft, Standard (or Normal), and High (or Best). These control how much ink or toner the printer uses and how detailed the output is.
- Draft: Uses the least ink and prints quickly. Perfect for internal documents, rough drafts, meeting notes, or anything that does not need to look polished. Using draft mode significantly reduces ink usage, which can save a surprising amount of money over time.
- Standard/Normal: A solid everyday choice. Text looks clean and readable, and graphics are decent. Use this for documents you will share with clients or colleagues when you still want to be economical.
- High/Best: Uses more ink and usually prints more slowly, but gives sharper text and richer colours. Ideal for presentations, final reports, or anything that needs to look professional and polished.
Paper Size, Orientation, and Colour vs Greyscale
Next up are the layout and paper options. These settings make sure your document fits the page and looks the way you expect when it lands in the tray.
- Paper size: Most people use A4 or Letter, but you may also see options like Legal, envelopes, or photo sizes. Make sure the size in Windows matches the paper actually loaded in the printer to avoid cut‑off text or unexpected scaling.
- Page orientation: Choose Portrait for taller pages (most documents) and Landscape for wider layouts, such as spreadsheets or slides. Switching orientation can make tables and charts much easier to read on paper.
- Colour vs Greyscale: Colour prints look great but use expensive colour ink or toner. For emails, drafts, and text‑heavy documents, choose Greyscale or Black & White. Save full colour for charts, photos, and documents where colour actually adds value.
Double‑Sided (Duplex) Printing: Save Paper the Smart Way
If your printer supports it, double‑sided or duplex printing is one of the easiest ways to cut paper use almost in half. In the advanced settings, look for options like Print on both sides, Duplex, or Two‑sided printing. You can often choose whether the pages flip on the long edge (like a book) or the short edge (like a notepad).
Duplex printing is ideal for multi‑page internal reports, manuals, or handouts. It keeps your documents slimmer and more environmentally friendly, and it also means fewer refills of the paper tray, which is always nice on a busy day.
Saving Your Favourite Settings as Printer Defaults
Once you have found a combination of settings you like—perhaps Draft quality, Greyscale, A4, Portrait, and duplex—you do not want to repeat those choices every single time. The good news is that Windows 11 lets you save them as default settings for that printer.
- Open Settings from the Start menu, then go to Bluetooth & devices > Printers & scanners.
- Click your printer in the list, then choose Printing preferences or Printer properties (wording varies by model).
- In the window that appears, set your preferred print quality, paper size, colour/greyscale, duplex, and orientation.
- Click Apply and then OK.
These preferences now become the default every time you print to that device, no matter which app you are using. You can still override them for a one‑off job in the print dialog, but your everyday settings will be ready and waiting for you automatically.
Practical Everyday Printing Tips for Connected Geeks
To wrap things up, here are some friendly, real‑world habits that make printing in Windows 11 cheaper, greener, and less frustrating:
- Use Draft for internal documents: Meeting notes, to‑do lists, and rough drafts almost never need high quality. Draft mode saves ink and prints faster.
- Switch to Standard or High for “final” versions: When you are printing something for a client, manager, or presentation, bump the quality up for a sharper, more professional look.
- Default to Greyscale, add colour only when needed: Charts and photos deserve colour; basic text usually does not. Your colour cartridges will last much longer this way.
- Make duplex your friend: Turn on double‑sided printing for multi‑page documents to cut paper usage and keep your files thinner and easier to carry.
- Always check the preview: Before you hit Print, glance at the preview to confirm orientation, margins, and page count. A three‑second check can prevent wasted paper and frustration.
With these advanced options and a few smart defaults, Windows 11 printing becomes far more efficient and predictable. The next time you press Ctrl+P, take a moment to explore Printer properties or More settings—your printer, your budget, and the environment will all thank you.
